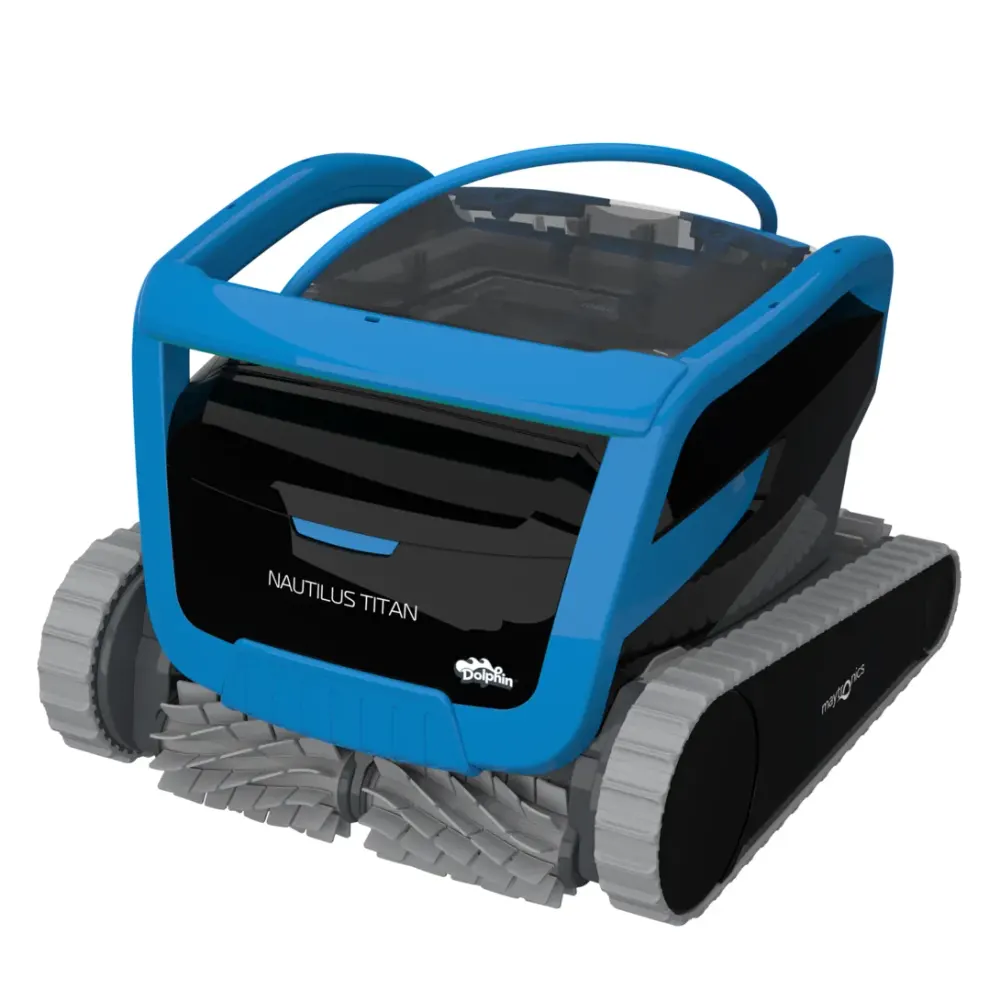
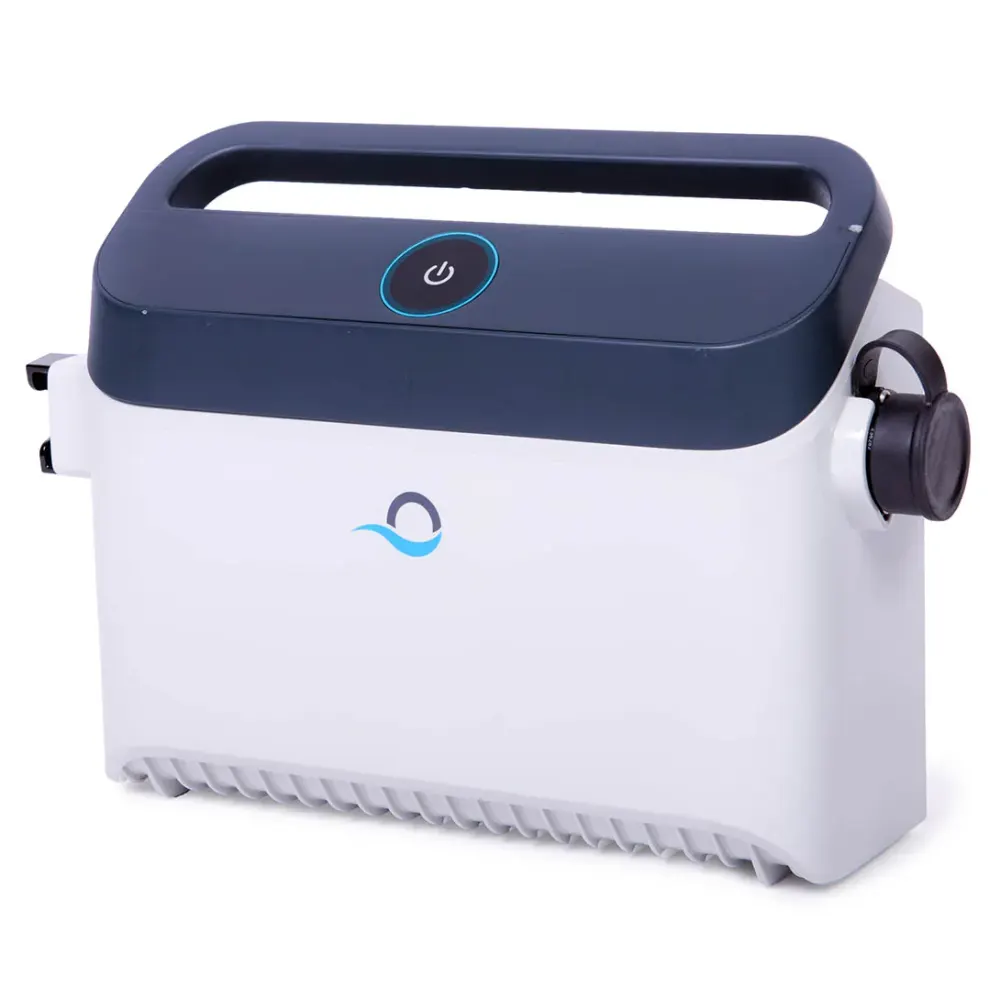
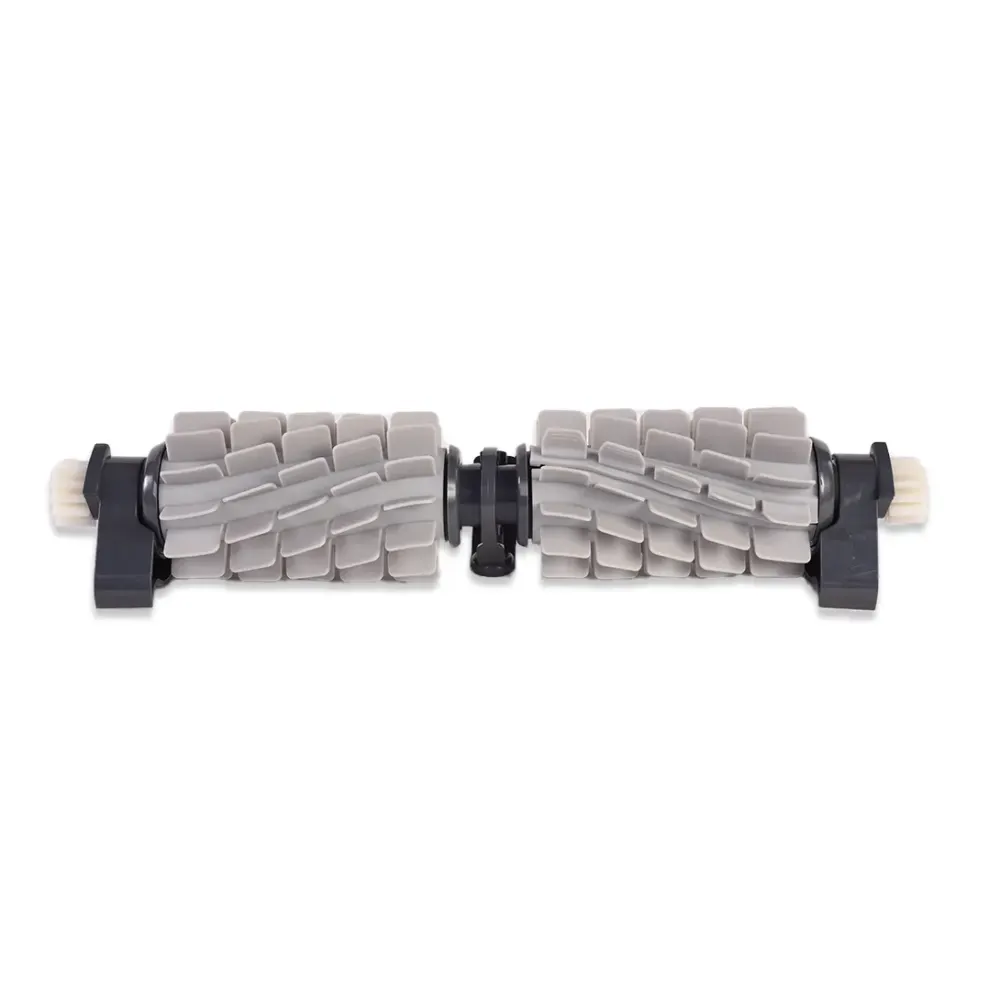
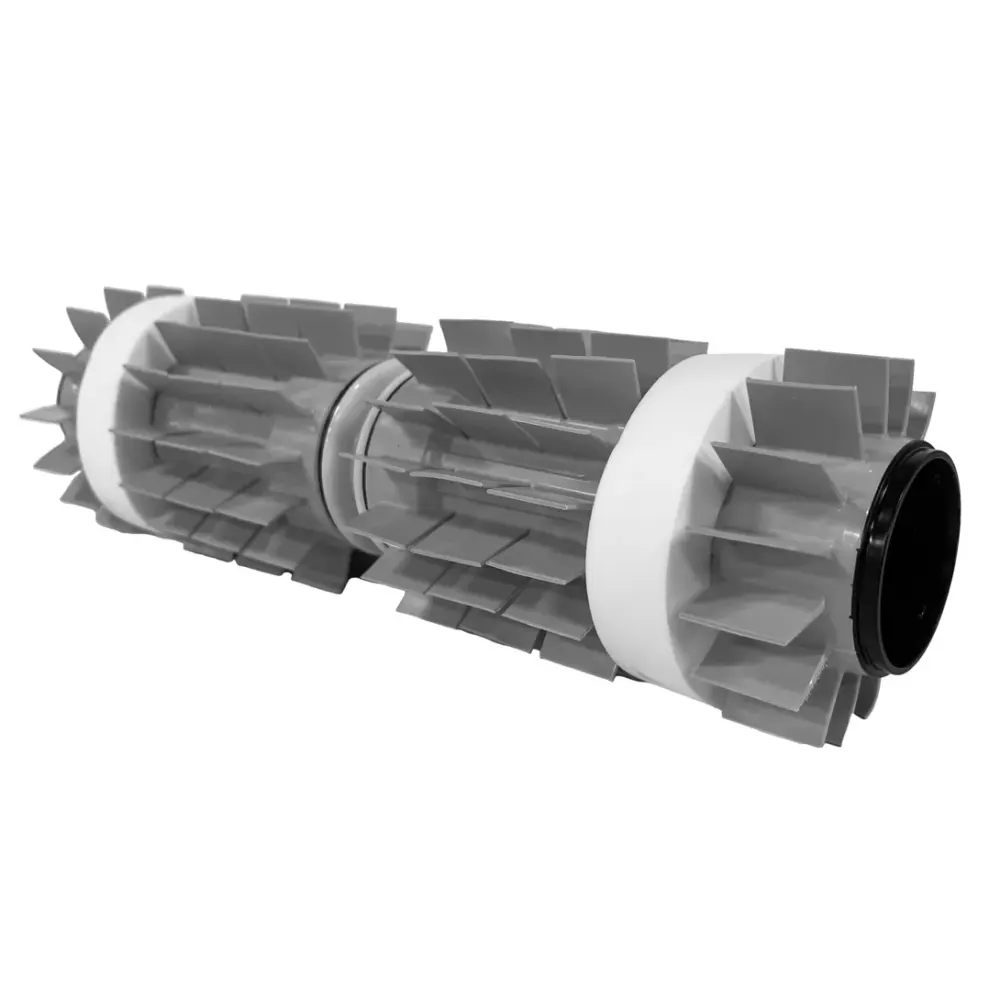
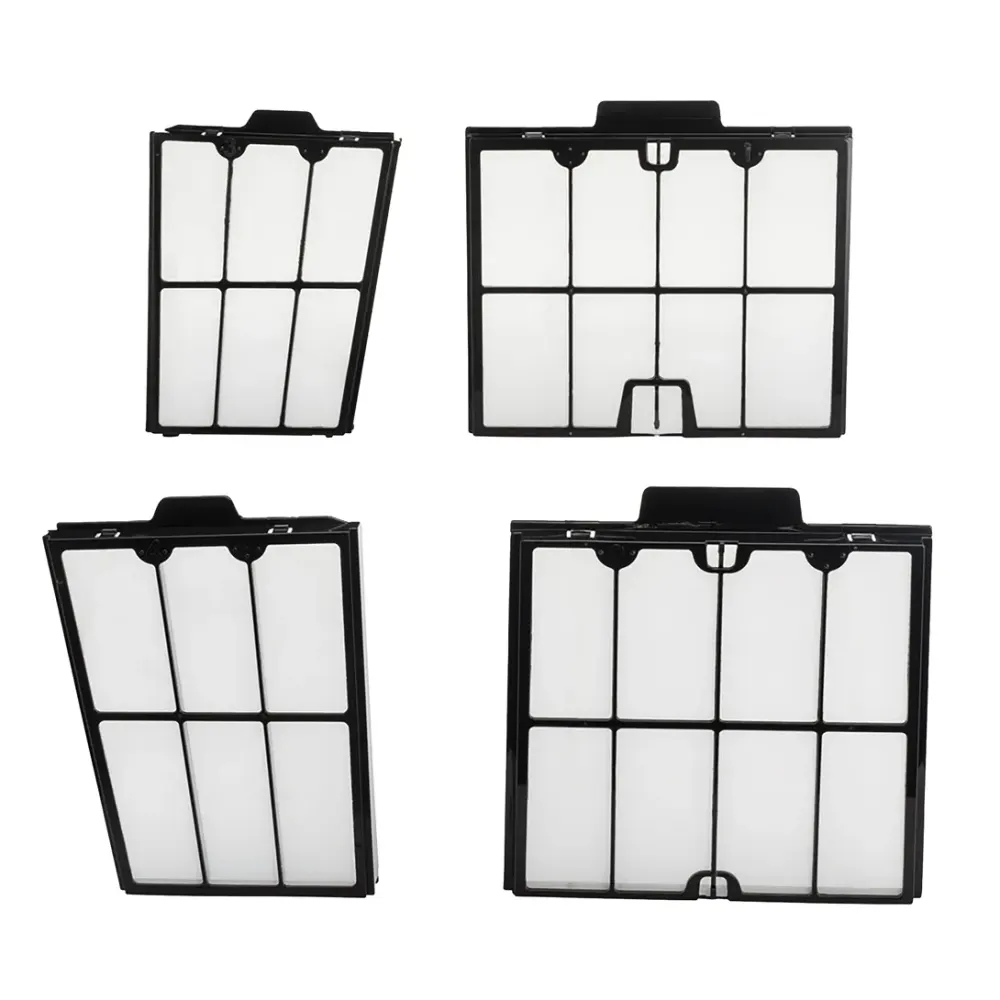
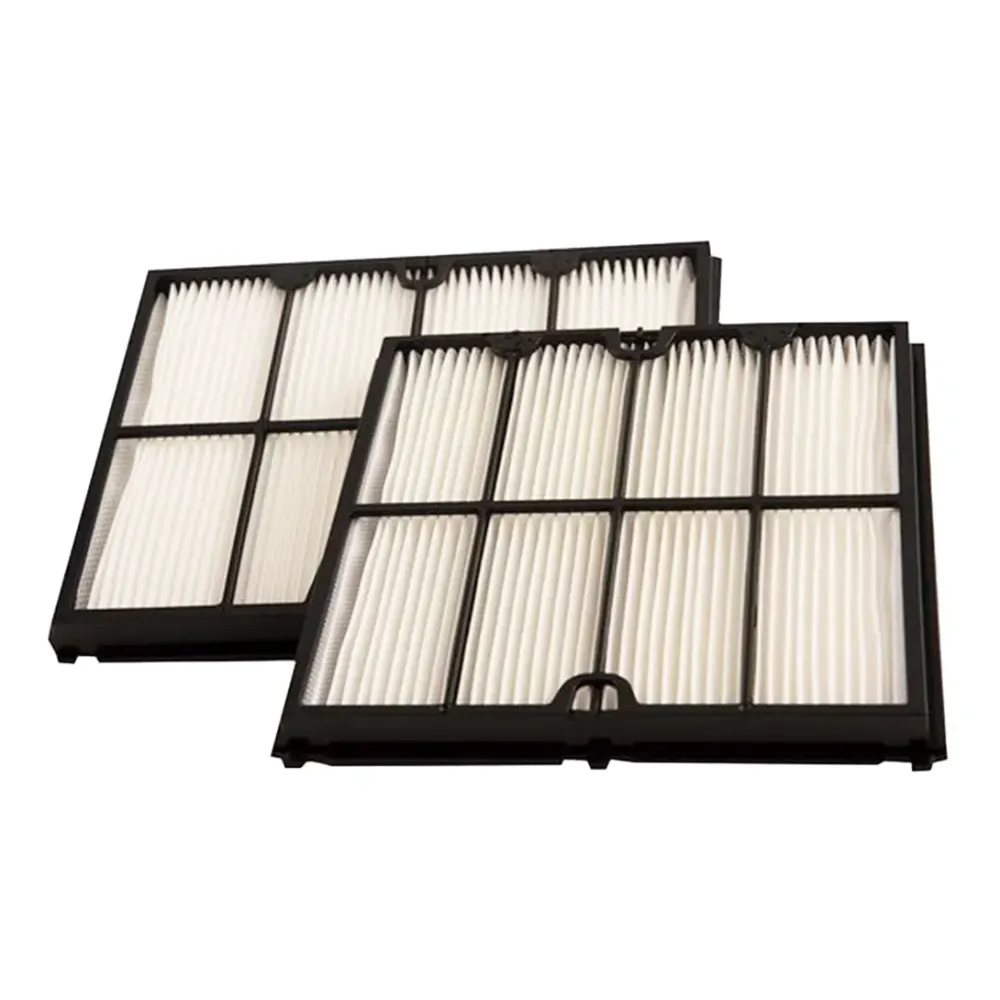
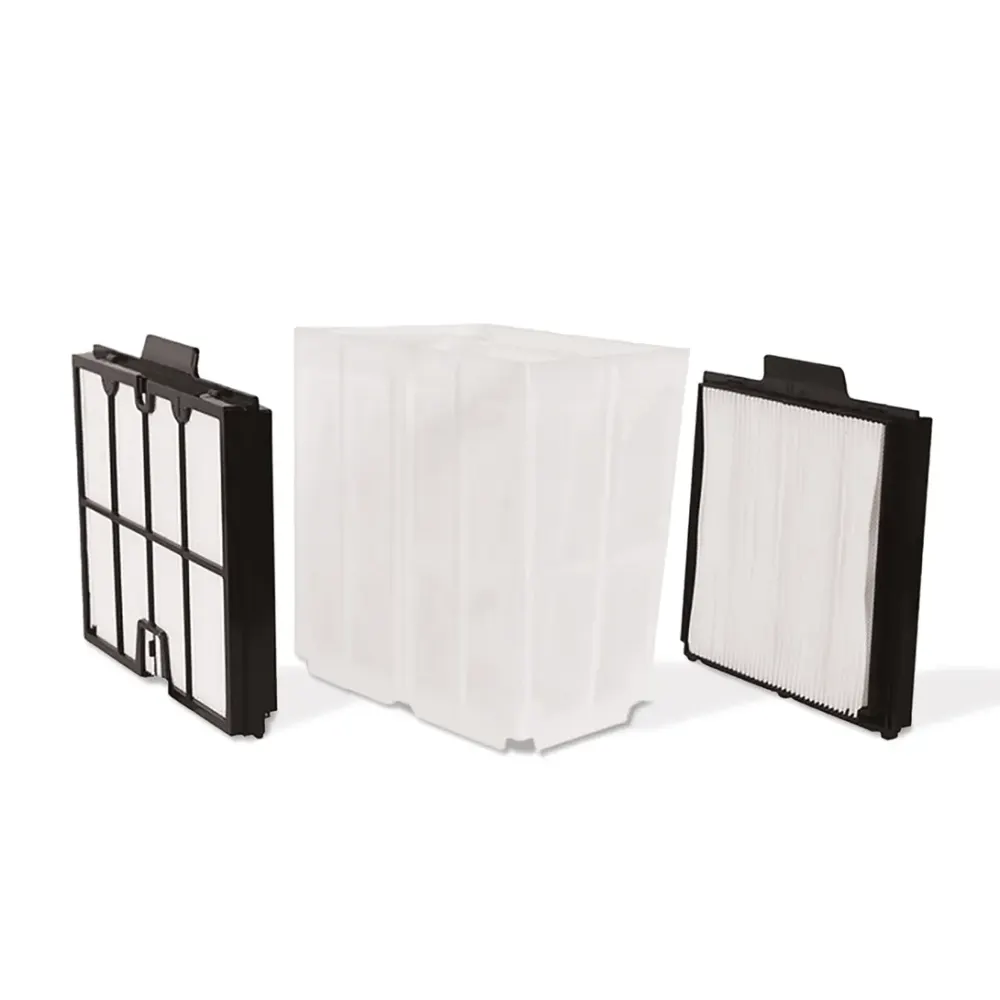
Start with the power supply and its connections when troubleshooting Dolphin Nautilus Titan. The troubleshooting guide includes 24 fixes, and Poolbots' pool experts can help by live chat or phone. Every fix below is rewritten in plain English and sorted by what the robot is doing wrong, with the genuine part that fixes it.
Robot will not startCheck the power supply and outlet first. Disconnect power before checking the robot's cable connection.
Debris remains after a cycleDisconnect power, then check the top-access filter basket and panels for trapped debris or buildup.
Wall or waterline cleaning is weakDisconnect power, then check the filter basket for buildup and the tracks and both brushes for debris or wear.
Suction seems weakDisconnect power, then inspect the filter basket and impeller for visible debris. Never reach into a powered robot.
MyDolphin™ Plus will not connectConfirm the power supply has power, then follow the Wi-Fi connectivity guide for MyDolphin™ Plus.
Start here
Five checks before you suspect the robot.
Maytronics' own diagnostic flow begins with the power supply, and so does this page. Unplug the supply before you touch the robot. Where a check ends in a worn part, the genuine replacement is linked under it.
1
Check the power supply first
With the robot out of the pool, unplug the blue cable from the power supply and switch the supply on by itself. If it will not power up, or shuts off on its own, the power supply needs service, not the robot.
Unplug the supply, turn the robot over and spin each brush by hand. Open the impeller cover with a Phillips screwdriver and pull out any hair or debris.
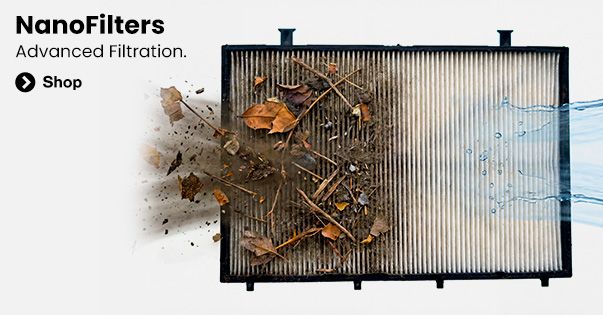
Clogged filters stop the robot climbing, make it circle and trigger short cycles. Brown or green filter panels that no longer rinse white need replacing.
The robot needs at least 3 ft of water, water above 43°F (59°F for wall climbing) and balanced chemistry. Lay out only as much cable as the pool is long.
Power supply will not stay on with the cable disconnected? That is a power supply fault, not the robot: follow the power supply checks and about a replacement under warranty.
Why won't my Dolphin finish a cycle, or why is the power supply light red?Most commonVideo20 min1 part
Try this first: If the power supply stays on when your Dolphin stops, unplug it, remove the robot from the pool, and inspect the tracks and brushes for debris or damage.
The self-service tool provides troubleshooting and lets you submit a warranty claim for a repair or power supply replacement.
For repair help, including a robot purchased through a local dealer, chat with Poolbots' pool experts. For warranty repairs, Poolbots will point you to Maytronics' service process.
If your Dolphin stops shortly after starting or ends its cleaning cycle early, follow the checks below. A red light on the power supply indicates an error with the robot.
Before turning on your Dolphin: Make sure it is submerged in at least three feet of water.
Check whether the power supply also shuts off. If it turns off as soon as the robot stops, the problem may be with the power supply. Follow the power supply troubleshooting steps.
If the power supply stays on but your Dolphin stops cleaning early, follow these steps:
Step 1Disconnect the power supply
Unplug the power supply from the electrical outlet. Then take your Dolphin out of the pool.
Step 2Inspect the drive system
Turn the robot upside down and rotate the brushes by hand. A small amount of resistance is normal.
Look over the tracks, brushes, and tight spaces around them for anything blocking movement or showing visible damage.
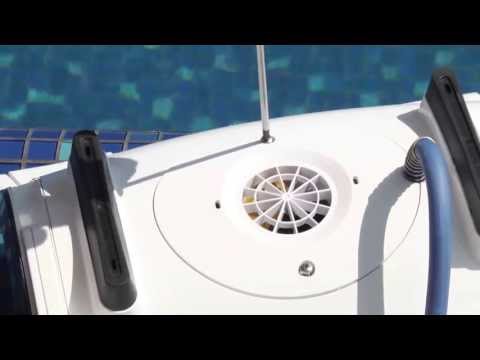
If debris is caught in the impeller, open the impeller area, clear out the debris, and reassemble it. Use a Phillips-head screwdriver, not a power drill.
If your Dolphin has a Power Stream mobility system, it is located on top of the impeller. Inspect the plastic cover around the motor unit and the grilles on the sides of the robot. Clear away any visible debris.
For help with these checks, contact Poolbots' pool experts by live chat or phone.
Parts that fix thisGenuine Maytronics parts that fit the Nautilus Titan.
Why isn't my Dolphin power supply working properly?Most commonVideo10 min1 part
Try this first: Try a different GFCI outlet you know works. Plug the power supply directly into the outlet without an extension cord.
Use Maytronics' self-service troubleshooting tool to check your Dolphin and start a warranty claim for a repair or replacement power supply.
For repair help, including robots purchased from a local dealer, chat with Poolbots' pool experts. For warranty repairs, Poolbots will point you to Maytronics' service process.
Follow these steps if your power supply stops working, trips the GFCI outlet, or will not turn on.
Step 1Check the power source
Try a different GFCI outlet that you have confirmed works. If you are using an extension cord, remove it and plug the power supply directly into the outlet.
If the power supply still will not turn on, continue to Step 2.
Step 2Inspect the blue and black cables
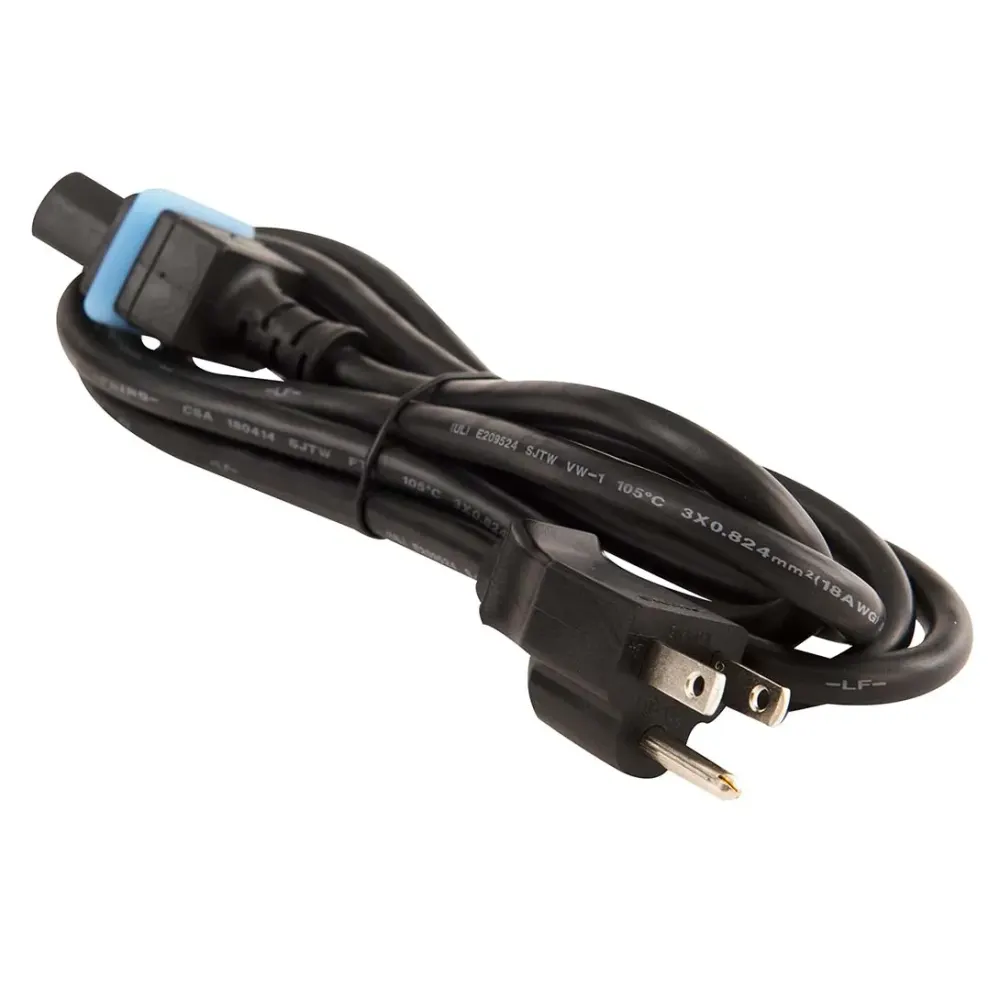
Unplug the power supply. Look over the blue cable and the black power supply cord for cuts, kinks, fraying, or other visible damage.
If you find damage, stop and arrange a cable replacement. Start a warranty claim or chat with Poolbots' pool experts for help.
If both cables appear undamaged, continue to Step 3.
Step 3Isolate the source of the problem
This test helps determine whether the problem is with the power supply, the cables, or the Dolphin's motor unit.
With the power supply unplugged, disconnect the blue cable from it.
Plug the power supply into a working GFCI outlet.
Turn on the power supply, leaving the blue cable disconnected.
Step 4Check the test result
The power supply turns on and stays on
This result points away from the power supply. The Dolphin's cable or motor unit may be causing the problem.
An authorized Dolphin technician should diagnose and repair the robot. Submit a repair request or chat with Poolbots' pool experts. For warranty repairs, Poolbots will point you to Maytronics' service process.
The power supply will not turn on or shuts off immediately
If it will not turn on, shuts off right away, or has stopped working altogether, the power supply appears to be the problem. Use Maytronics' self-service tool to start a warranty claim for a replacement power supply.
You can also chat with Poolbots' pool experts about replacement options, including if you purchased the robot from a local dealer.
Why won't my Dolphin robot start when the power supply works?Most commonVideo15 min1 part
Try this first: Unplug the black cable, disconnect and inspect the blue cable, then plug the power supply into a different outlet. Reconnect the blue cable and try starting the robot.
Use these steps if your corded Dolphin robot will not start cleaning after you turn it on. They also apply if the main LED on an IoT Power Supply is red.
If your robot is out of warranty, Poolbots sells replacement parts. Confirm the correct part number before ordering. You can use the Maytronics parts reference to check it.
Find more information about your robot's features and functions in its user manual.
For repair help, including robots purchased through a local dealer, contact Poolbots' pool experts by live chat or phone. For warranty repairs, Poolbots will point you to Maytronics' service process.
Parts that fix thisGenuine Maytronics parts that fit the Nautilus Titan.
Why can’t I access all the features on the power supply unit?1 part
Try this first: Check your Dolphin model’s user manual or Poolbots product page to confirm which power supply features it supports.
Your Dolphin robot is programmed for the features supported by its specific model. Some optional features may not be available on your robot or its power supply.
Multiple Dolphin models share the same power supply housing. Some support Bluetooth connectivity, while others do not. Matching housings do not mean matching features. The internal functionality can differ by model.
Check your robot’s user manual or its product page on Poolbots to confirm which features are available for your model.
Parts that fix thisGenuine Maytronics parts that fit the Nautilus Titan.
Why won't my Dolphin climb walls or move sideways on walls?Most commonVideo20 min2 parts
Try this first: Start with the water temperature. Keep it above 15°C for climbing, while staying within the recommended operating range of 6°C to 35°C.
Work through these checks in order. The Dolphin Tips video shows the troubleshooting process step by step.
Step 1Check the water temperature
The recommended operating range is 6°C to 35°C. Cold water can significantly reduce your Dolphin's ability to climb. For climbing performance, keep the water above 15°C while staying within that operating range.
Step 2Check pool chemistry
Make sure your pool chemicals are within their recommended ranges. A pH level that is too high or too low can affect wall climbing.
Step 3Check the cleaning mode
If your Dolphin offers fast mode or "Floor Only" mode, make sure neither is selected. This check applies only to models that support these settings through the MyDolphin/MyDolphin™ Plus app or the power supply unit.
Step 4Inspect and clean the filters
Check the filter's condition. An Ultra-Fine (paper) filter should be white.
If it looks brown or green, rinse it with a garden hose at its highest pressure setting.
If cleaning does not restore the white color, the filter likely needs replacement. Poolbots sells replacement parts, and Poolbots' pool experts can help you choose the right filters through live chat or phone.
If you are using Ultra-Fine filters, try running the robot with Net Filters instead. If it climbs with Net Filters, that indicates the Ultra-Fine filters need replacement.
Step 5Check the impeller for debris
Debris can obstruct the impeller. Refer to the impeller-cleaning instructions and follow these precautions:
Unplug the power supply from the electrical outlet before opening the impeller. Use a Phillips screwdriver, not a power drill.
If debris is trapped in the impeller, open it, remove the debris and reassemble it.
Step 6Adjust the handle, if equipped
If your Dolphin has an adjustable handle, position it diagonally to help the robot climb.
Slow waterline cleaning: Place one handle end in the second/third slot and the other end in the second/third slot, as shown on the left. This setting covers less surface area but cleans more intensively.
Fast waterline cleaning: Place one handle end in the first slot and the other in the fourth slot, as shown on the right. This setting covers more surface area but cleans less intensively.
Step 7Check the cable length
Make sure there is enough cable in the pool for the robot to climb the walls. Too little cable can pull it back.
To check the amount needed, measure a length of cable that matches your pool's longest dimension. Avoid putting excess cable in the water, since that can lead to tangles.
Step 8Check the brush type and condition
The right brush depends on your Dolphin model, pool surface and pool slopes.
PVC brushes: These are standard brushes and work well on most pool floors.
Combined brushes: These pair PVC with foam climbing rings to improve grip and climbing. Leave the climbing rings in place. They are essential to performance and should be replaced when worn.
Wonder Brush: This is the best choice for very smooth or slippery surfaces, including stainless steel and polished mosaic tile.
A combined brush may help if your robot struggles to climb or stay against the pool surface. Before switching, chat with Poolbots' pool experts to confirm compatibility with your model.
Repair help
If these checks do not resolve the problem, contact Poolbots' pool experts through live chat or phone. For warranty repairs, Poolbots will point you to Maytronics' self-service repair process for sending the robot in for repair.
Original support references
These links are retained as source references. For help choosing parts or confirming compatibility, use Poolbots' live chat or phone support.
Why does my Dolphin float instead of sinking to the bottom of the pool?Video10 min1 part
Try this first: If your Dolphin has foam rings on its brushes, place them in the pool water and let them soak so they can absorb water.
Soak foam brush rings. If your Dolphin has brushes with foam rings, put the rings in the water and give them time to soak and absorb water.
Release trapped air. Excess air may be keeping your Dolphin afloat. As you lower it into the water, gently tilt it from left to right or turn it upside down to let the air escape.
Check the salt level. If your pool is treated with salt, make sure the salt (NaCl) level is no higher than 5000 ppm. Too much salt can increase the robot's buoyancy, making it more likely to float.
Parts that fix thisGenuine Maytronics parts that fit the Nautilus Titan.
Why does my Dolphin get stuck at the bottom or deep end of the pool?Video20 min
Try this first: Check the filter bag or cartridges for clogs and clean them thoroughly. Fine particles can block the filters even when they look clean.
Check and clean the filters.
Inspect the filter bag or cartridges for clogs. Clean them after every use. A deeper cleaning may also be needed because fine particles can block filters that appear clean. Follow the filter-cleaning instructions.
Test whether the filters need replacement.\n
Run your Dolphin in the water for a 10-15 minute test cycle with the filters removed. Only perform this test in a pool with no debris, since debris could damage the robot.
If your Dolphin works properly without the filters, they need to be replaced. For help with replacement parts, contact Poolbots' pool experts by live chat or phone.
Check the pool water.
Keep algae out of the pool and maintain balanced water chemistry to help your Dolphin clean properly. Use the recommended water parameters shown below:
Why is my Dolphin doing wheelies?Video15 min1 part
Try this first: Flip your Dolphin over before placing it in the pool to help release trapped air.
Your Dolphin is programmed to do wheelies to help it turn. If it does wheelies while moving forward or backward, there may be a problem. Check the following items in order.
The Dolphin Tips video walks you through troubleshooting.
Check for trapped air
Air trapped inside the robot can affect its movement. Flip the robot over before placing it in the pool to help the air escape.
Check pool chemistry
Keep your pool chemicals balanced and within their recommended ranges. Proper balance helps the robot work correctly and protects its components over time.
Check the blue cable
Make sure the blue cable has enough slack and is not pulling on the robot. Measure your pool's longest side, then allow that same length of cable in the water.
If your robot has an Ultra-Fine filter, it should look white. If it looks brown or green, clean it with a garden hose at its highest pressure setting. If it still does not look white after cleaning, it likely needs replacement.
See the replacement-parts information, or chat with Poolbots' pool experts for help finding replacement parts.
Clean the impeller
Check the impeller for trapped debris. See the impeller-cleaning instructions and follow these steps:
Step 1: Disconnect power. Unplug the power supply from the outlet before working on the impeller. Use a Phillips screwdriver, not a power drill.
Step 2: Remove trapped debris. If you find debris in the impeller, open it, clear out the debris, and reassemble it.
Parts that fix thisGenuine Maytronics parts that fit the Nautilus Titan.
What should I do if my Dolphin gets stuck on the drain?5 min
Try this first: Try running your Dolphin with the pool filter system off for the entire cleaning cycle to reduce suction from the main drain.
If your Dolphin gets caught on the pool drain and cannot free itself, try these steps in order.
Step 1Turn off the pool filter system
Keep the pool filter system off for your Dolphin's full cleaning cycle. Extra suction from the main drain can hold the robot in place.
Step 2Consider a drain-assist device
Aftermarket drain-assist devices attach to the main drain cover and can help keep your Dolphin from getting stuck. You can find these devices by searching online.
Step 3Adjust the handle, if equipped
If your Dolphin has an adjustable handle, move it to the farthest slot toward the front. This can help the robot get over the drain.
Why does my Dolphin keep missing part of the pool?Video10 min3 parts
Try this first: Straighten any twists or bends in the cable. Leave enough length to reach the whole pool, then coil the extra cable on the caddy or lay it beside the pool.
Step 1Check the cable setup
Straighten any twists or bends. Make sure enough cable is available for your Dolphin to reach every part of the pool. Coil any extra cable on the caddy or lay it alongside the pool.
Step 2Try a different starting point
At the beginning of the next cycle, place your Dolphin in the area it usually misses. This can change its initial cleaning route and help it clean more effectively.
Step 3Check cycle length and look for blockages
Confirm that the cleaning cycle lasts as long as your user manual specifies.
What should I do if my Dolphin's cable is twisted?Video10 min1 part
Try this first: Remove your Dolphin from the pool and stretch its cable out in the sun for at least 3 hours to help straighten kinks and twists.
Stretch the cable in the sun. Take your Dolphin out of the pool. Stretch the cable out in the sun for at least 3 hours to help remove kinks and twists.
Check the water conditions. After straightening the cable, keep the water temperature above 59°F and pool chemicals within Maytronics' recommended usage range to help prevent tangles. Pool chemical information
Limit the amount of cable you use. Avoiding excess cable is the most important step for preventing tangles. This matters whether your Dolphin has a swivel or not, especially if it does not. Measure out a cable length equal to the longest length of your pool. That is the amount your robot needs.
Position the power supply. Place it near the middle of the pool's longest side, several feet back from the edge. This lets the blue cable enter the water in a straight, relaxed line. It also helps keep tension even as the robot moves and allows the swivel, if equipped, to turn freely.
Loosely coil the extra cable. As you place the robot in the pool, leave the excess blue cable in loose coils at the pool's edge. This helps the cable feed into the water naturally as the cleaner moves.
Wind the cable properly after use. Pay attention to how you wind the cable after each cleaning cycle to help keep it free of tangles.
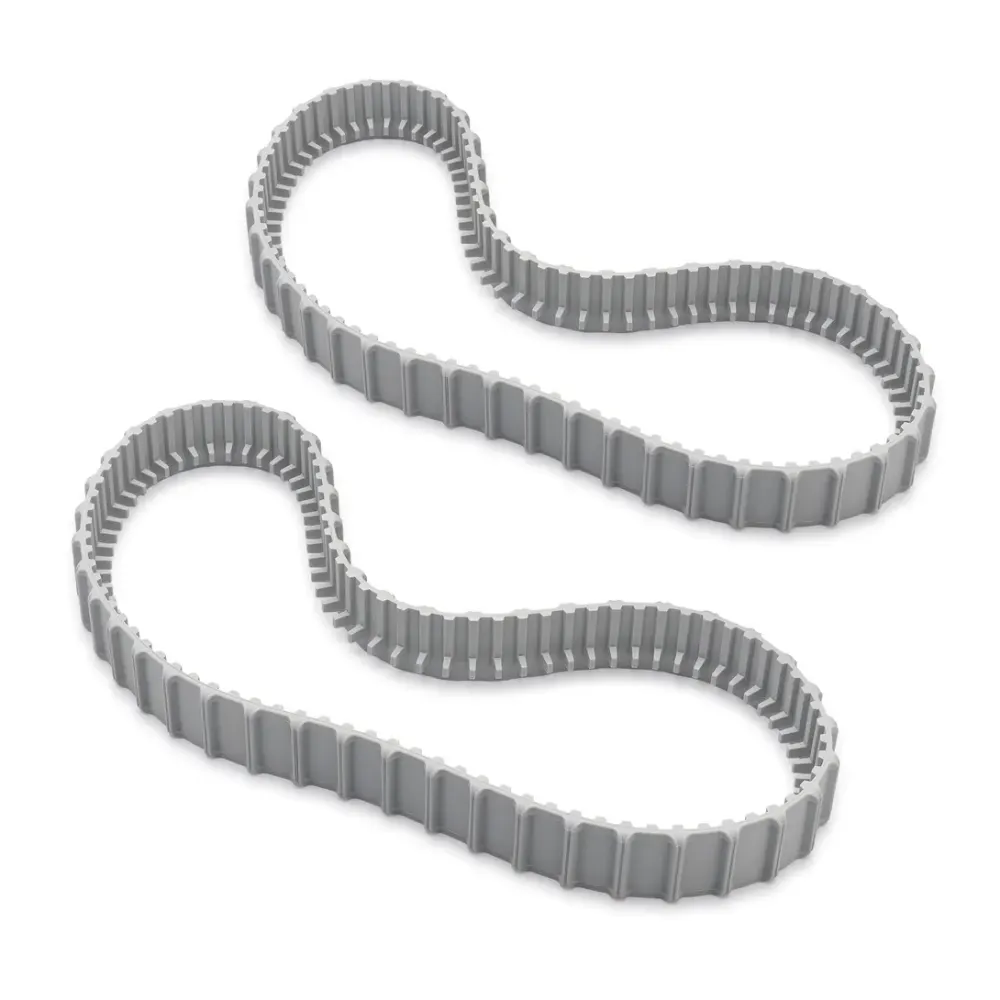
Check the wheels or tracks. Look for anything blocking their movement. An obstruction can make your Dolphin travel in circles and twist its cable. See how to clean the tracks.
Parts that fix thisGenuine Maytronics parts that fit the Nautilus Titan.
Why are my Dolphin’s tracks loose or falling off?Video10 min1 part
Try this first: If the tracks came off during the first use, try reinstalling them by hand. Tracks can sometimes shift and loosen during shipping.
A new Dolphin’s tracks can shift and loosen during shipping. If they come off when you first use the robot, reinstall them by hand.
Frequent use in a pool with unbalanced chemicals can damage the tracks and leave them slack. Check that your pool chemistry is within Maytronics' recommended ranges shown below.
If the tracks look faded and remain loose and keep slipping off after you reinstall them and check the pool chemistry, replacement is recommended.
How can I remove something stuck in my Dolphin robot's tracks?5 min1 part
Try this first: Unplug the power supply from the outlet, then turn the robot upside down and look for anything caught in the tracks, brushes, or crevices.
Step 1: Disconnect the power
Unplug the power supply from the electrical outlet before inspecting your Dolphin robot.
Step 2: Inspect the tracks and brushes
Turn the robot upside down. Look over the tracks, brushes, and small crevices for anything caught inside or any visible damage.
Step 3: Remove the obstruction if you can reach it
If you spot something stuck, try to reach it and remove it if possible.
Parts that fix thisGenuine Maytronics parts that fit the Nautilus Titan.
Why is debris falling out of my robot when I remove it from the pool?10 min3 parts
Try this first: Gently guide your Dolphin to the pool edge with the cable, then lift it by the handle. Tilt it as you set it on the edge to drain. Never use the cable to lift it out.
Start by checking how you take your Dolphin out of the pool. Gently draw it toward you with the cable until it reaches the pool edge. Then use the handle to lift it out. Do not lift the robot out of the water by its cable.
As you set the robot on the pool edge, tilt it so the water can drain. If debris keeps dropping into the pool, try taking the robot out facedown or upside down.
If that does not solve the problem, work through these checks:
Step 1Check the filter and debris-return flap
Inspect the filter and the non-return debris flap or bag at its bottom. The flap or bag should be seated correctly and working as it should.
Step 2Check for fine debris or a full filter
Very fine particles can escape during removal. Debris can also fall back into the pool when the filter holds a large amount of it. Try Ultra-Fine filters if they are available for your robot. Clean the filters each time you take the robot out of the pool.
Step 3Check the filter intake opening
Inspect the intake opening and its non-return debris flap. Check that the non-return bag or flap at the bottom of the filter basket or cartridges is properly seated, with nothing blocking it.
Step 4Check the impeller
Look for debris in the impeller and clear any you find.
Step 5Check the springs, if your robot has them
Take out the filter basket. Inspect the four springs at the bottom of the unit, underneath the basket, and clear any debris clogging them.
Step 6Check the rapid drain flap, if your robot has one
Turn the robot upside down. Look behind the rear wheels and confirm that the black rubber rapid drain flap is in place.
Step 7Check the filter basket orientation on EON 100 models
For EON 100 models with a monoblock filter basket, check that the basket is installed with the filter lid latch pointing toward the impeller.
Parts that fix thisGenuine Maytronics parts that fit the Nautilus Titan.
Why isn't my Dolphin cleaning the pool properly?Most commonVideo30 min3 parts
Try this first: Unplug the power supply, clean the filter, and check for trapped debris before starting another cleaning cycle.
If your Dolphin is leaving debris behind or missing areas it used to clean, work through these checks.
Check the water chemistry and temperature
Check your pool water against these ranges:
Alkalinity: 80-120 ppm
pH: 7.2-7.6
Calcium hardness: 150-250 ppm
Chlorine: 1.0-3.0 ppm
Cyanuric acid: 30-50 ppm
Algaecide: 30-50 ppm
Keeping the water within these ranges supports cleaning performance and helps protect the robot's lifespan. Weather, swimmers' body chemistry, and other factors can change water chemistry, so test it regularly.
Water temperature should be between 43°F and 95°F. If the robot has trouble climbing, check that the temperature is above 59°F. Colder water can make climbing harder.
Address missed areas and deep-end problems
For a spot the robot repeatedly misses, place it in that area at the beginning of the cleaning cycle.
If it gets stuck in the deep end, replacing the back brush with a Combined Brush or Wonder Brush may help. This option depends on the model. Chat with Poolbots' pool experts or call to confirm whether either brush is suitable for your robot before making a change.
Match the filter to the debris
The type of debris determines which filter to use.
For small particles such as sand and dirt, use ultra-fine filters. If your model did not include them, they are available separately. Poolbots sells replacement filters, and Poolbots' pool experts can help you select filters for your model.
For larger debris, including leaves and other tree foliage, use fine (net) filters.
For sticky, algae-like debris, ask Poolbots' pool experts about having a pool technician assess it and recommend the appropriate treatment.
After a chemical shock treatment, keep the robot out of the pool for at least 24 hours. Before putting it back in, also confirm that the chemical levels have returned to normal.
For a heavily littered pool, run consecutive cleaning cycles and clean the filter after every cycle.
Use fine filter panels for leaves, bugs, and other large debris. Choose ultra-fine filter panels for dust, dirt, and sand.
Check that the filters are not clogged and that debris is not trapped elsewhere in the robot. Blockages can reduce suction and keep the robot from picking up debris properly.
Replace the filter panels if they no longer rinse back to white or if debris remains stuck to them. Poolbots' pool experts can help you choose replacement filters.
Disconnect the power supply from the electrical outlet first. Use a Phillips screwdriver for this work, not a power drill.
If debris is trapped in the impeller, open it, clear out the debris, and reassemble it.
Filter non-return valve
Inspect the non-return valve, which is the opening at the bottom of the filter, or the small black pouch attached to it. Clear away any trapped debris.
Rapid drain flap
If your model has a rubber rapid drain flap on the back, check that it is securely in place.
Brushes
Inspect the PVC brushes for tears, wear, or other visible damage. Replace worn or damaged PVC brushes.
If the brushes have white climbing rings, check that the rings are still white and have not flattened or become damaged. Replace climbing rings that show wear or damage.
Tracks
Check that the tracks fit snugly and have no damage or discoloration. Replace loose or discolored tracks, and check that the pool chemistry is within the ranges listed above.
Poolbots sells replacement parts. Contact Poolbots' pool experts by live chat or phone for help selecting brushes, climbing rings, or tracks for your robot.
Handle debris on steps, ledges, and tanning shelves
Dolphin robots are not designed to clean steps, stairs, or ledges. Brush debris from the steps down onto the pool floor so the robot can collect it.
The robot needs to be submerged in at least 35 inches of water to work properly.
If debris collects in the seam of a steep slope, brush it onto a flat surface where the robot can reach it.
Check the blue cable's reach
Put enough blue cable in the water for the robot to reach every part of the pool. The robot's cable must also be long enough to cover the entire pool.
Measure between the pool's two farthest corners to estimate how much blue cable is needed. For a pool longer than 30 feet, use a robot with a 60-foot cable.
Match the brushes to the pool finish
Check that your robot's brush type is suitable for your pool's coating.
A PVC brush is the best match for PVC, concrete tile, concrete, or gunite coatings.
A Combined brush is the best match for PVC, rough ceramics, fiberglass, or mosaic coatings. Remove the nylon before use.
A Wonder brush is the best match for smooth ceramic, stainless steel, or glass coatings.
My Dolphin's filter is full. How do I clean it?Most commonVideo5 min3 parts
Try this first: Remove the filter basket or panels, rinse off debris with a garden hose, and put them back in your Dolphin. They do not need to dry before reinstallation.
Clean your Dolphin's filters after every cycle to help them last longer and keep your robot cleaning effectively.
Dolphin Tips: Filter maintenance
Watch this video for an overview of filter care.
Step 1: Remove the filters
Take the filter basket or panels out of your Dolphin.
Step 2: Rinse away debris
Wash away the collected debris with a garden hose or a high-pressure stream of water.
Step 3: Reinstall the filters
Put the filters back into the robot. You can reinstall them while they are wet.
Cleaning videos for robots with basket filters
Cleaning video for robots with two cartridge filters
Check ultra-fine filters for hidden clogs
Ultra-fine filters can hold tiny particles, including sand and dust, even when they look clean. Check their color after rinsing. If they no longer rinse back to white, they are clogged, and replacement is recommended.
For replacement filters or help choosing them, contact Poolbots' pool experts through live chat or by phone.
My impeller is clogged. How do I clean it?Video10 min4 parts
Try this first: First, unplug the power supply from the outlet. Check the impeller for trapped debris. If you need to open it, use a Phillips-head screwdriver, never a power drill.
Follow these steps to clear a clogged impeller on your corded Dolphin robot.
Step 1: Unplug the power supply
Make sure the power supply is disconnected from the electrical outlet before you begin.
Step 2: Clear the impeller
If you see debris trapped in the impeller, open it, remove the debris, and put it back together. Use a Phillips-head screwdriver, never a power drill.
Step 3: Check the side grilles
If your model has grilles on its sides, look for visible debris there too.
Find your model below and watch the matching short video for impeller cleaning instructions.
Basket filter videos
S50 (Cayman, T15, T25, Active 10, Escape, Encore, E20, E25)
How do I connect my Dolphin to Wi-Fi with MyDolphin Plus?Most common10 min
Try this first: Stand near the power supply, close and reopen MyDolphin Plus, and retry setup with Bluetooth on and a 2.4 GHz Wi-Fi signal of at least 60%.
MyDolphin Plus from Maytronics uses a cloud connection to let you control your Dolphin in real time, wherever you are and whenever you need to.
Watch this quick video for help with your first connection, or follow the steps below.
Phone and tablet compatibility
Apple: iOS 10 or newer on an iPhone, iPad, or iPod.
Android: operating system version 5 or newer.
Wi-Fi requirements
The network must transmit on 2.4 GHz only.
The password must be fewer than 32 characters, with no spaces or special characters such as #, %, &, ", $, or £.
Signal strength at the power supply must be at least 60%, or 2 out of 3 bars.
If your network cannot meet these requirements, you can use a Bluetooth-only connection instead.
Step 1Get your phone or tablet ready
Connect your phone or tablet to your Wi-Fi network. Check for at least 60% signal strength, or 2 out of 3 bars, where the power supply sits.
Have your network name and password ready. The password must contain fewer than 32 characters.
Turn on Bluetooth on your phone or tablet.
For Android, turn on GPS and location services.
For iOS 13 only, give MyDolphin Plus permission to use Bluetooth and location services while the app is running.
Step 2Prepare your Dolphin
Plug the power supply into an electrical outlet and attach the Dolphin's blue cable to the power supply.
Check that the connectivity LED begins blinking blue.
Put your Dolphin in the pool water.
Use the power supply's on/off button to begin a cleaning cycle.
Step 3Pair the app and connect to Wi-Fi
Open MyDolphin Plus.
Allow all permissions the app requires.
Create an account, or sign up with your Gmail, Facebook, or Apple account.
Scan the QR code on the side of the power supply. You can also select "Search manually" below the QR scanner. Once Bluetooth finds your Dolphin, the app begins pairing with the power supply.
Wait for a steady blue connectivity LED and a confirmation message in the app.
The app will then prompt you to connect to Wi-Fi.
Check that the Wi-Fi network name field shows your network's name.
Enter your network password, which must be fewer than 32 characters, and select Continue.
Allow up to 2 minutes for the connection, depending on Wi-Fi signal strength. The power supply LEDs alternate between blue and green during this process.
Look for a steady green connectivity LED and a confirmation message in the app.
If the first Bluetooth connection fails
Review the permissions granted during signup, including location and Bluetooth Low Energy (BLE). Confirm that the Wi-Fi, cellular, and BLE connection requirements are met.
Check that the blue cable is properly attached to the power supply.
Look for a picture of your Dolphin in the app. If no robot appears, contact Poolbots' pool experts through live chat or phone. Have a screenshot of the setup screen where you are stuck.
Once pairing is complete, you can name your Dolphin, register its warranty, and use the app's features.
If the app stops on the loading screen
Setup has three connection stages. The percentage shown on the loading screen can help identify where the connection is failing.
Stage 1: 0-10%, sending Wi-Fi details to the power supply
After Bluetooth pairing, your phone sends the Wi-Fi information to the power supply. A stall here can mean that the connection dropped or the information did not transfer correctly.
Close MyDolphin Plus, open it again, and retry the connection while standing near the power supply.
Recheck the Wi-Fi network name. It should be entered correctly, with no foreign letters or characters.
Stage 2: 10-50%, connecting the power supply to the router
The power supply checks the Wi-Fi requirements, including the 2.4 GHz frequency, as it connects to the router. This stage can take up to 2 minutes.
If setup remains at this stage, review all the Wi-Fi requirements above and confirm that your network meets them.
Stage 3: 50-90%, connecting the power supply to the cloud
A failure at this stage points to a problem with the cloud connection.
Try resetting your router.
Supported Wi-Fi security
MyDolphin Plus supports WPA/WPA2-Personal and WPA2/WPA3-Personal.
Important compatibility limit
Buying a Wi-Fi-compatible power supply will not make a non-Wi-Fi Dolphin compatible with MyDolphin Plus.
Check the user manual to confirm whether your Dolphin supports the app.
Why can I no longer connect to the MyDolphin Plus app?15 min
Try this first: First, update MyDolphin Plus if needed and confirm your phone is on the same Wi-Fi network the app is trying to use.
Connection problems can have several causes. Follow the section that matches your app and what changed before the problem started.
For My Dolphin Plus™
After replacing the power supply, motor unit, or both
If a new or replacement power supply cannot find the robot, follow these steps:
Step 1: Reinstall the app
Remove the MyDolphin Plus app from your phone, then reinstall it.
Step 2: Reset the power supply
Unplug the power supply from the electrical outlet. Leave it disconnected for 60 seconds, then plug it back in.
Step 3: Run the robot without the app
Return the robot to the pool and press the power supply's ON/OFF button to start it. Let it clean for about 5 minutes before attempting an app connection.
Step 4: Reconnect near the power supply
Keep the robot running in the pool and stand near the power supply. Install the MyDolphin Plus app, then reconnect.
The app connected before but no longer connects
Step 1: Check for an app update
Confirm that you have the latest app version. Install any available update.
Step 2: Check the network name
Confirm that the network name has not changed. Your phone must be connected to the same network the app is trying to use.
Step 3: Restart the power supply and router
Unplug both devices from their electrical outlets. Wait 30 seconds, then reconnect them.
Step 4: Reinstall the app and check permissions
Delete and reinstall the app. When the permission prompt appears, select "Allow while the app is working". Enable Location Services and Bluetooth. Use 3G/4G or Wi-Fi with at least 60% signal strength.
Step 5: Check the Wi-Fi band
Set the Wi-Fi network to 2.4GHz only. Do not use 5GHz or dual band.
The app connects but keeps disconnecting
A weak Wi-Fi signal around the pool may cause the connection to drop. Try these options:
Step 1: Move the power supply closer
Position the power supply nearer to your home router or extender.
Step 2: Move the router closer
Bring the router nearer to the power supply.
Step 3: Consider a Wi-Fi extender
An extender can help with the Wi-Fi signal. Consult your local internet provider about this option.
For additional Wi-Fi troubleshooting, see the General Wi-Fi Connectivity Guide.
The app says your robot is incompatible
If a message says MyDolphinPlus is incompatible with your robot model, download the MyDolphin App or check whether your model supports an app in the User Manual here.
For My Dolphin™
The power supply may be too far from your smart device. Bluetooth® may also be turned off or not working properly.
Step 1: Restart Bluetooth®
Switch your smartphone's Bluetooth® off, then back on. On iOS, go to Settings → Bluetooth®. On Android, open Settings and toggle the Bluetooth® icon off and on.
Step 2: Move closer
Bring your smart device nearer to the power supply.
Step 3: Check for interference
Make sure there are no obstacles or sources of interference affecting the connection.
Step 4: Restart the power supply
Switch the power supply OFF, then back ON.
How do I connect my Dolphin to the MyDolphin app with Bluetooth?5 min
Try this first: First, turn on the Dolphin power supply, enable Bluetooth and GPS on your phone, and open MyDolphin within 3 feet of the power supply.
The MyDolphin™ app lets you control your Dolphin pool robot remotely over Bluetooth®. Available features depend on your model and may include cleaning programs, a weekly timer, and manual control. Check your robot's user manual to see which features it includes.
Applies to: Dolphin Proteus DX3, Dolphin ADVANTAGE ULTRA, Dolphin S200, Dolphin Quantum, Dolphin Active 20, Dolphin Proteus DX4, Dolphin Premium 30, Dolphin T35, Dolphin Explorer E30 WiFi, Dolphin T60.
Before you start
Make sure your phone meets these requirements:
The app works on most mobile devices running iOS 7 or later or Android 4.3 or later.
Your 3G or 4G connection must have at least 60% signal strength, meaning 2 of the 3 available bars.
Both Bluetooth® and GPS must be enabled on your phone.
Step 1Power on your Dolphin
Connect your Dolphin to its power supply, then plug the power supply into an electrical outlet.
Use the On / Off button to turn the power supply on.
Step 2Pair your phone with your Dolphin
Download the MyDolphin™ app and open it.
Position your phone within 3 feet of the robot's power supply.
Let the app scan for your robot over Bluetooth®. It will display your robot's serial number.
Tap the Dolphin serial number shown on the screen.
Create an account using your email address and a password.
Allow your phone to finish the Bluetooth® pairing process.
Pairing can take up to 2 minutes, depending on the strength of your 3G or 4G signal. Give the app time to finish.
Why is my Dolphin not responding or showing a communication error?5 min
Try this first: Check that the blue cable is firmly plugged in, and inspect the cable for damage.
This error in the My Dolphin Plus App means the blue cable is having trouble carrying the app's commands from the power supply to your Dolphin robot.
Step 1Check the blue cable
Confirm that the blue cable is firmly plugged in. Inspect the cable for damage.
Step 2Test the robot
Put the robot in the pool. In the app, try Manual Drive or select another cleaning mode, if available.
If the Communication Error appears again, the communication problem is still present and the robot needs repair.
For repair help, chat with Poolbots' pool experts, including if you purchased your robot through a local dealer. For warranty repairs, Poolbots will point you to Maytronics' service process.
You can submit a warranty claim to send your robot to a Maytronics service center for repair.
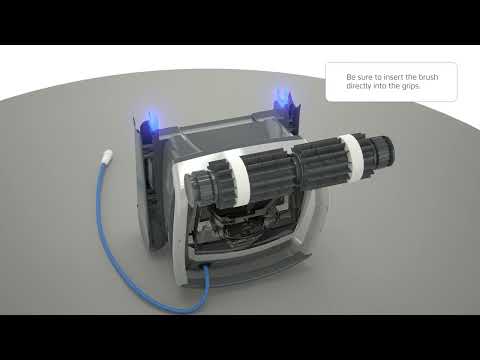
How do I replace the brushes on my Dolphin robot?Video30 min5 parts
Try this first: Before removing a brush, unplug the power supply and find the matching model and brush position below.
Disconnect the power supply from the electrical outlet before starting. Find the front, middle, or rear brush section below, then follow the video and instructions for your model.
For help choosing a replacement brush, contact Poolbots' pool experts by live chat or phone.
Front brush
S50 (E10, E20/E25, Active 10, Cayman, Escape, Encore)
Replacement front brush: 9995544-ASSY.
Disconnect the power supply from the electrical outlet.
Turn the robot over so its underside faces up.
Take the tracks off the robot.
Use a flathead screwdriver to remove the wheel disk.
Turn the wheel until you can see the drive gear's retaining screw through it.
Loosen and remove the screw, then take out the white drive gear.
Ease the old brush out gently.
Slide the replacement brush into position. Put the drive gear back and secure it with its screw.
Put the wheel cover and tracks back on.
Turn the brush by hand to check that it moves smoothly.
S100 (Advantage, Proteus DX3, Saturn, Echo, Nautilus CC, Active 15, Cayman, Escape, Explorer E20)
Disconnect the power supply from the electrical outlet.
Turn the robot over so its underside faces up.
Take the tracks off the robot.
Use a flathead screwdriver to remove the wheel disk.
Turn the wheel until you can see the drive gear's retaining screw through it.
Loosen and remove the screw, then take out the white drive gear.
Ease the old brush out gently.
Slide the replacement brush into position. Put the drive gear back and secure it with its screw.
Put the wheel cover and tracks back on.
Turn the brush by hand to check that it moves smoothly.
S200 (E30, Advantage Ultra, Active 20, Quantum, T35, Triton PS)
Disconnect the power supply from the electrical outlet.
Take the tracks off the robot.
Use a Phillips screwdriver to remove the four screws securing the brush.
Lift out the old brush.
Fit the replacement brush and secure it with the four screws.
Turn the brush by hand to check for smooth movement.
S300 & S400
S300 (E35/E35i, Proteus DX5i, Active 30, T35/T45, Premium 40, Explorer E30, E40i, Active 30i, T55i)
S400 (E50i, Active 50, Explorer E50)
Disconnect the power supply from the electrical outlet.
Take the tracks off the robot.
Use a Phillips screwdriver to remove the four screws securing the brush.
Lift out the old brush.
Fit the replacement brush and secure it with the four screws.
Turn the brush by hand to check for smooth movement.
M400/M500 (Sigma, Oasis, Nautilus CC Supreme, Aquarius XL, C4)
Gently push the brush out with a flathead screwdriver until it releases.
Position the replacement brush where the old one sat.
Press the brush inward until it is seated.
Turn the wheels to check that the brush moves properly.
M250 (Nautilus CC Plus, Dx3, Zenit 20)
Follow the video for the front-brush replacement procedure.
Premier
Follow the video for the front-brush replacement procedure.
Middle brush
M400/M500
Disconnect the power supply from the electrical outlet.
Turn the robot over so its underside faces up.
Remove the four screws securing the brush, one at each corner.
Lift the brush out of the robot.
Fit the replacement brush in the same position as the old one.
Reinstall all four screws and tighten them.
Sigma
Replacement middle brush: 9995541-R1.
This middle-brush procedure applies to Sigma produced in 2026 or later.
Disconnect the power supply from the electrical outlet.
Turn the robot over so its underside faces up.
Remove the four screws securing the brush, one at each corner.
Lift the brush out of the robot.
Fit the replacement brush in the same position as the old one.
Reinstall all four screws and tighten them.
Rear brush
S200 (E30, Advantage Ultra, Active 20, Quantum, T35, Triton PS)
Replacement rear brush: 99955380-ASSY.
Disconnect the power supply from the electrical outlet.
Turn the robot over so its underside faces up.
Take the tracks off the robot.
Carefully free the brush from the notches on both sides, then remove it.
Fit the replacement brush where the old one sat.
Put the tracks back on both sides.
Turn the brush by hand to check for smooth movement.
S300 & S400
S300 (E35/E35i, Proteus DX5i, Active 30, T35/T45, Premium 40, Explorer E30, E40i, Active 30i, T55i)
S400 (E50i, Active 50, Explorer E50)
Replacement rear brush: 99955380-ASSY.
Disconnect the power supply from the electrical outlet.
Turn the robot over so its underside faces up.
Take the tracks off the robot.
Carefully free the brush from the notches on both sides, then remove it.
Fit the replacement brush where the old one sat.
Put the tracks back on both sides.
Turn the brush by hand to check for smooth movement.
M400/M500 (Sigma, Oasis, Nautilus CC Supreme, Aquarius XL, C4)
Replacement brush assembly: 99955340-ASSY.
Gently push the brush out with a flathead screwdriver until it releases.
Position the replacement brush where the old one sat.
Press the brush inward until it is seated.
Turn the wheels to check that the brush moves properly.
M600/M700 (Active 60, E60i, Explorer E70)
Replacement rear brush: 99955340-ASSY.
Disconnect the power supply from the electrical outlet.
Turn the robot over so its underside faces up.
Take the tracks off the robot.
Carefully free the brush from the notches on both sides, then remove it.
Fit the replacement brush where the old one sat.
Put the tracks back on both sides.
Turn the brush by hand to check for smooth movement.
M250 (Nautilus CC Plus, Dx3)
Follow the video for the rear-brush replacement procedure.
M550
Follow the video for the rear-brush replacement procedure.
Parts that fix thisGenuine Maytronics parts that fit the Nautilus Titan.
The troubleshooting table printed in the Nautilus Titan manual, one card per symptom. A part named here is in the parts list below.
From the user manual
The power supply or its ON/OFF LED are not working.
Likely cause
No voltage in the power socket in the wall.
The power supply is not ON.
The power cord is not properly connected to the electrical outlet.
The Ground Fault Interrupter is OFF.
What to do
Make sure that there is voltage in the power socket in the wall.
Make sure that the power supply is plugged in and turned ON.
Make sure that the power cord is securely connected all the way into the power supply.
Turn OFF the power supply. Wait 30 seconds, then turn on.
If your wall power outlet has a surge protector with test/reset buttons, push the reset button until it clicks.
The robot does NOT move.
Likely cause
The blue cable is not properly connected to the power supply outlet.
An obstacle is blocking the impeller, tracks, or wheels.
What to do
Check that the blue cable is securely connected to the power supply.
Unplug the power supply. Open the impeller cover and check that nothing is trapped in the impeller.
Verify that nothing blocks the tracks or wheels.
The robot is moving in circles.
Likely cause
Clogged filter basket.
Debris stuck in the impeller housing or impeller cover.
Power supply incorrectly positioned.
Algae buildup or pool water does not meet specifications.
What to do
Clean the filter basket.
Remove debris stuck in the impeller housing or impeller cover (see illustrations 6.3.1 to 6.3.4).
Place power supply in a position that enables the robotic pool cleaner to freely reach the entire pool area.
Correct pool and water conditions.
The robot moves but does not clean the pool.
Likely cause
Clogged filter basket.
Debris stuck in the impeller housing or impeller cover.
Front/rear brushes are worn out.
What to do
Clean the filter basket.
Remove debris stuck in the impeller housing or impeller cover (see illustrations 6.3.1 to 6.3.4).
Replace worn out brush.
The robot cleans only part of the pool.
Likely cause
Power supply incorrectly positioned.
Not enough blue cable is released for the correct operation of the robotic pool cleaner.
The filter gets clogged during the cleaning cycle.
What to do
Place the power supply in a position that enables the robotic pool cleaner to freely reach the entire pool area, while verifying a minimal distance from the pool of 3.5 m (12 ft) and minimal height above the ground of 11 cm (4 in).
Check that there is enough slack in the blue cable for the robotic pool cleaner to reach the entire pool.
Clean the filter basket. - If the pool is very dirty, remove the ultra-fine filters (see illustrations 6.2.1 to 6.2.
3. Rinse them so that debris does not harden on permanently. Clean the pool without them, then place them back on the filter basket (see illustration 6.2.4 to 6.2.5).
The blue cable has kinks.
Likely cause
The cable got tangled.
What to do
To remove the kinks, stretch the blue cable out completely and let it sit in the sun.
The robot doesn’t climb the walls.
Likely cause
Clogged filter basket.
Algae on walls.
Unsuitable pH level.
Debris stuck in the impeller housing or impeller cover.
Front/rear brushes are worn out or not the right model for smooth pool surfaces.
What to do
Clean the filter basket.
Check the level of chemicals in the water. Improper levels may allow the growth of algae, making the walls slippery. If so, adjust the levels and scrub the walls.
Remove debris stuck in the impeller housing or impeller cover (see illustrations 6.3.1 to 6.3.4).
Replace worn out brush, or purchase combined or wonder rear-brush.
Can not connect to your Wi-Fi®, and the communication LED on the power supply is blinking green.
Likely cause
The power supply is too far from the router (weak signal) or your router is not working properly.
What to do
Reset the power supply (disconnect the power cord), and wait 1 min.
Check that your smartphone has a strong Wi-Fi® connectivity near the power supply (try to play any online video streaming application).
Check if the home router is working properly.
Locate the power supply to be as closer as possible to the home router.
Consider installing a Wi-Fi® extender 2.4 GHz to ensure that you have a sufficient signal strength.
The power supply connects to WiFi® 2.4GHz only. If you have a dual-band router, separate the 2.4 and 5GHz networks and give them unique names. You can find instructions for your router brand online or consult your internet provider.
Note: In case the communication LED is still blinking green, you have the option to connect via Bluetooth®.
Cannot connect to your robot via Bluetooth®, and the communication LED on the power supplyh is blinking blue.
Likely cause
The power supply is too far from the smart device, or your Bluetooth® is disabled, or not working properly.
What to do
Try to turn your smartphone Bluetooth® OFF and then ON.
Get closer to the power supply.
Ensure that you don’t have any obstructions or obstacles between you and the power supply.
Turn the power supply OFF and then ON.
If none of the above troubleshooting helps, then contact the dealer for further support.
We highly recommend cleaning the filter basket after each cleaning cycle.
MyDolphin™ Plus troubleshooting
Pool cleaner does not connect to Wi-Fi®, and the power supply is flashing green light.
What to do
Power supply is trying to connect to your home/pool Wi-Fi® network and cloud but there's a weak internet signal.
1. If possible, get the power supply closer to the Wi-Fi® source.
2. Consider using a Wi-Fi® extender for a stronger signal.
Second connection after losing router / Wi-Fi®: How to change to Bluetooth® after first Wi-Fi® / 3G connection.
What to do
Losing router / Wi-Fi®:
1. Open the app. The "our cloud services seems to be down" message will appear (can take a few seconds) and the globe on the top bar will turn red.
2. Scroll down and click "choose another solution" which will direct you to the Bluetooth® option. (*this solution will be a one-time solution. Note that in order to continue with Bluetooth® connection, the end user must be near the robot).
3. The app will connect to Wi-Fi® automatically when the connectivity returns. If it doesn’t reconnect, restart the app.
4. If network interruptions continue, try to improve the quality of the home router signal (move closer to the router, install a Wi-Fi® signal extender, and or split the 2.4 and 5.0GHz bands, give each band a unique name, and connect to the 2.4GHz band (check the internet to see instructions for your specific router, or contact your internet provider).
Initial connection. How to connect with Bluetooth® only.
What to do
Before you start: CONNECT VIA Wi-Fi®, 3G/4G MUST BE OPEN
1. Plug in the power supply.
2. Connect the robot to the power supply.
3. Download the new MyDolphin™ Plus app.
4. Login to the app and allow the required permissions.
5. Select your robot and name it.
6. Skip the step to connect to Wi-Fi®.
How to change to Wi-Fi® after initial Bluetooth® connection.
What to do
1. Make sure your Bluetooth® and Wi-Fi® are enabled.
2. Open the MyDolphin™ Plus app and connect to the robot via Bluetooth®.
3. In the top menu bar, scroll sideways to Settings and click “Wi-Fi® Settings”.
4. Follow the app instructions to connect to your home Wi-Fi®.
Changing your Wi-Fi® network.
What to do
Router was replaced
1. Log into the app → you will see a connection error.
2. Go to "settings" at the top bar on the screen.
3. Go to "Wi-Fi® settings". Follow the app instructions.
4. Simultaneously, the LED color on the power supply will turn solid green (this is the confirmation that the Wi-Fi® is connected).
Power supply replacement for new Wi-Fi® connection.
What to do
New power supply for a robot connected through Wi-Fi®
1. Turn on the power supply while it is connected to the robot and let it work for several seconds (it will sync with the robot).
2. Login to the app. A connection error message will appear.
3. Follow the app instructions.
4. The power supply LED will flash green.
Motor unit replacement for unit that was not reported to the support system by the technician.
What to do
1. Disconnect the power supply from the wall socket before use.
2. After replacing the motor unit (MU), reconnect the power supply to the wall socket and turn on the power supply. Let the robot work for several seconds.
3. Open the MyDolphin™ Plus app. You will see a connection error.
4. Follow the app instructions.
Replacement parts
16 genuine parts that fit the Nautilus Titan.
Worn filters, brushes and tracks cause most of the problems above. These are the parts Maytronics lists for model 99996544-PC; each one opens with what it does and when to replace it.
If the checks above did not fix it, the robot may need a repair. Under warranty, Maytronics handles power supplies by replacement and robots through its repair centers; have the serial number from the label under the handle ready.