
















Genuine Maytronics part · Brushes & Climbing Rings
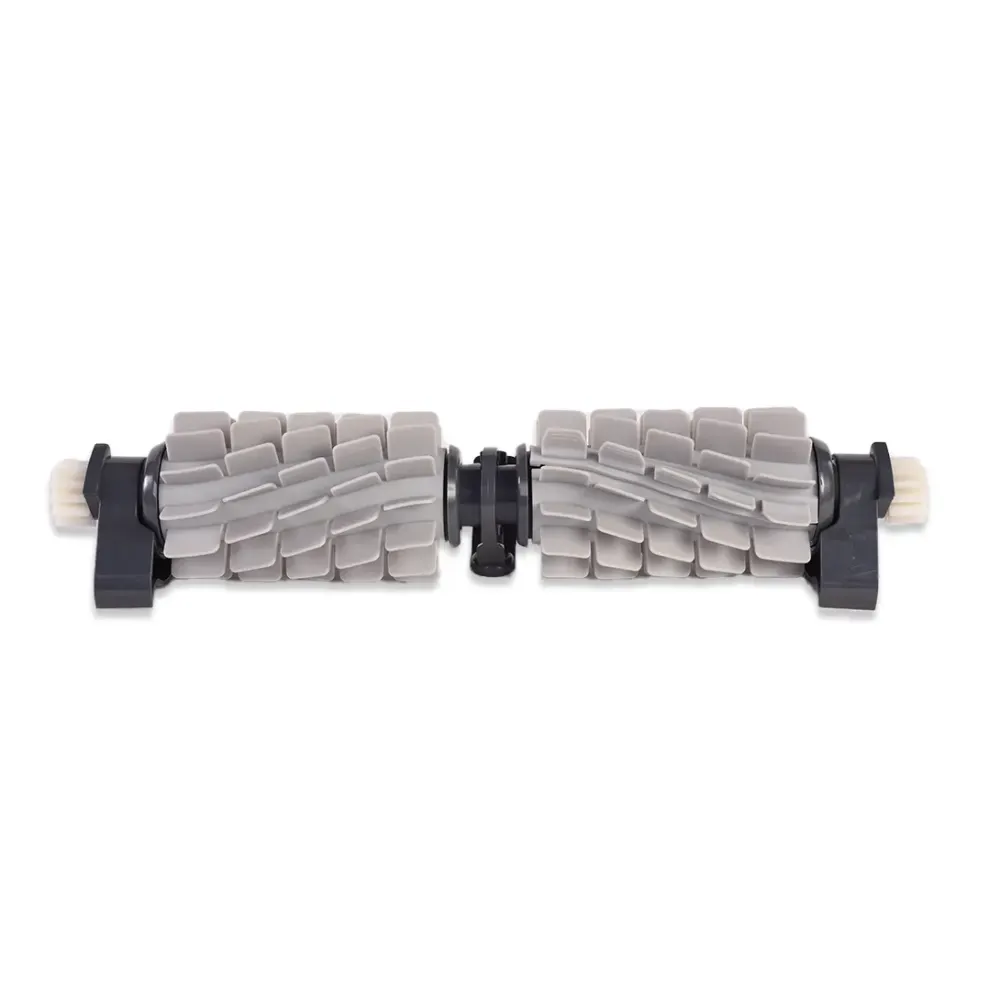
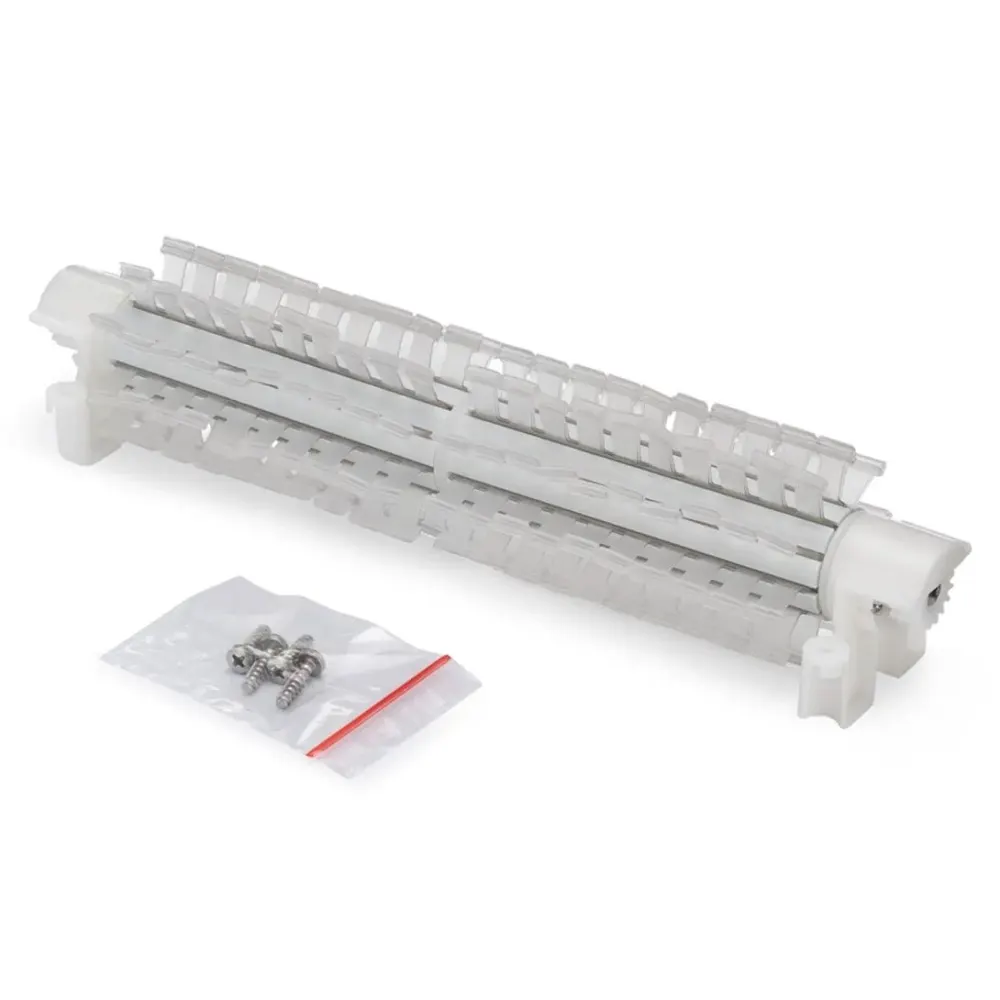
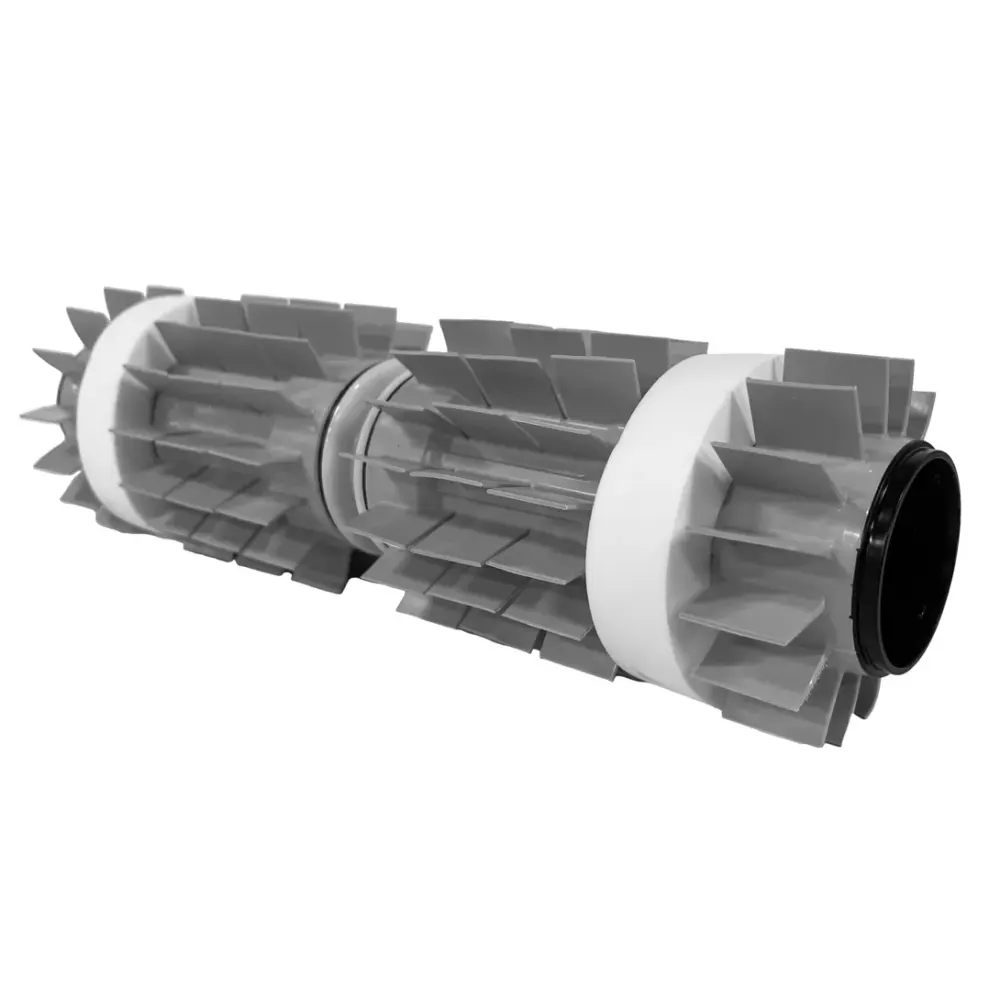
Maytronics Rear Brush Assembly, Dynamic Grey
Part number 9995548-ASSY · UPC 810071220098 · 1 year part warranty
Genuine Maytronics rear brush assembly in Dynamic Grey for Dolphin M600, Dolphin Active 60 and Dolphin Explorer E70.
$26.99 MSRP
Out of stock
About this part
What it does and when to replace it.
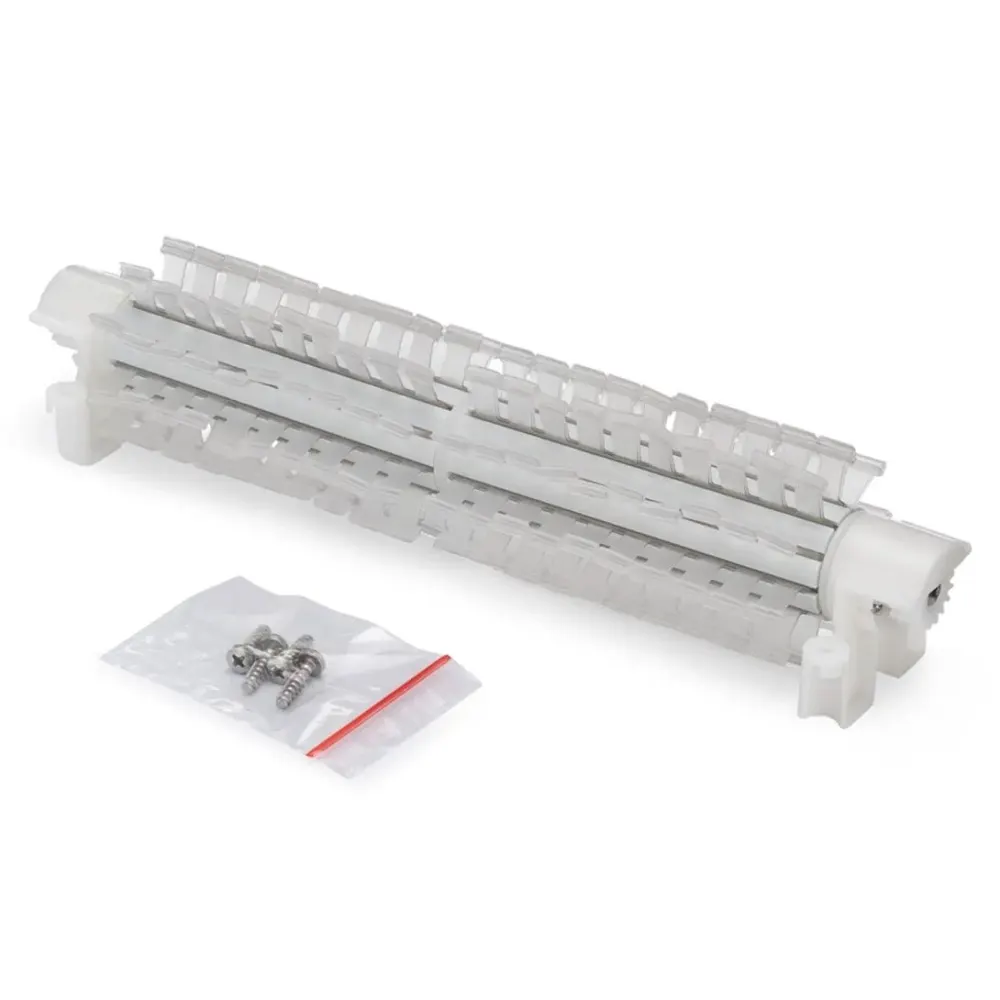
This genuine Maytronics replacement assembly fits at the rear of the robot and helps scrub pool surfaces. It comes in Dynamic Grey. Maytronics identifies it as a Combine Brush, not an active brush.
Part 9995548-ASSY has confirmed compatibility with Dolphin Nautilus Titan, Dolphin M550, Dolphin Premium 60, Dolphin M600, Dolphin Active 60 and Dolphin Explorer E70. Match both the part number and your full robot model name when checking fit. Poolbots does not currently stock this part. Contact Poolbots' pool experts by live chat or phone for help identifying the correct replacement.
- Match part number 9995548-ASSY and your full robot model name, not just the brush color.
- The spec sheet includes international model names. Ask Poolbots' pool experts to check fit if your model is outside the confirmed list.
Compatibility
Fits these Dolphin robots.
Confirmed by Maytronics' compatibility checker and each robot's own spare-parts list.
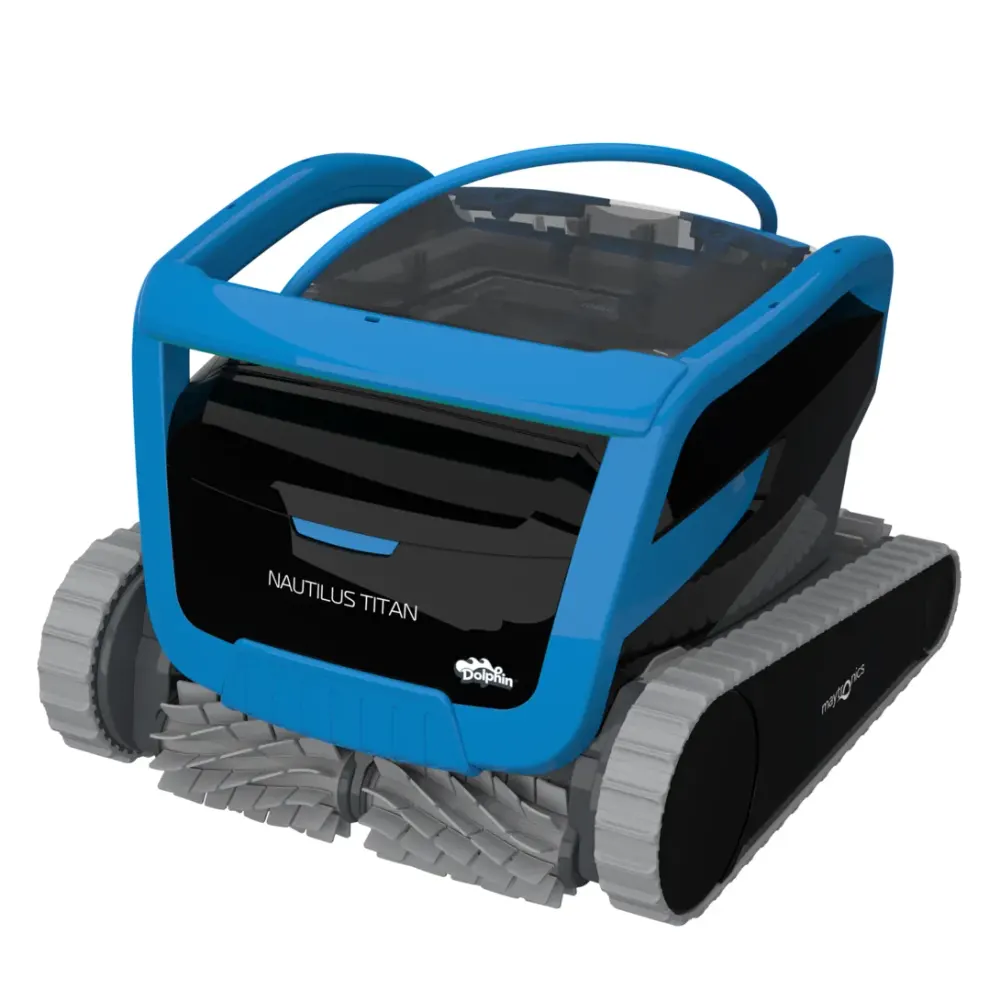
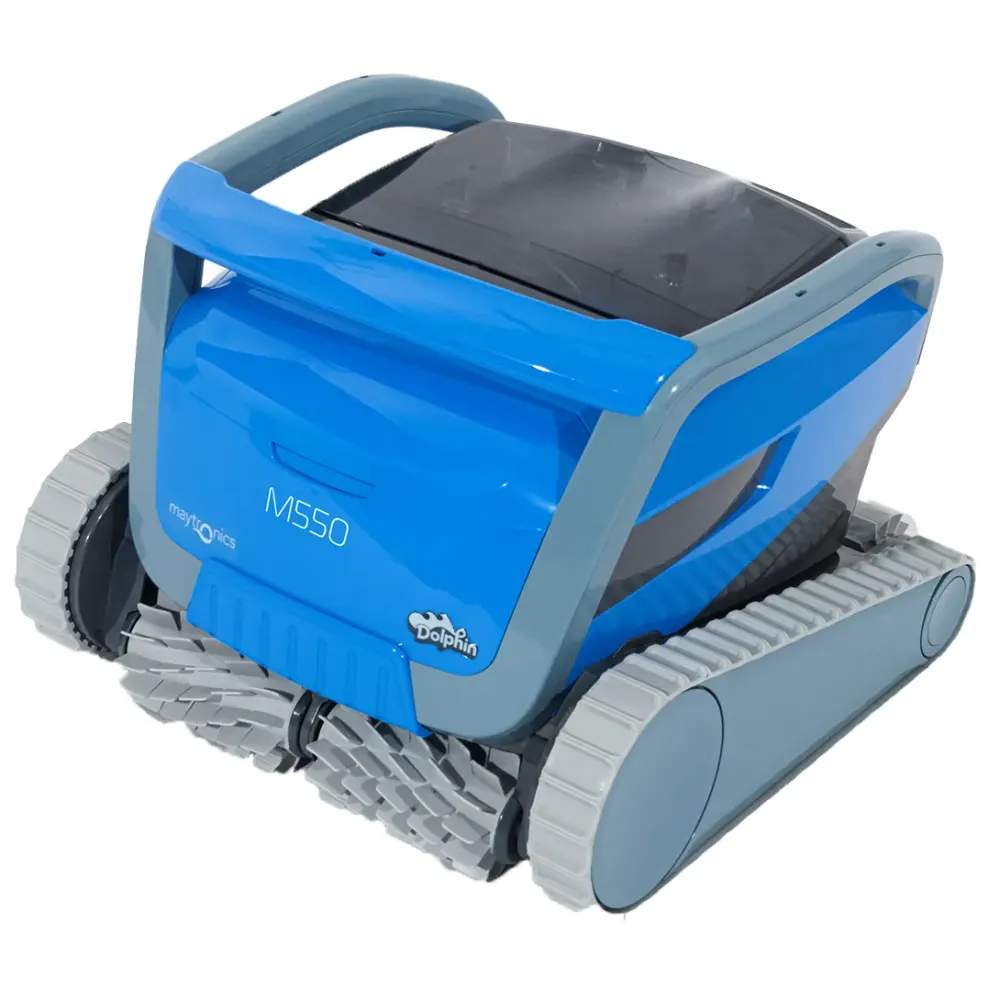
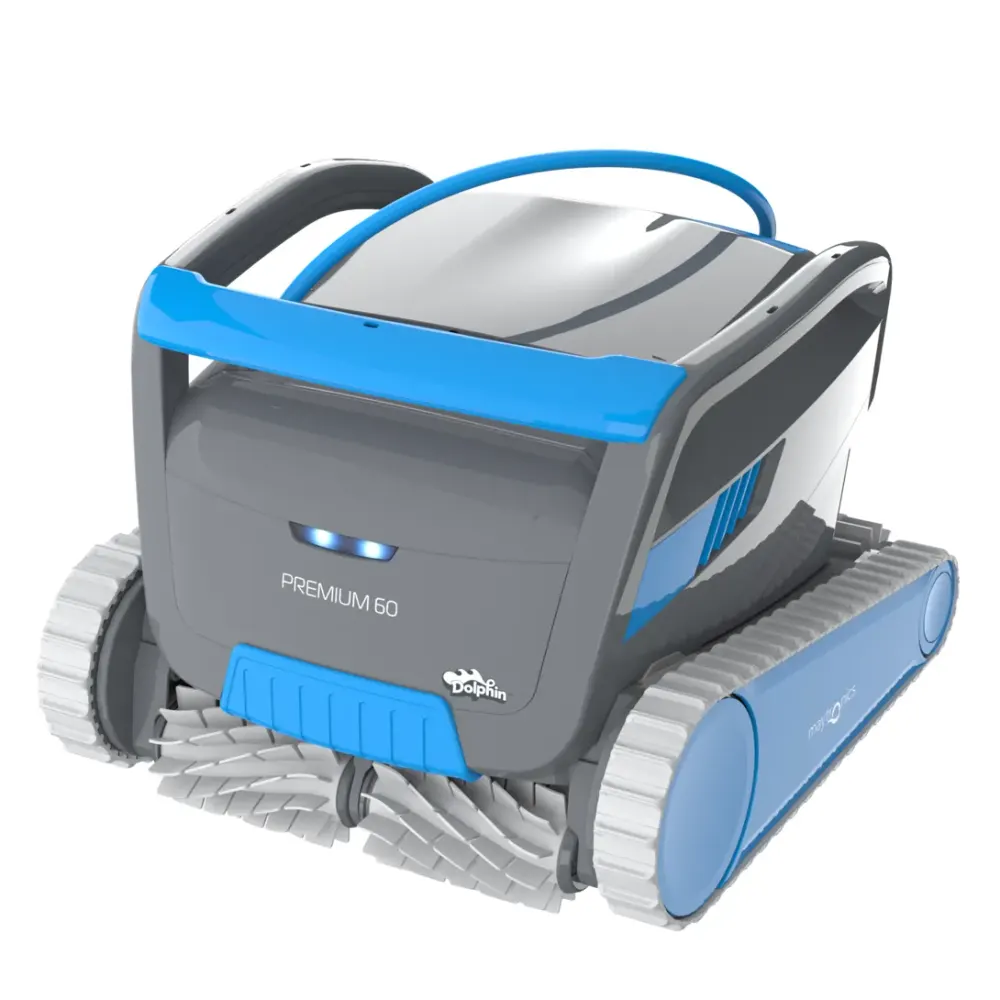
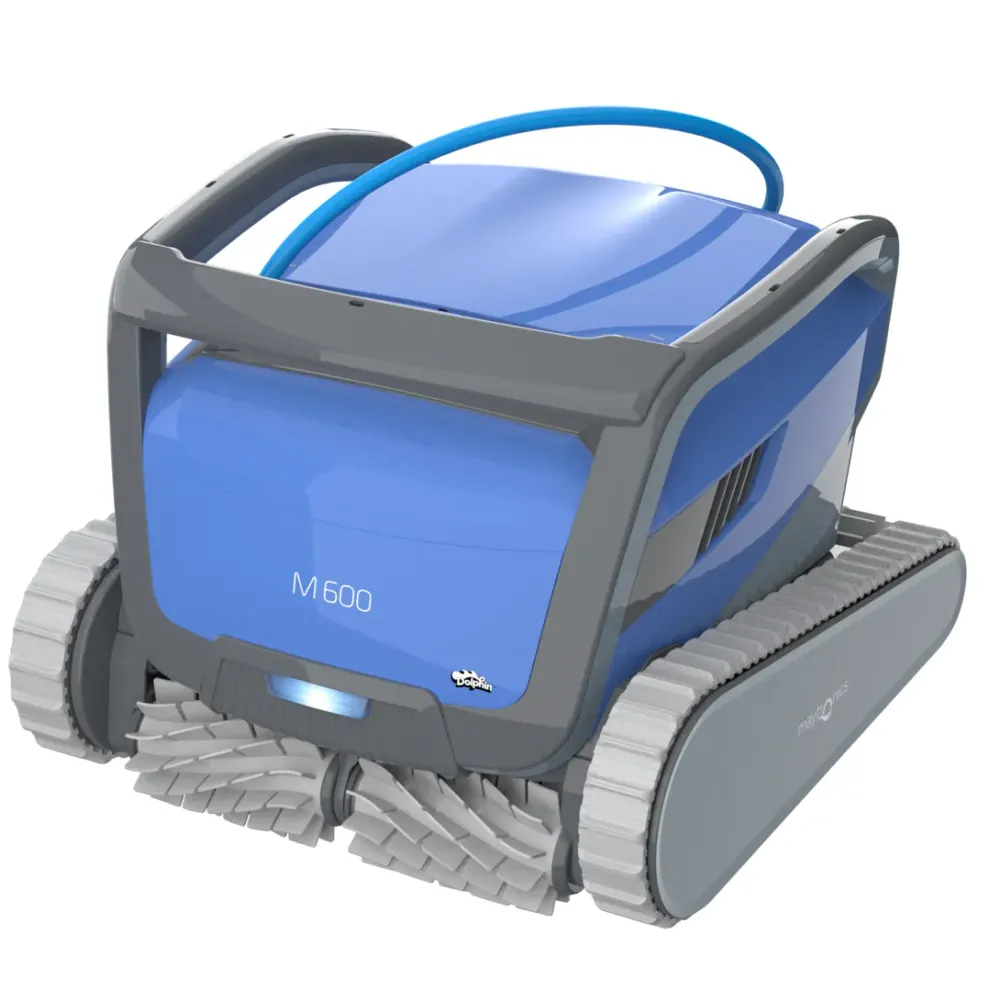
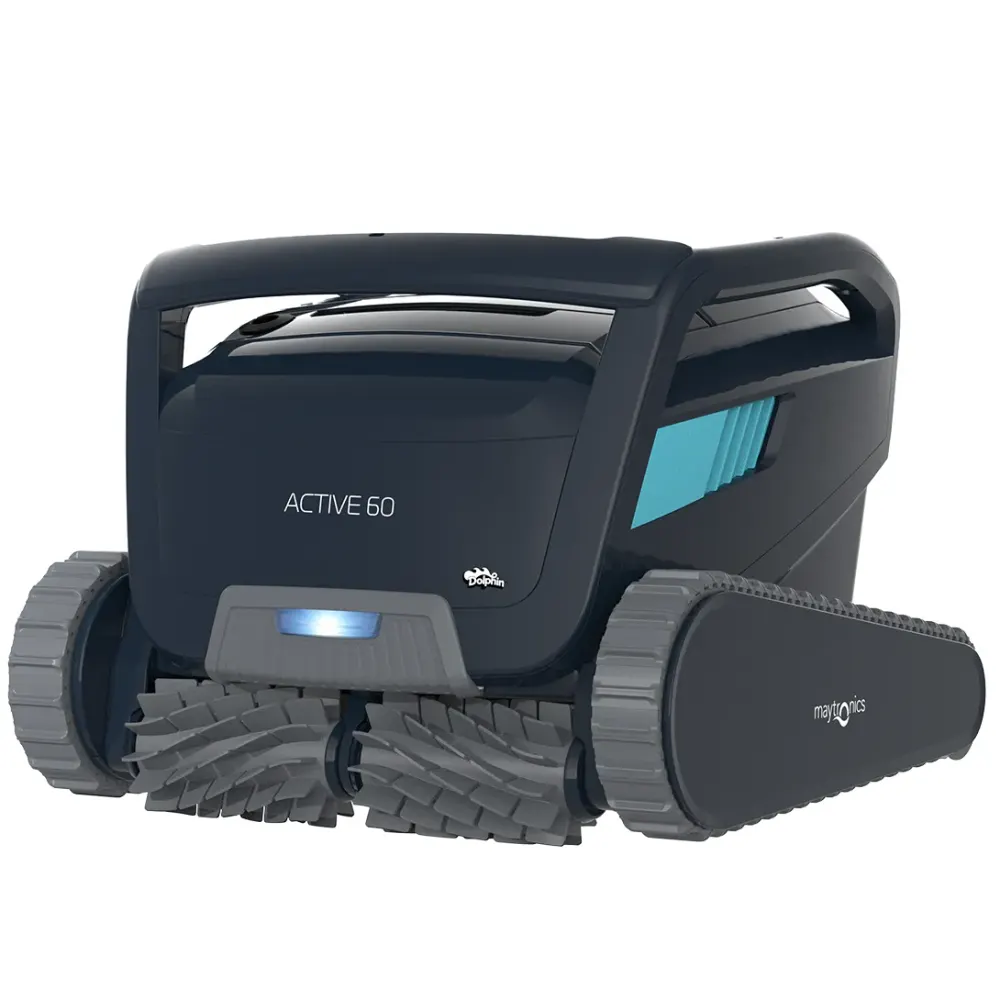
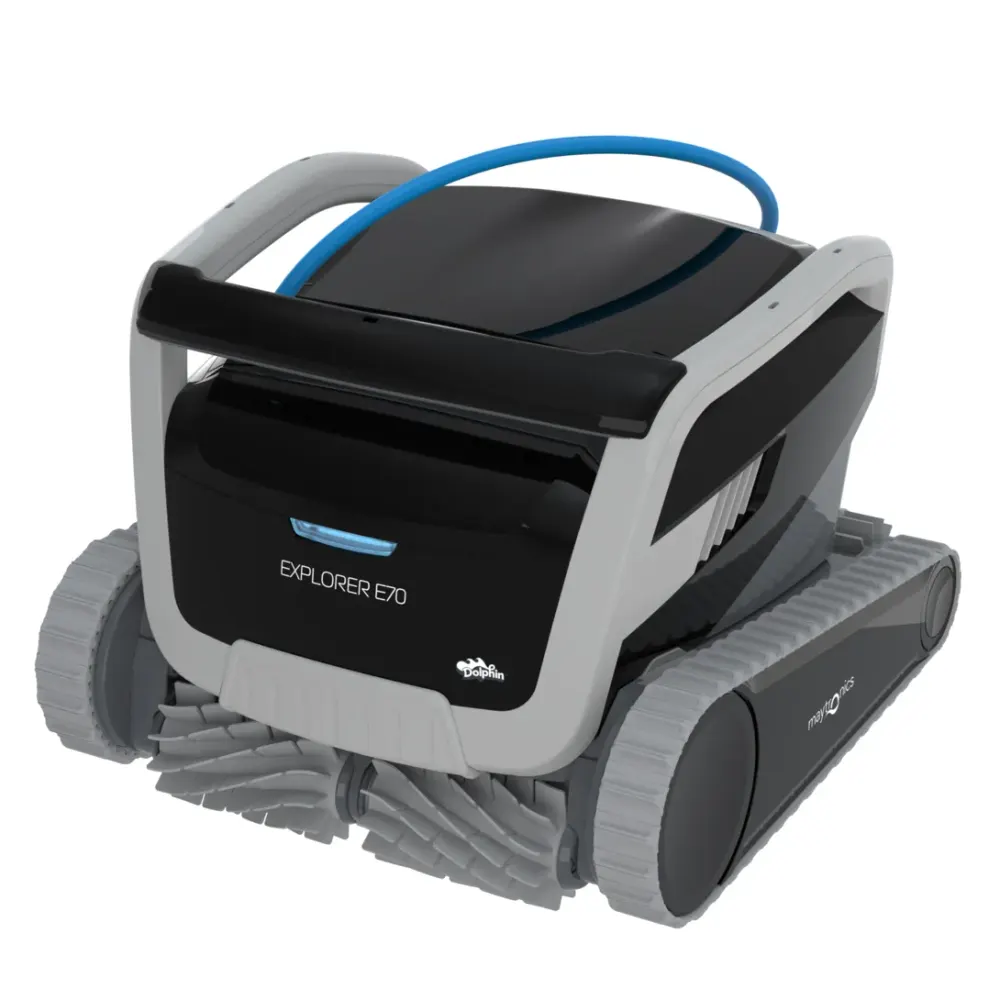
Also listed by Maytronics for: Dolphin M600, Dolphin Active 60, Dolphin Explorer E70, M600, Zenit 60, Dolphin Zenit 60, Dolphin Active Ultimate, Dolphin Active X6, E60i, Dolphin M700, Dolphin Zenit 70, Dolphin Active X7.
Do it yourself
How to replace it at home.
Switch off and unplug the power supply.
Remove the robot from the pool and place it on a stable surface.
Follow your exact robot model's brush-replacement instructions to remove the rear assembly.
Install the replacement rear assembly using those model-specific instructions.
Check that the assembly is secure before returning the robot to the pool.
Step-by-step answers for this kind of part
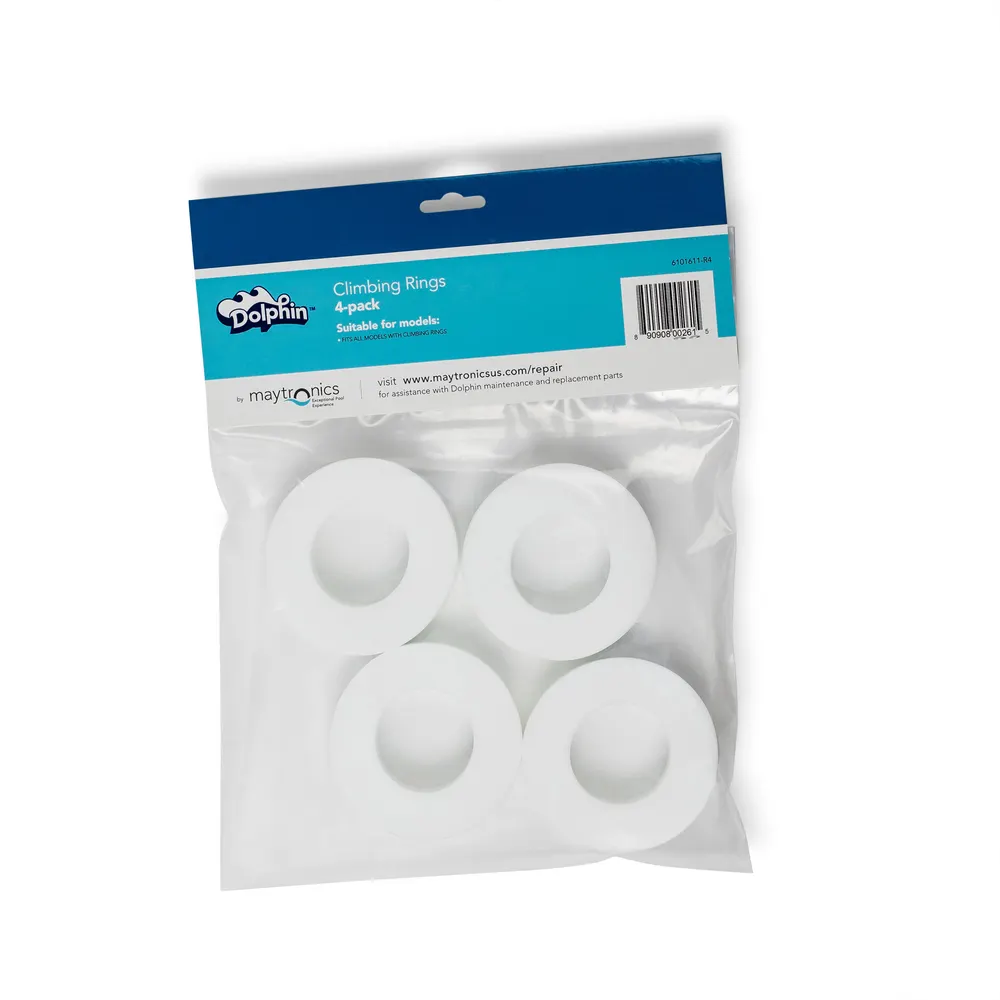
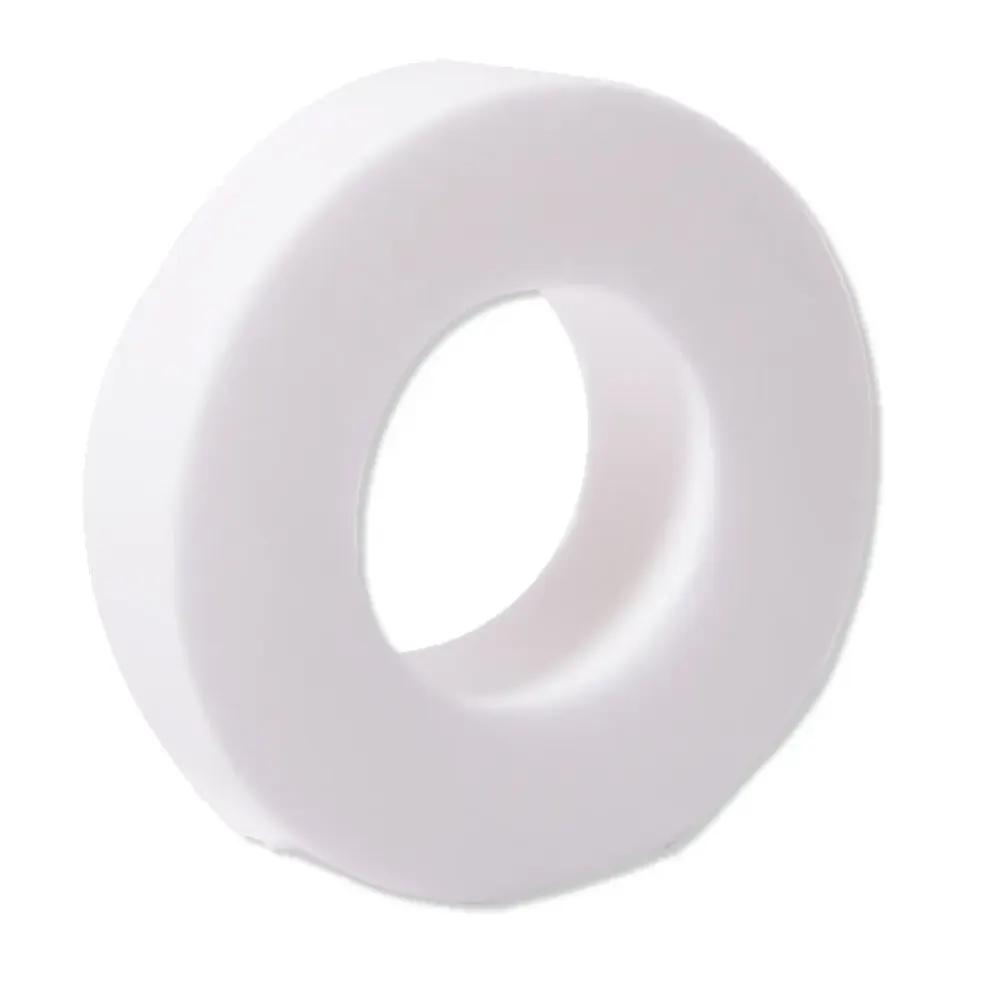
How do I replace the climbing rings on my Dolphin brushes?Video20 min

These steps apply to all Dolphin models equipped with climbing rings.
-
Step 1: Soak the existing climbing rings Soak the rings in the pool, or leave them in water for 10 minutes. Make sure they are completely soaked before continuing.
-
Step 2: Turn the robot over Take the robot out of the pool and place it upside down.
-
Step 3: Check that the power is unplugged Confirm that the power supply is disconnected from the outlet before working on the brushes.
-
Step 4: Release the brush With a flathead screwdriver, release both sides of the brush from their sockets.
-
Step 5: Take out the brush Remove the released brush from the robot.
-
Step 6: Remove the old rings Take the existing climbing rings off the brush.
-
Step 7: Fit the replacement rings Let the new climbing rings soak in water until they are flexible. Work them onto the brush.
-
Step 8: Reinstall the brush With the new rings in position, slide the brush into its sockets. Press it into place.
Brush removal and installation videos
These videos show how to remove and reinstall the brushes. Use them as a reference for steps 2-5 and 8.
M Line (DX3/Sigma/Nautilus CC Plus/Nautilus CC Supreme/M400)

M600 (Active 60, Explorer E70)

For help finding replacement climbing rings, contact Poolbots' pool experts by live chat or phone.
How do I replace the brushes on my Dolphin robot?Video30 min
Disconnect the power supply from the electrical outlet before starting. Find the front, middle, or rear brush section below, then follow the video and instructions for your model.
For help choosing a replacement brush, contact Poolbots' pool experts by live chat or phone.
Front brush
S50 (E10, E20/E25, Active 10, Cayman, Escape, Encore)

Replacement front brush: 9995544-ASSY.
- Disconnect the power supply from the electrical outlet.
- Turn the robot over so its underside faces up.
- Take the tracks off the robot.
- Use a flathead screwdriver to remove the wheel disk.
- Turn the wheel until you can see the drive gear's retaining screw through it.
- Loosen and remove the screw, then take out the white drive gear.
- Ease the old brush out gently.
- Slide the replacement brush into position. Put the drive gear back and secure it with its screw.
- Put the wheel cover and tracks back on.
- Turn the brush by hand to check that it moves smoothly.
S100 (Advantage, Proteus DX3, Saturn, Echo, Nautilus CC, Active 15, Cayman, Escape, Explorer E20)

- Disconnect the power supply from the electrical outlet.
- Turn the robot over so its underside faces up.
- Take the tracks off the robot.
- Use a flathead screwdriver to remove the wheel disk.
- Turn the wheel until you can see the drive gear's retaining screw through it.
- Loosen and remove the screw, then take out the white drive gear.
- Ease the old brush out gently.
- Slide the replacement brush into position. Put the drive gear back and secure it with its screw.
- Put the wheel cover and tracks back on.
- Turn the brush by hand to check that it moves smoothly.
S200 (E30, Advantage Ultra, Active 20, Quantum, T35, Triton PS)

- Disconnect the power supply from the electrical outlet.
- Take the tracks off the robot.
- Use a Phillips screwdriver to remove the four screws securing the brush.
- Lift out the old brush.
- Fit the replacement brush and secure it with the four screws.
- Turn the brush by hand to check for smooth movement.
S300 & S400
S300 (E35/E35i, Proteus DX5i, Active 30, T35/T45, Premium 40, Explorer E30, E40i, Active 30i, T55i)
S400 (E50i, Active 50, Explorer E50)

- Disconnect the power supply from the electrical outlet.
- Take the tracks off the robot.
- Use a Phillips screwdriver to remove the four screws securing the brush.
- Lift out the old brush.
- Fit the replacement brush and secure it with the four screws.
- Turn the brush by hand to check for smooth movement.
M400/M500 (Sigma, Oasis, Nautilus CC Supreme, Aquarius XL, C4)
- Gently push the brush out with a flathead screwdriver until it releases.
- Position the replacement brush where the old one sat.
- Press the brush inward until it is seated.
- Turn the wheels to check that the brush moves properly.
M250 (Nautilus CC Plus, Dx3, Zenit 20)
Follow the video for the front-brush replacement procedure.
Premier

Follow the video for the front-brush replacement procedure.
Middle brush
M400/M500

- Disconnect the power supply from the electrical outlet.
- Turn the robot over so its underside faces up.
- Remove the four screws securing the brush, one at each corner.
- Lift the brush out of the robot.
- Fit the replacement brush in the same position as the old one.
- Reinstall all four screws and tighten them.
Sigma

Replacement middle brush: 9995541-R1.
This middle-brush procedure applies to Sigma produced in 2026 or later.
- Disconnect the power supply from the electrical outlet.
- Turn the robot over so its underside faces up.
- Remove the four screws securing the brush, one at each corner.
- Lift the brush out of the robot.
- Fit the replacement brush in the same position as the old one.
- Reinstall all four screws and tighten them.
Rear brush
S200 (E30, Advantage Ultra, Active 20, Quantum, T35, Triton PS)
Replacement rear brush: 99955380-ASSY.
- Disconnect the power supply from the electrical outlet.
- Turn the robot over so its underside faces up.
- Take the tracks off the robot.
- Carefully free the brush from the notches on both sides, then remove it.
- Fit the replacement brush where the old one sat.
- Put the tracks back on both sides.
- Turn the brush by hand to check for smooth movement.
S300 & S400
S300 (E35/E35i, Proteus DX5i, Active 30, T35/T45, Premium 40, Explorer E30, E40i, Active 30i, T55i)
S400 (E50i, Active 50, Explorer E50)

Replacement rear brush: 99955380-ASSY.
- Disconnect the power supply from the electrical outlet.
- Turn the robot over so its underside faces up.
- Take the tracks off the robot.
- Carefully free the brush from the notches on both sides, then remove it.
- Fit the replacement brush where the old one sat.
- Put the tracks back on both sides.
- Turn the brush by hand to check for smooth movement.
M400/M500 (Sigma, Oasis, Nautilus CC Supreme, Aquarius XL, C4)
Replacement brush assembly: 99955340-ASSY.
- Gently push the brush out with a flathead screwdriver until it releases.
- Position the replacement brush where the old one sat.
- Press the brush inward until it is seated.
- Turn the wheels to check that the brush moves properly.
M600/M700 (Active 60, E60i, Explorer E70)
Replacement rear brush: 99955340-ASSY.
- Disconnect the power supply from the electrical outlet.
- Turn the robot over so its underside faces up.
- Take the tracks off the robot.
- Carefully free the brush from the notches on both sides, then remove it.
- Fit the replacement brush where the old one sat.
- Put the tracks back on both sides.
- Turn the brush by hand to check for smooth movement.
M250 (Nautilus CC Plus, Dx3)

Follow the video for the rear-brush replacement procedure.
M550
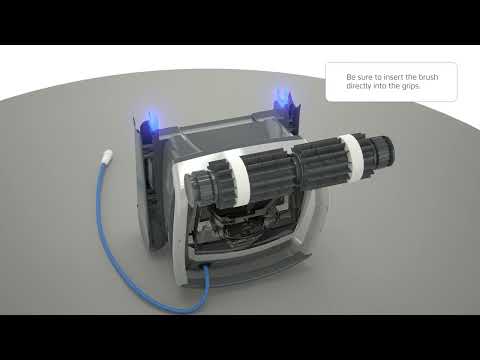
Follow the video for the rear-brush replacement procedure.
Specifications
Product Info
- Active Brush
- No
- Brush Type
- Combine Brush
General Info
- Warranty (years)
- 1
- UPC
- 810071220098
Questions
Maytronics Rear Brush Assembly, Dynamic Grey, answered.
Which robots are confirmed to fit this rear brush assembly?
Confirmed models are Dolphin Nautilus Titan, Dolphin M550, Dolphin Premium 60, Dolphin M600, Dolphin Active 60 and Dolphin Explorer E70.
Is this an active brush?
No. Maytronics identifies 9995548-ASSY as a Combine Brush and lists it as non-active.
What warranty is listed for this part?
The listed warranty for this replacement part is 1 year.
Brushes & Climbing Rings