













Genuine Maytronics part · Motor Units & Impellers
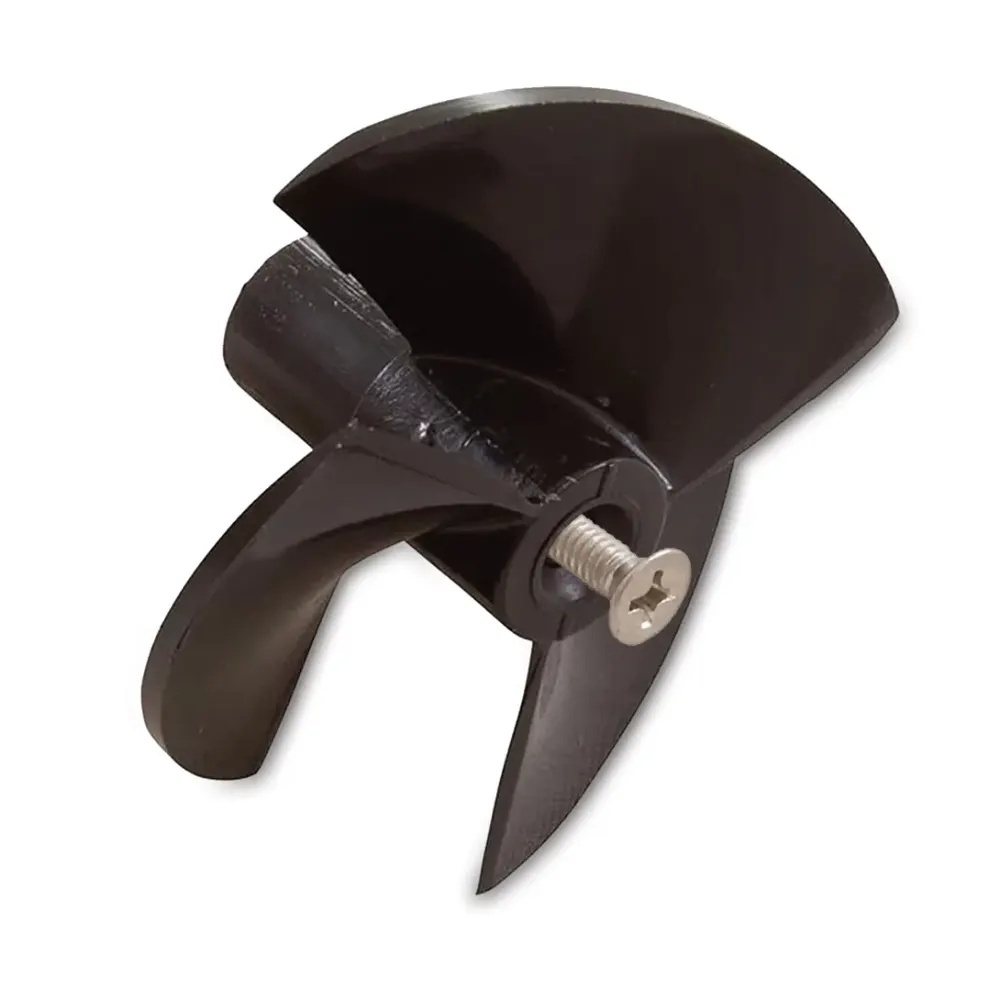
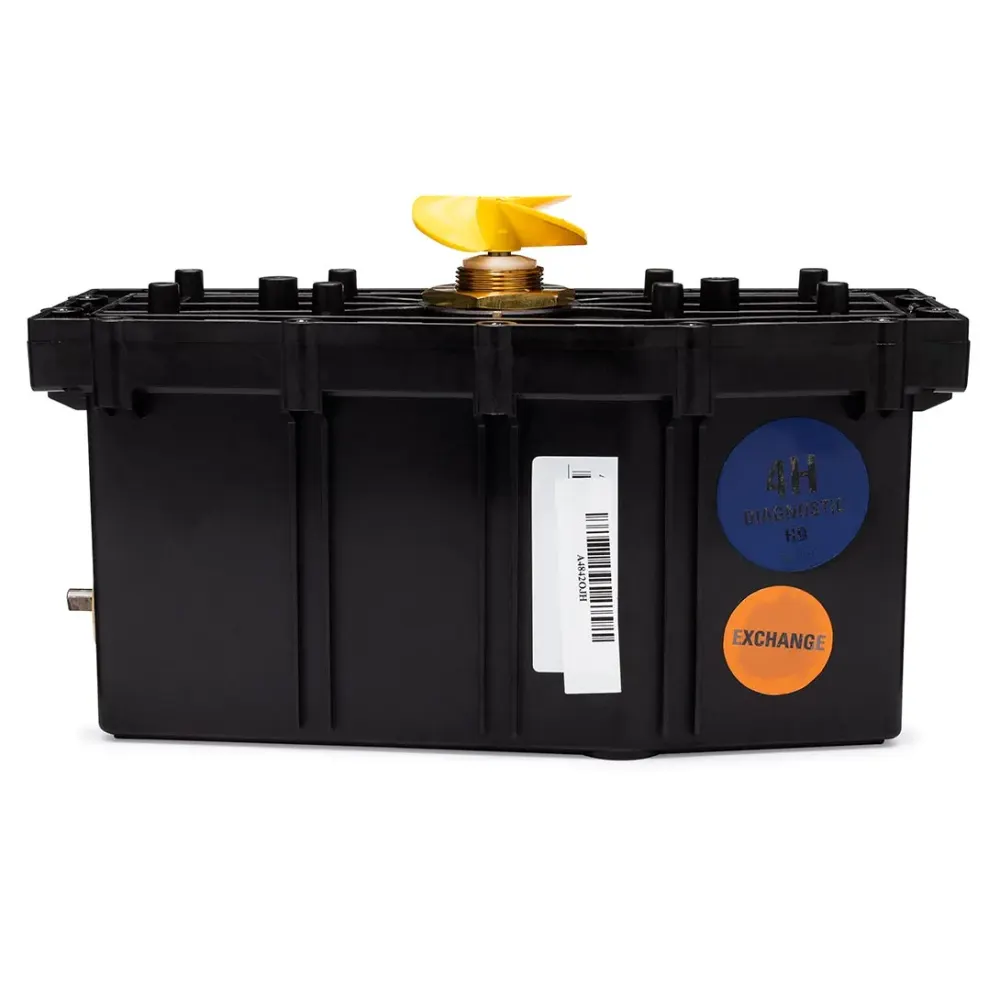
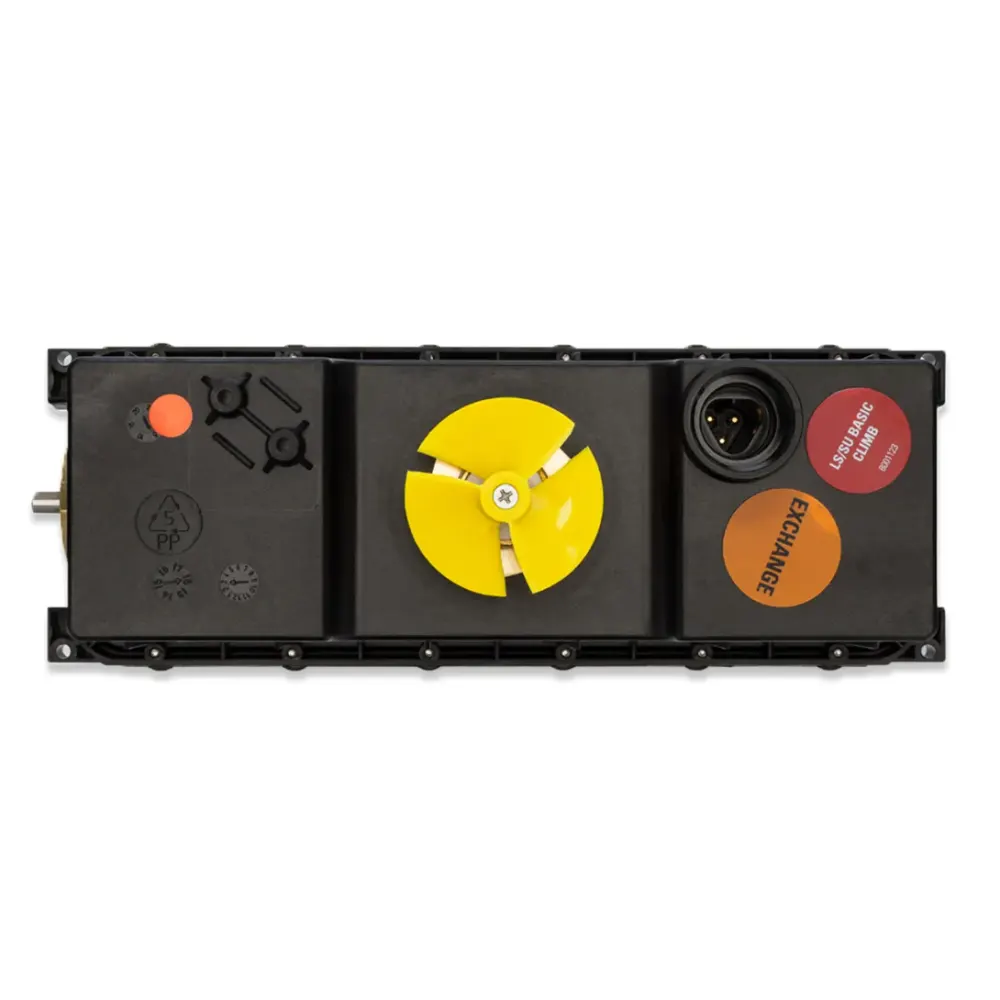
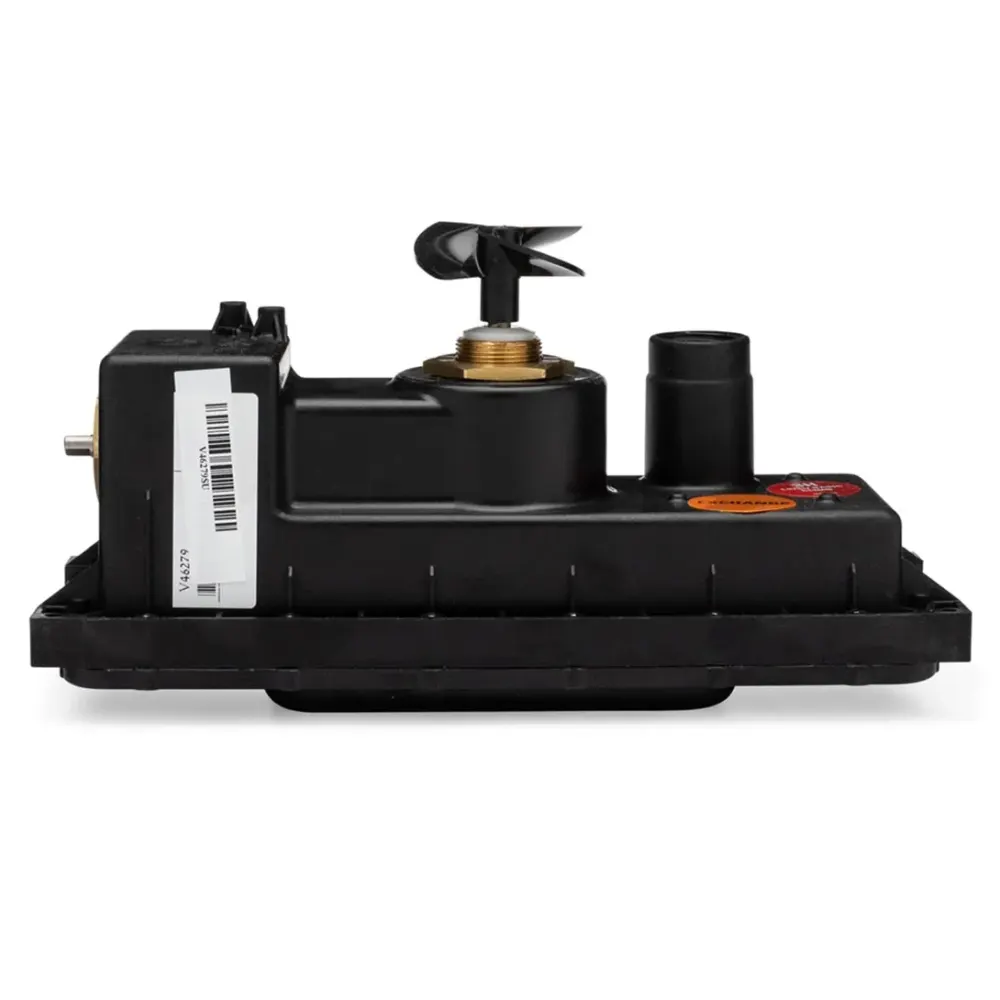
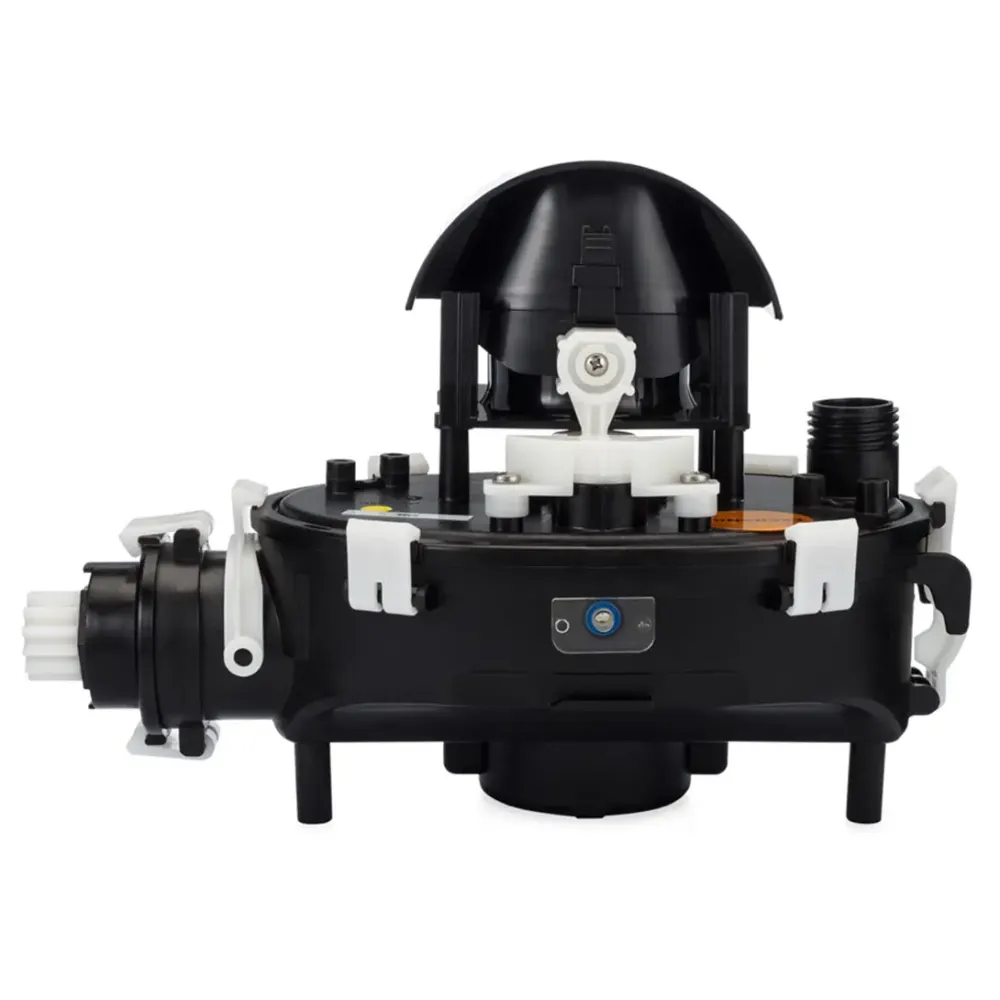
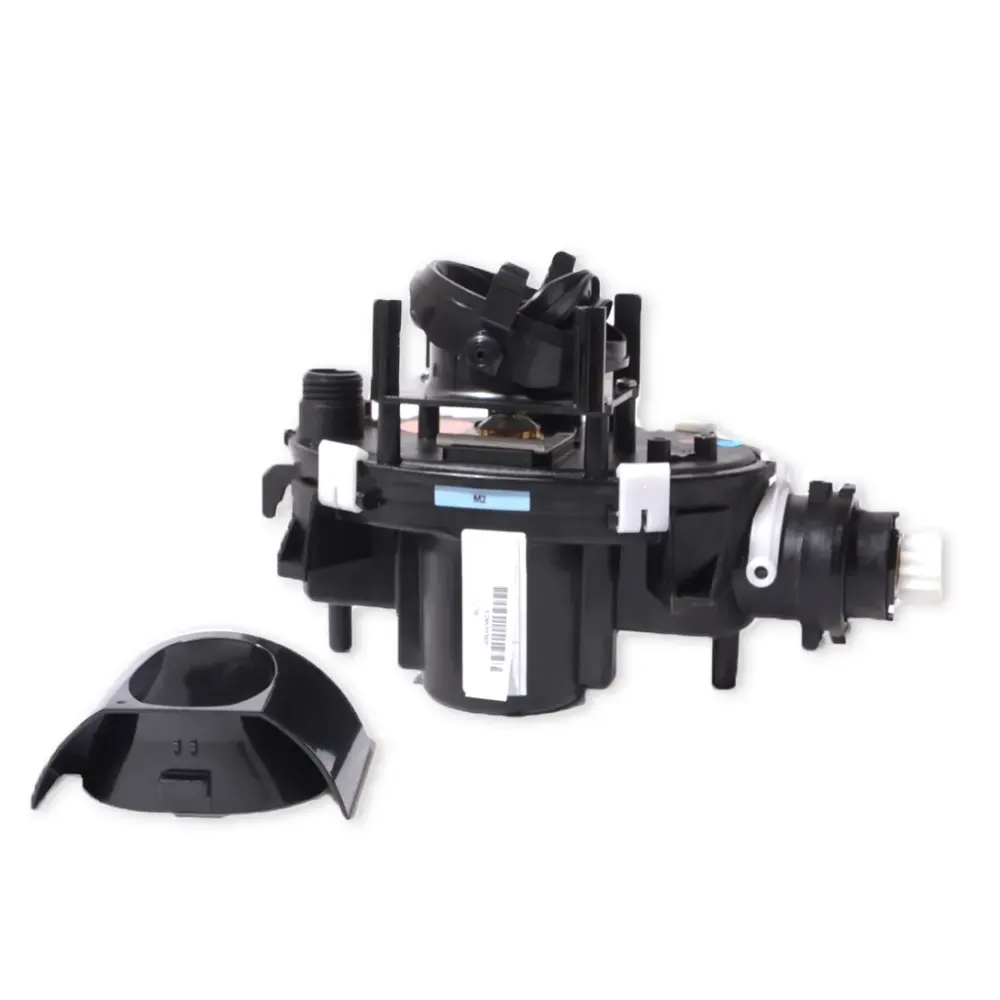
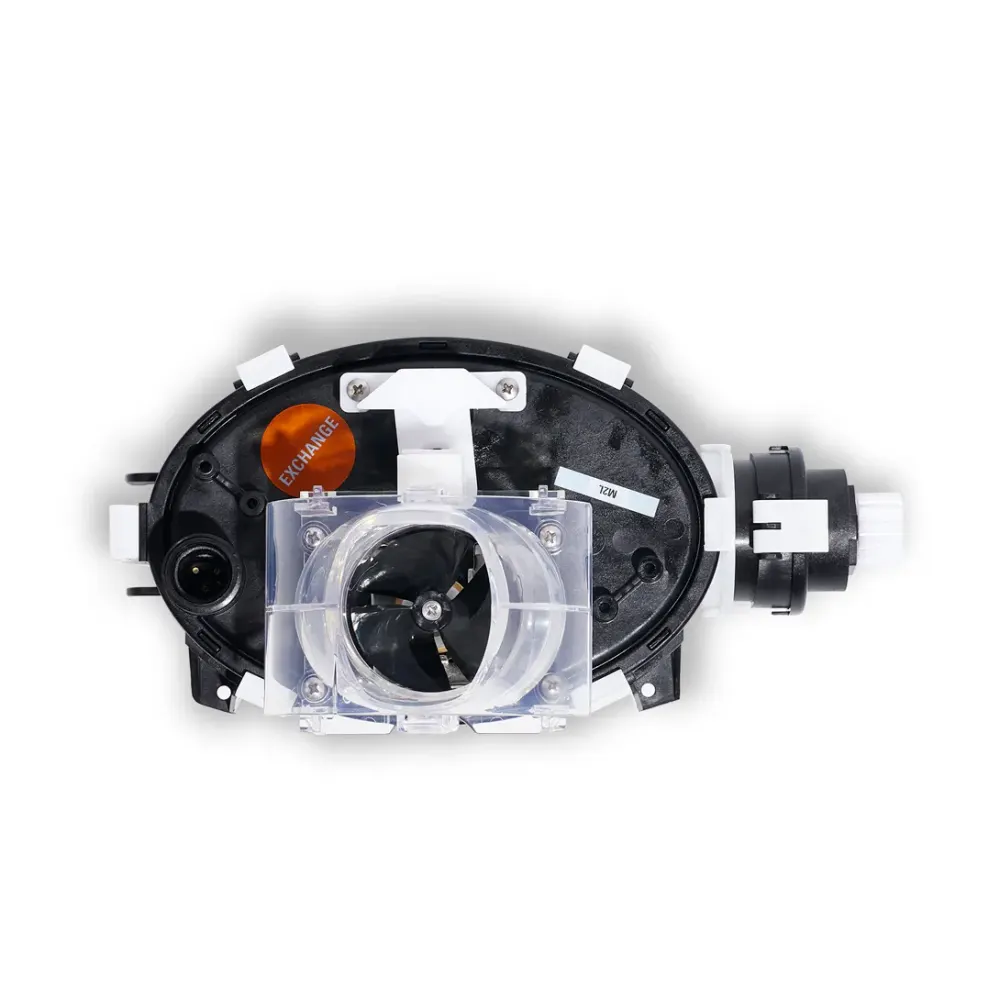
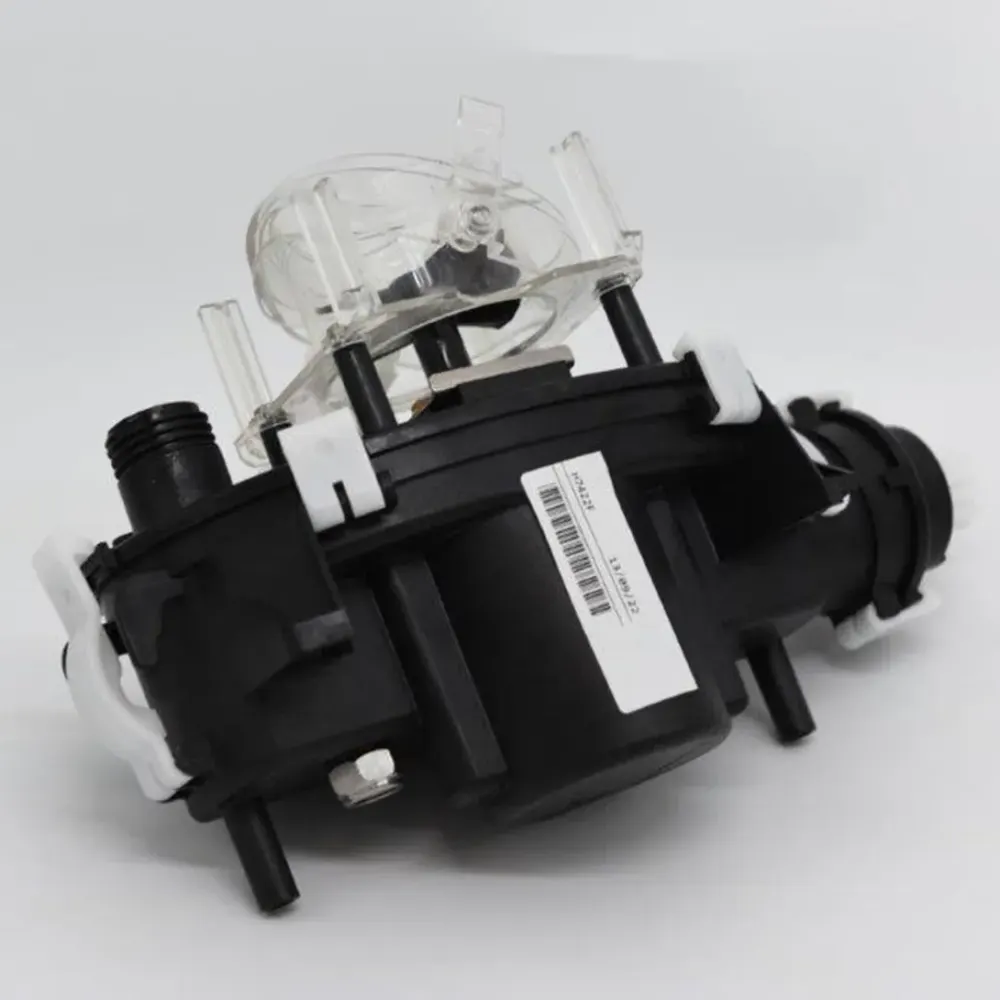
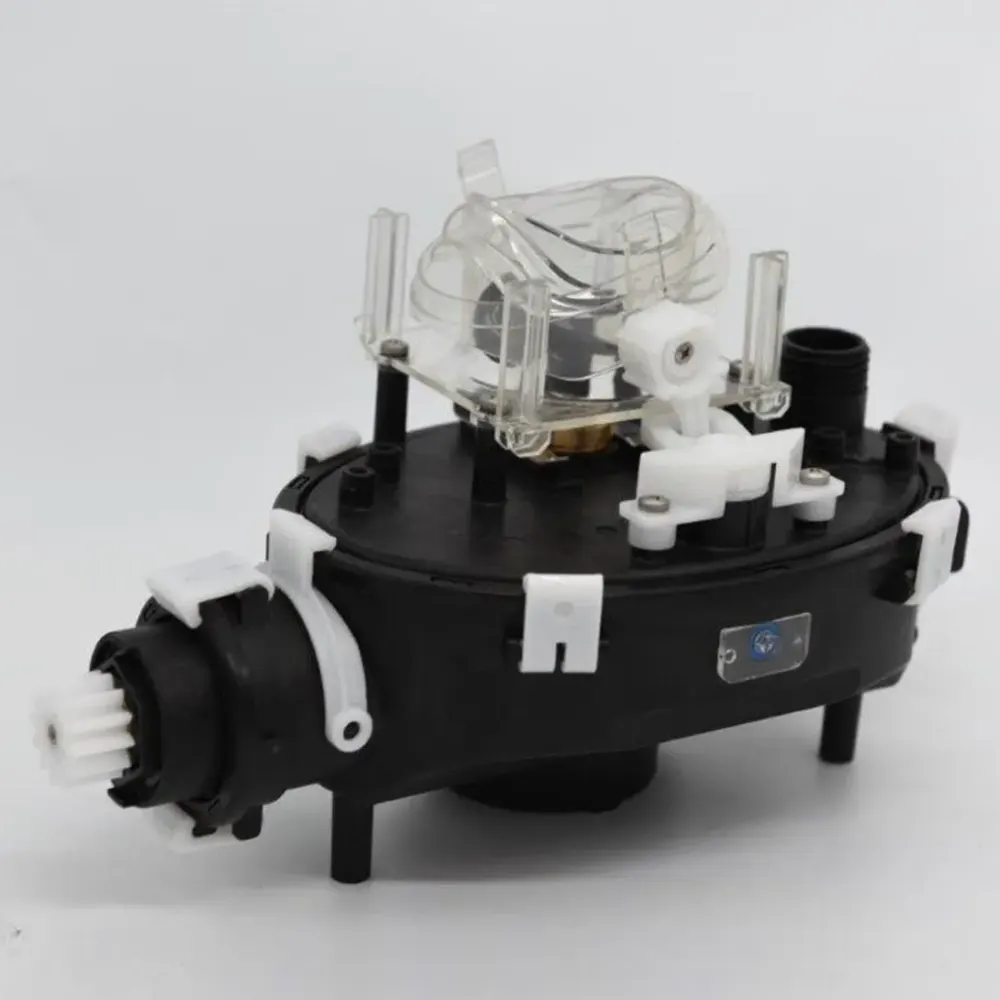
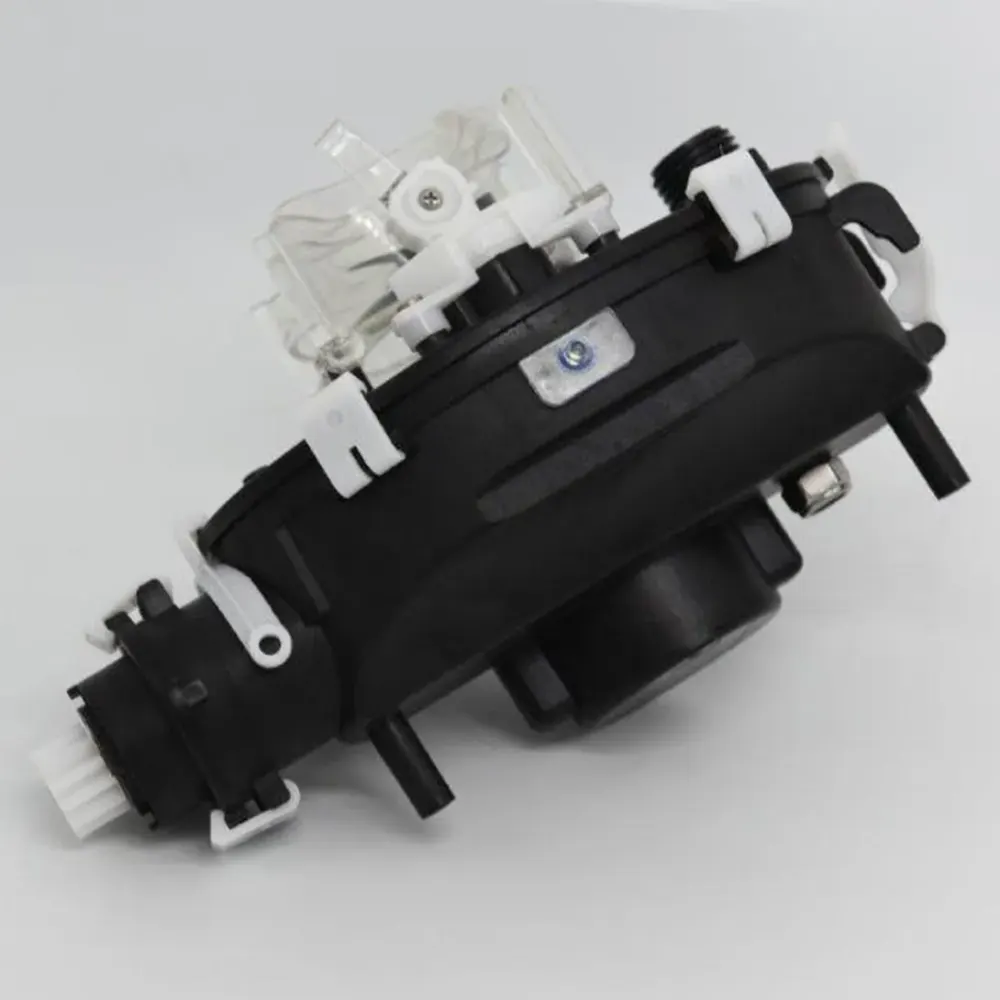
Motor Unit, LED and FFI S2
Part number 9995396-EX · UPC 810071220326 · 1 year part warranty
Genuine Maytronics replacement motor unit for Dolphin S400, Dolphin Active 40 and Dolphin Explorer E50.
$400 MSRP
Out of stock
About this part
What it does and when to replace it.
This genuine Maytronics part replaces the motor unit in a compatible Dolphin robot. Part 9995396-EX is identified as Motor Unit, LED and FFI S2.
Maytronics' spec sheet confirms compatibility with Dolphin S400, Dolphin Active 40 and Dolphin Explorer E50. Poolbots does not currently stock this part in its own store. Contact Poolbots' pool experts by live chat or phone for help identifying the correct replacement.
- Have part number 9995396-EX and your exact Dolphin model ready when contacting Poolbots' pool experts.
- Check the confirmed model list rather than relying on the LED and FFI S2 codes alone.
Compatibility
Fits these Dolphin robots.
Confirmed by Maytronics' compatibility checker and each robot's own spare-parts list.
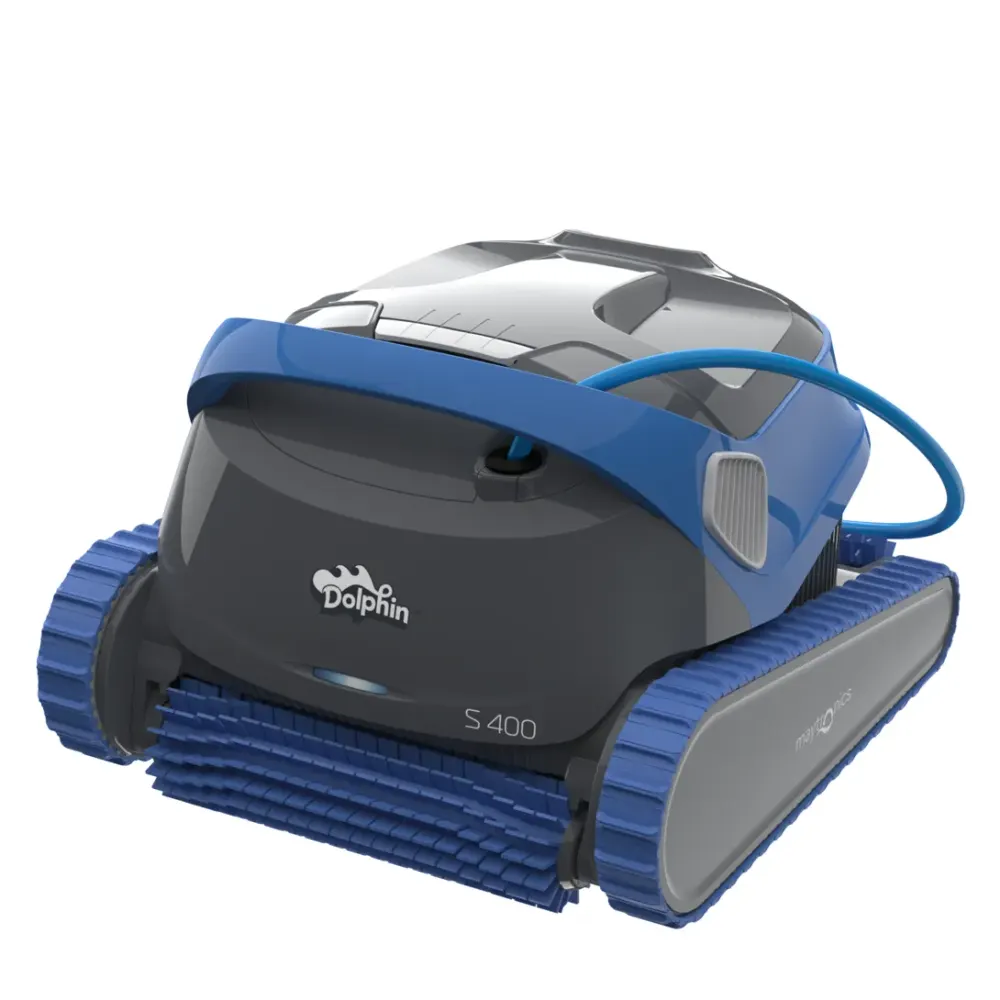
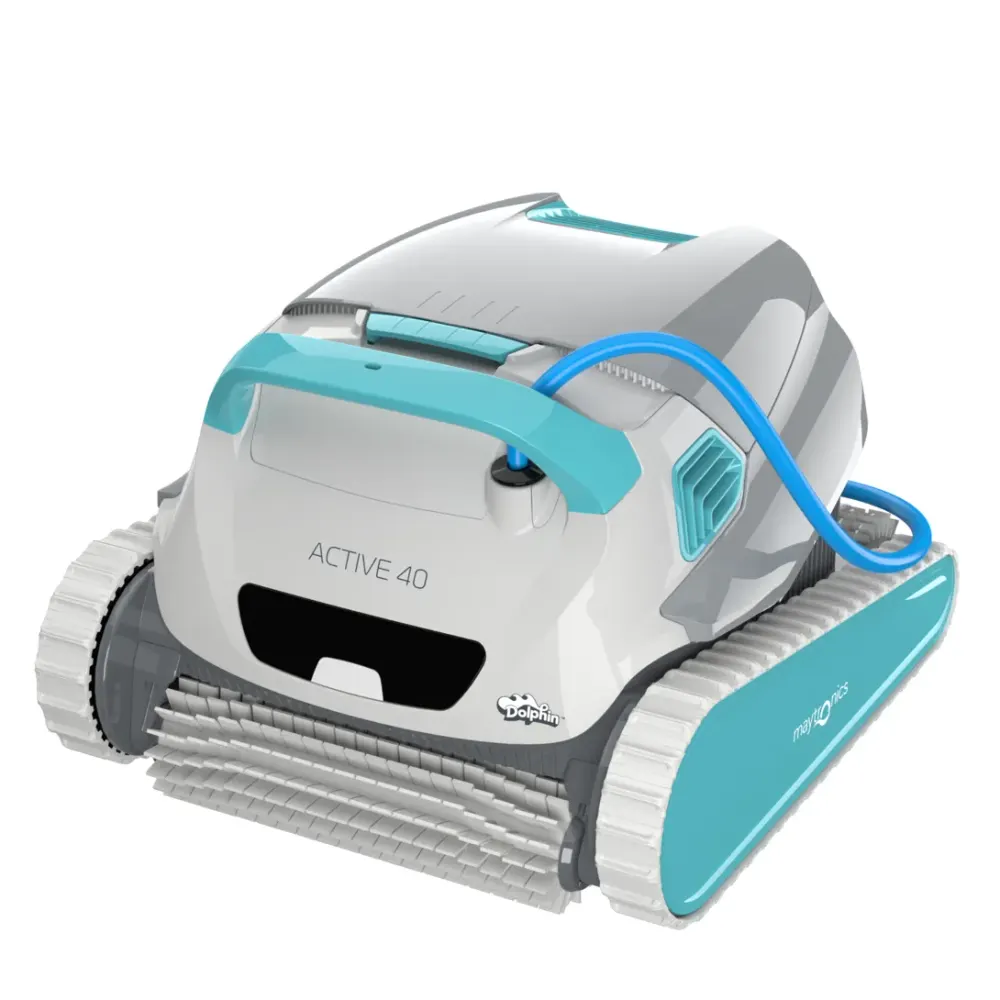
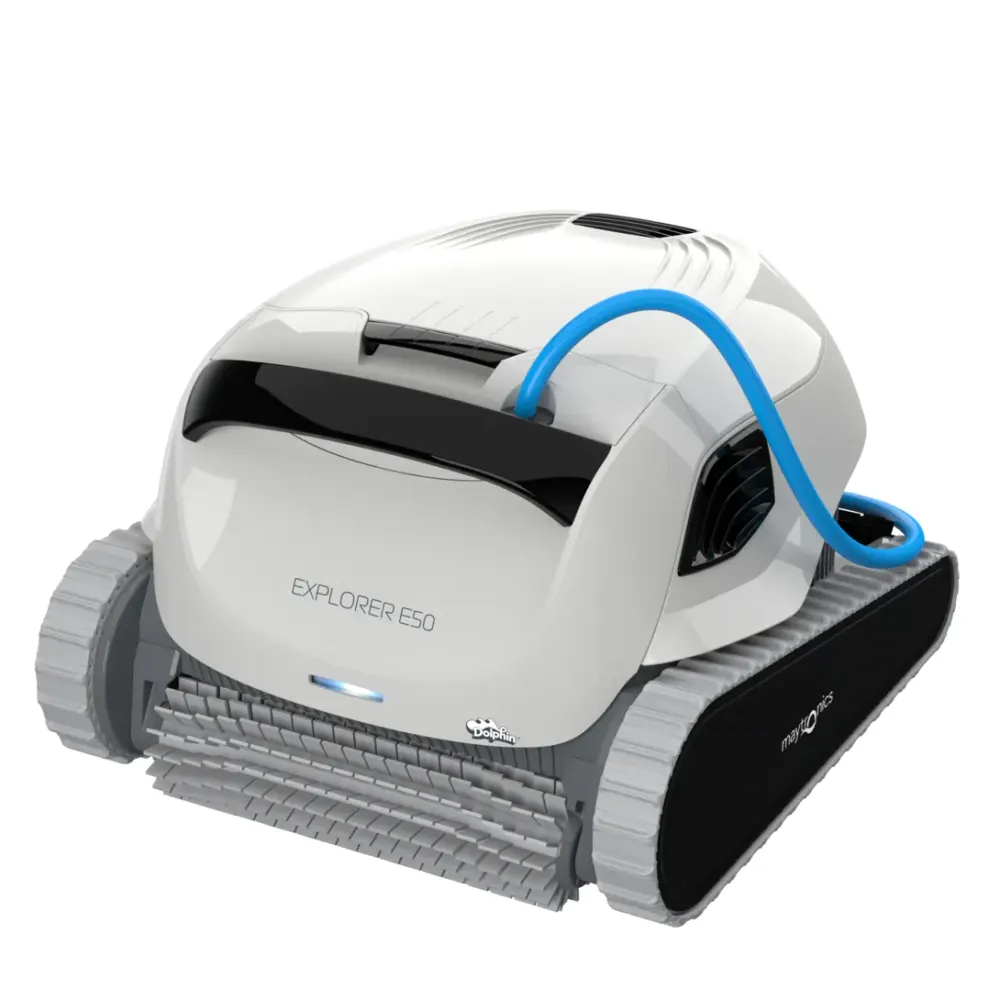
Also listed by Maytronics for: Dolphin S400, Dolphin Active 40, Dolphin Explorer E50.
Do it yourself
How to replace this kind of part.
How do I replace the motor unit on my Dolphin?Video60 min
Find your model below, then follow its video and written instructions where provided. If you are unsure which section to use, contact Poolbots' pool experts by live chat or phone.
Tools for the written instructions
- Phillips screwdriver
- Flathead screwdriver
- Wrench
- Maytronics multi-purpose tool
M250 (Nautilus CC Plus)

Step 1Disassemble the robot
- Disconnect the power supply from the outlet before starting.
- Lift both top lids and take out the filters.
- Unscrew and remove the four fasteners securing the frame.
- Use a flathead screwdriver to unlock the impeller cover.
- Detach the impeller cover and take it off.
- Free the blue floating cable, then lift off the top frame.
- Take out the two floaters.
- On each cable holder, take out one screw and loosen the other halfway.
- Turn both cable holders backward to free the blue floating cable.
- Use the Maytronics multi-purpose handle to loosen the power cable screw.
- Slide the screw and rubber seal out of position, then pull firmly on the cable to disconnect it.
- Unscrew and remove the four motor unit screws.
- Tip the robot and turn the brush until the engine hinge socket faces upward.
Step 2Install the replacement and reassemble
- Set the replacement motor unit in position.
- Secure the motor with all of its screws.
- Reconnect the cable, then slide the rubber seal and screw into position.
- Use the Maytronics multi-purpose tool to tighten the power cable screw.
- Turn the cable fasteners back to their original positions and tighten every screw.
- Put the floaters and top frame back in position.
- Seat the cable in its place in the frame.
- Fit the impeller cover back on and lock it.
- Secure the top frame with its screws.
- Put both filters back inside and shut the top lids.
M400/M500 (Sigma/Nautilus CC Supreme/Nautilus CC Plus/Oasis Z5i)

Step 1Disassemble the robot
- Disconnect the power supply from the outlet, then lower the handle toward the robot's rear.
- Take out the impeller cover screw and lift off the cover.
- Free the blue floating cable from the frame.
- Lift both top lids and take out the filters.
- Unscrew the four frame screws, remove them, and lift off the frame.
- Take out the two floaters.
- On each cable holder, remove one screw and loosen the other halfway. Turn the holders backward.
- Loosen the power cable screw with the Maytronics multi-purpose handle. Slide out the screw and rubber seal, then pull the cable to disconnect it.
- Unscrew and remove the four motor unit screws.
- Turn the brush until the engine hinge socket faces upward.
- Take the motor unit out of the robot.
Step 2Install the replacement and reassemble
- Set the replacement motor unit in position.
- Secure it with all of its screws.
- Connect the new cable, then slide the rubber seal and screw into position.
- Use the Maytronics multi-purpose handle to tighten the screw.
- Turn the cable fasteners back into position, then reinstall and tighten their screws.
- Put both floaters back in place.
- Set the frame back in position and secure it with its four screws.
- Return both filters to the robot and shut the top lids.
- Secure the blue floating cable to the frame again. Fit the impeller cover and tighten its screw.
S50 (E10, Cayman, Active 10, E20/E25, Escape, Encore)

Step 1Disassemble the robot
- Disconnect the power supply from the outlet before starting.
- Pull the top lid handle, lift the lid, and take out the filter.
- Unscrew and remove the top panel screws.
- Move the top panel outward along the blue floating cable.
- Unscrew and remove the cable fastener screws.
- Slide the top panel and cable fastener out.
- Open the left motor clip and free the blue floating cable from its hook.
- Loosen the blue floating cable screw with the Maytronics multi-purpose handle.
- Disconnect the old blue floating cable and take it out.
- Unscrew and remove the two motor unit screws.
- Take the motor unit out of the robot.
Step 2Install the replacement and reassemble
- Set the replacement motor unit in position.
- Connect the new blue floating cable.
- Use the Maytronics multi-purpose handle to tighten the blue floating cable screw.
- Make a loop in the blue floating cable, hook it onto the motor, and shut the left motor clip.
- Fit the top panel and cable fastener back together.
- Secure the cable fastener by tightening its screws.
- Set the top panel back in position.
- Secure the top panel by tightening its screws.
- Return the filter to the robot.
S100 (Explorer E20, Advantage, Proteus DX3, Saturn, Nautilus CC, Active Solo, Active 15, Echo)

Step 1Disassemble the robot
- Disconnect the power supply from the outlet before starting.
- Pull the top lid handle, lift the lid, and take out the filter.
- Unscrew and remove the top panel screws.
- Move the top panel outward along the blue floating cable.
- Take out the screws securing the cable to the top panel.
- Take off both sections of the top panel.
- Open the motor's left clip and free the blue floating cable from its hook.
- Loosen the blue floating cable screw with the Maytronics multi-purpose handle.
- Take off the screw and rubber seal, then pull the blue floating cable to disconnect it.
- Unscrew and remove the two motor unit screws.
- Take the motor unit out of the robot.
Step 2Install the replacement and reassemble
- Set the replacement motor unit in position and secure its screws.
- Connect the new blue floating cable, then slide the rubber seal and screw into position.
- Use the Maytronics multi-purpose handle to tighten the blue floating cable screw.
- Make a loop in the blue floating cable and hook it in place. Shut the left motor clip.
- Fit both top panel sections back together, then reinstall and tighten their screws.
- Set the top panel back in position and secure it with its screws.
- Return the filter to the robot and shut the top lid.
S200 (E30, Proteus DX4, Advantage Ultra, Active 20, Quantum, T30/T35, Triton PS)

Step 1Disassemble the robot
- Disconnect the power supply from the outlet before starting.
- Pull the top lid handle, lift the lid, and take out the filter.
- Unscrew and remove the motor unit cover screws.
- Pull the cover gently and move it along the blue floating cable.
- Take the manifold out of the robot.
- Open the motor's left clip and free the blue floating cable from its hook.
- Loosen the blue floating cable screw with the Maytronics multi-purpose handle.
- Slide the screw and rubber seal out of position, then pull the blue floating cable to disconnect it.
- Unscrew and remove the two motor unit screws.
- Take the motor unit out of the robot.
Step 2Install the replacement and reassemble
- Set the replacement motor unit in position and secure its screws.
- Connect the new blue floating cable.
- Slide the rubber seal and screw back into position.
- Make a loop in the blue floating cable and hook it in place. Shut the motor's left clip.
- Return the manifold to its original position.
- Slide the cover back into position and secure its screw.
- Return the filter to the robot and shut the top cover.
S300 (E35/E35i, Proteus DX5i, Advantage Pro, Mercury, Active 30, T35/T45, Premium 40, Explorer E30, E40i, Active 30i, T55i) & S400 (E50i, Active 40, Explorer E50)

Step 1Disassemble the robot
- Disconnect the power supply from the outlet before starting.
- Pull the top lid handle, lift the lid, and take out the filter.
- Unscrew and remove the motor unit cover screws.
- Pull the cover gently and move it along the blue floating cable.
- Take the manifold out of the robot.
- Open the motor's left clip and free the blue floating cable from its hook.
- Loosen the blue floating cable screw with the Maytronics multi-purpose handle.
- Slide the screw and rubber seal out of position, then pull the blue floating cable to disconnect it.
- Unscrew and remove the two motor unit screws.
- Take the motor unit out of the robot.
Step 2Install the replacement and reassemble
- Set the replacement motor unit in position and secure its screws.
- Connect the new blue floating cable.
- Slide the rubber seal and screw back into position.
- Make a loop in the blue floating cable and hook it in place. Shut the motor's left clip.
- Return the manifold to its original position.
- Slide the cover back into position and secure its screw.
- Return the filter to the robot and shut the top cover.
M550

M600/M700 (Active 60, E60i, Explorer E70)

Step 1Disassemble the robot
- Disconnect the power supply from the outlet before starting.
- Pull the top lid handle, lift the lid, and take out the filter.
- Unscrew and remove the two motor unit cover screws.
- Pull the cover gently and move it along the blue cable.
- Take the manifold out of the robot.
- Use a flathead screwdriver to unlock the front panel.
- Detach the front panel and take it off.
- Take out the front float. Handle it carefully because it is fragile.
- Unscrew and remove all four frame screws, then tip the frame forward.
- Take out one cable fastener screw and loosen the second halfway.
- Turn the cable fastener backward to free the power cable.
- Use the Maytronics multi-purpose handle to loosen and remove the screws for the blue floating cable and white LED cable. Disconnect the cables and take off the frame.
- Peel the rubber track off.
- Take off the wheel cover, screw, disk, front wheel, and wheel bushing, in that order.
- Take off the chassis door.
- Unscrew and remove both motor unit screws.
- Lift the motor unit and take out the left and right floats. Handle the floats carefully because they are fragile.
- Take the motor unit out of the robot.
Step 2Install the replacement and reassemble
- Set the replacement motor unit in position.
- Carefully put the left and right floats back in place.
- Reinstall and tighten both motor unit screws.
- Put the chassis door back in position.
- Refit the wheel bushing, front wheel, disk, screw, and wheel cover, in that order.
- Fit the rubber track back on.
- Put the frame back in place.
- Reconnect the power and LED cables. Tighten their screws with the Maytronics tool.
- Turn the cable fastener back to its original position and tighten its screws.
- Tip the frame back into position.
- Reinstall and tighten all of the frame screws.
- Put the front float and front panel back in place. Handle the float carefully because it is fragile.
- Press the front panel's top corners inward until the panel clicks into place.
- Return the manifold to its position.
- Slide the top panel back into position and tighten both screws.
- Return the filter to the robot and shut the top lid.
Liberty (Liberty 200, Liberty 300)

Step 1Disassemble the robot
- Take the filter out of the robot.
- Undo the screws securing the outer casing cover, then take off the top frame.
- Free the blue wire from the hooks along the motor unit's side.
- Use the Maytronics multipurpose tool to unscrew the power plug, then pull firmly to disconnect it.
- Take the float out of the robot.
- Unscrew the two motor screws and take out the motor unit.
Step 2Install the replacement and reassemble
- Fit the replacement motor unit into the robot. Make sure its protrusion sits in the matching recess in the chassis.
- Secure the motor to the chassis with the two screws.
- Put the float back in position.
- Reconnect the blue wire, then tighten the power plug screw with the Maytronics multipurpose tool.
- Secure the blue wire in the hooks along the motor unit's side.
- Fit the outer casing cover back on and secure it with the two screws.
Premier

Specifications
General Info
- Warranty (years)
- 1
- UPC
- 810071220326
Size & Dimension
- Package Dimensions
- 13.2x8.0x9.2 inch
- Gross Weight
- 4.851 lb
Questions
Motor Unit, LED and FFI S2, answered.
Which Dolphin robots fit motor unit 9995396-EX?
Maytronics' spec sheet lists Dolphin S400, Dolphin Active 40 and Dolphin Explorer E50 as compatible with this motor unit.
Does Poolbots currently stock this part?
Poolbots does not currently stock 9995396-EX in its own store. Poolbots' pool experts can help you identify the part by live chat or phone.
What warranty is listed for this part?
Maytronics lists a 1-year part warranty for 9995396-EX.
Motor Units & Impellers