











Genuine Maytronics part · Power Supplies & Chargers
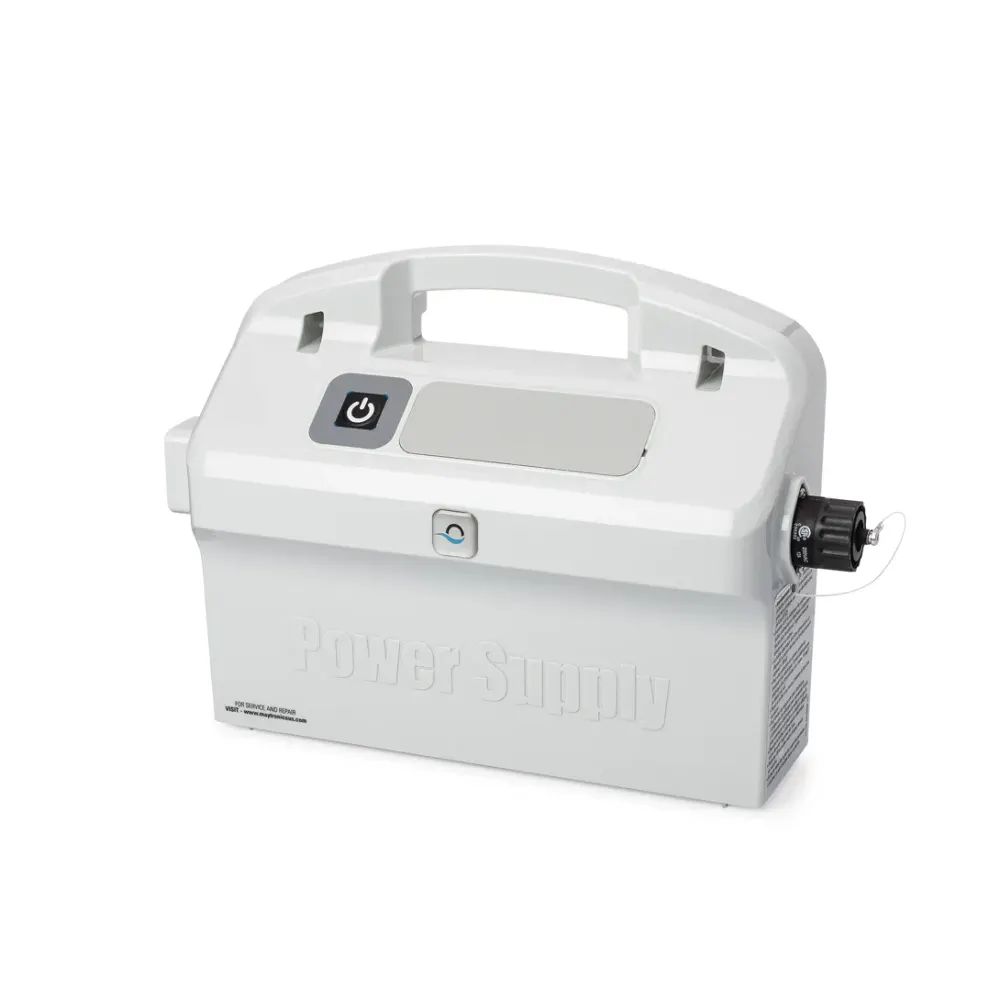
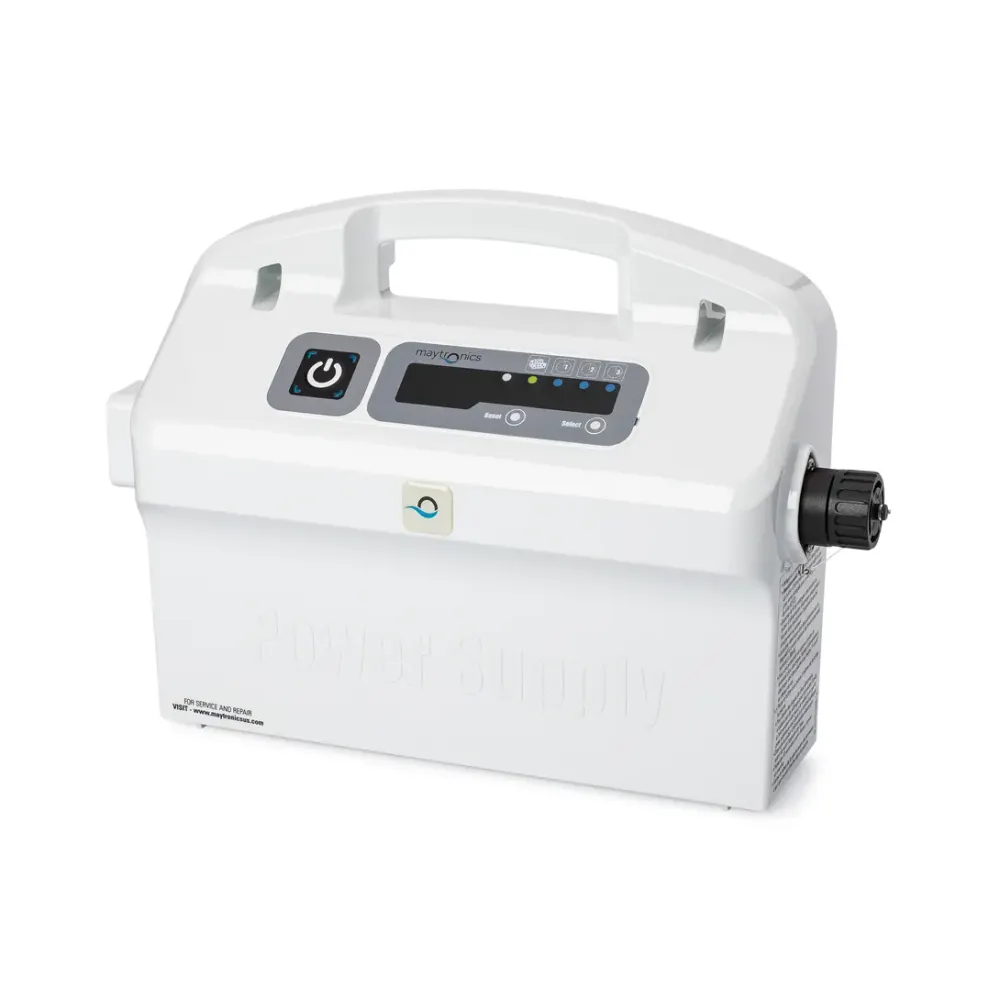
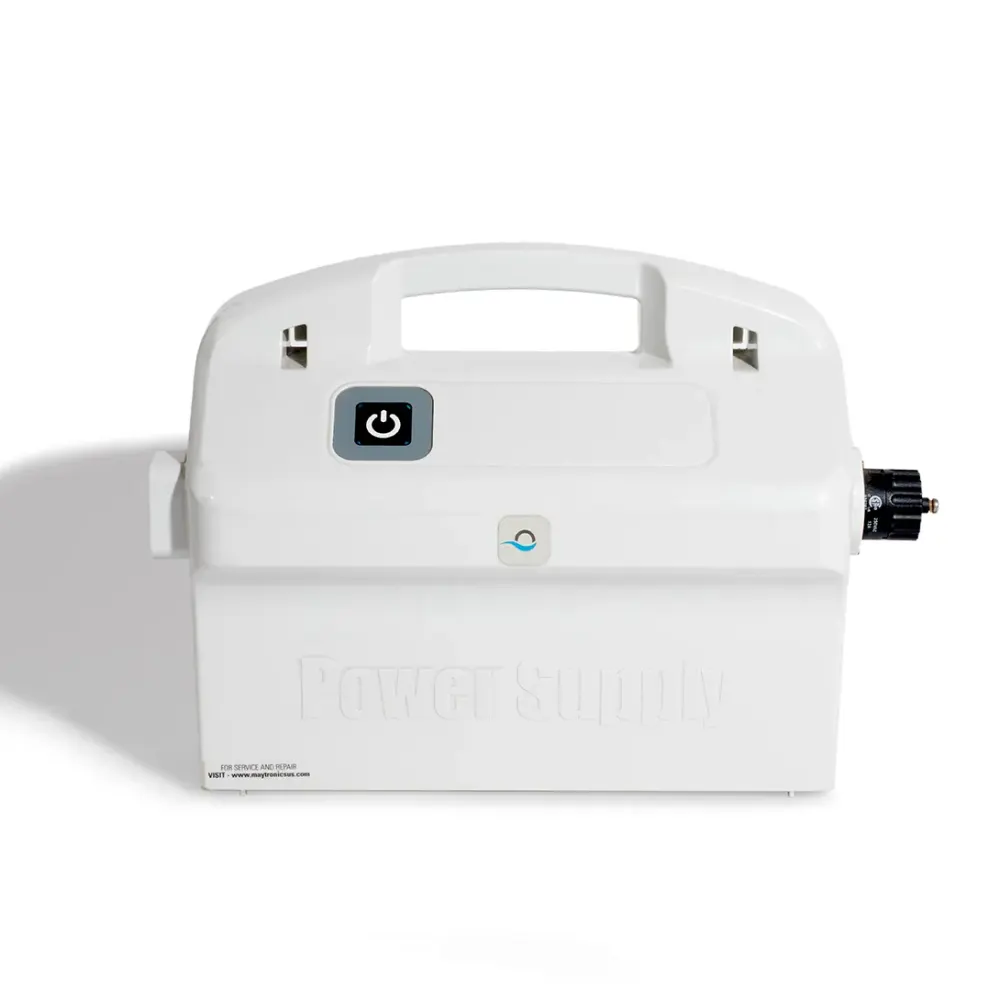
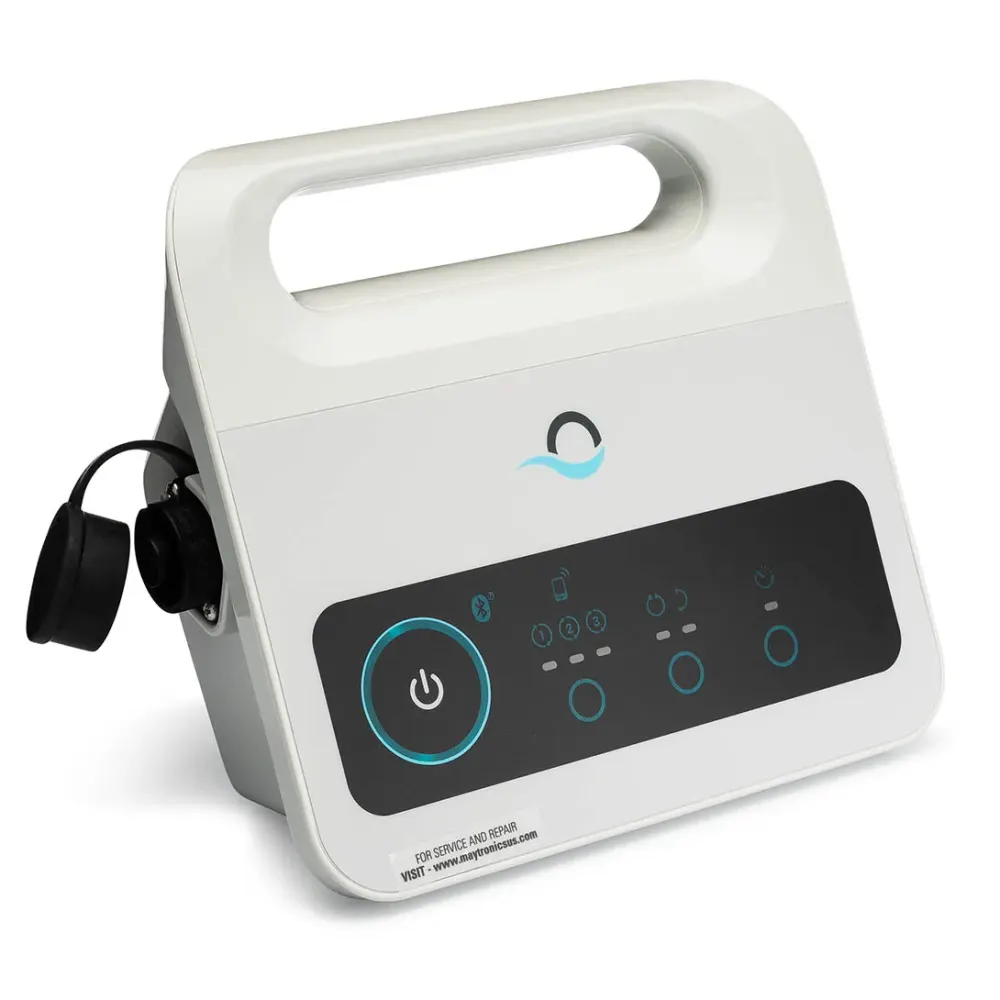
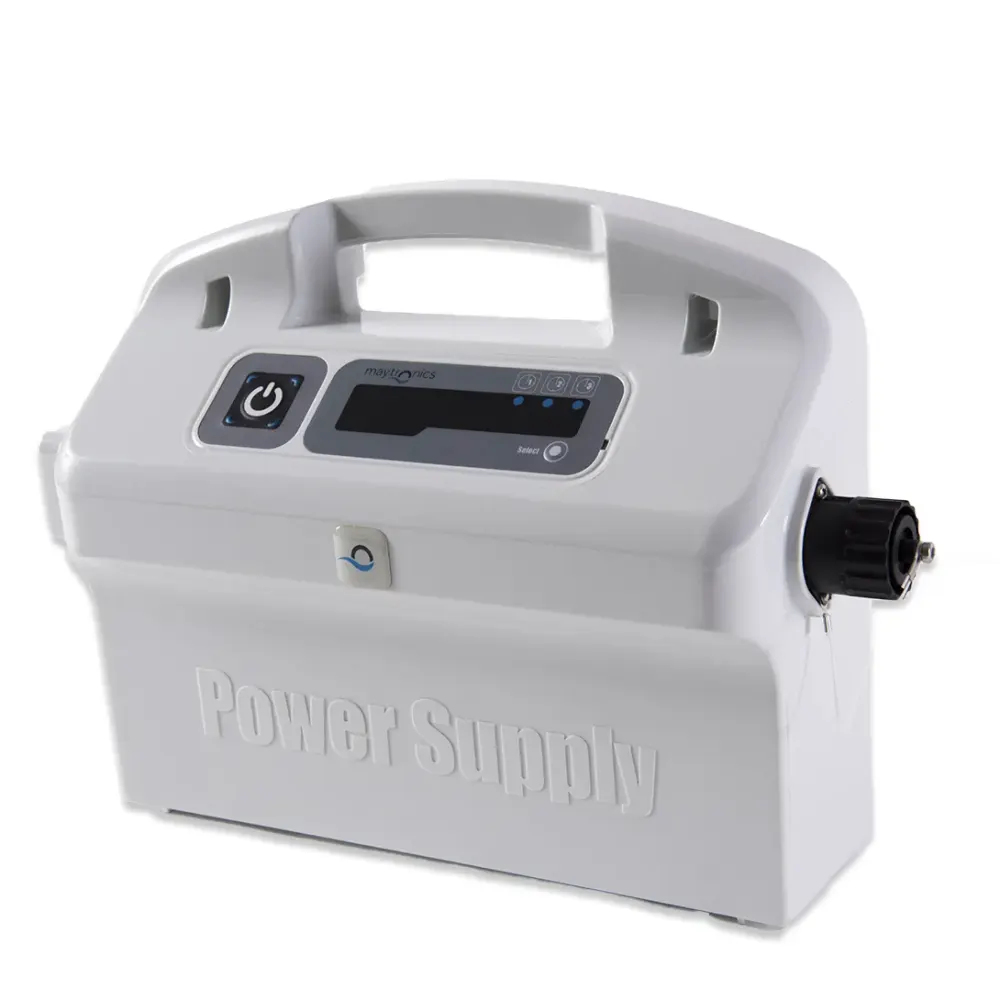
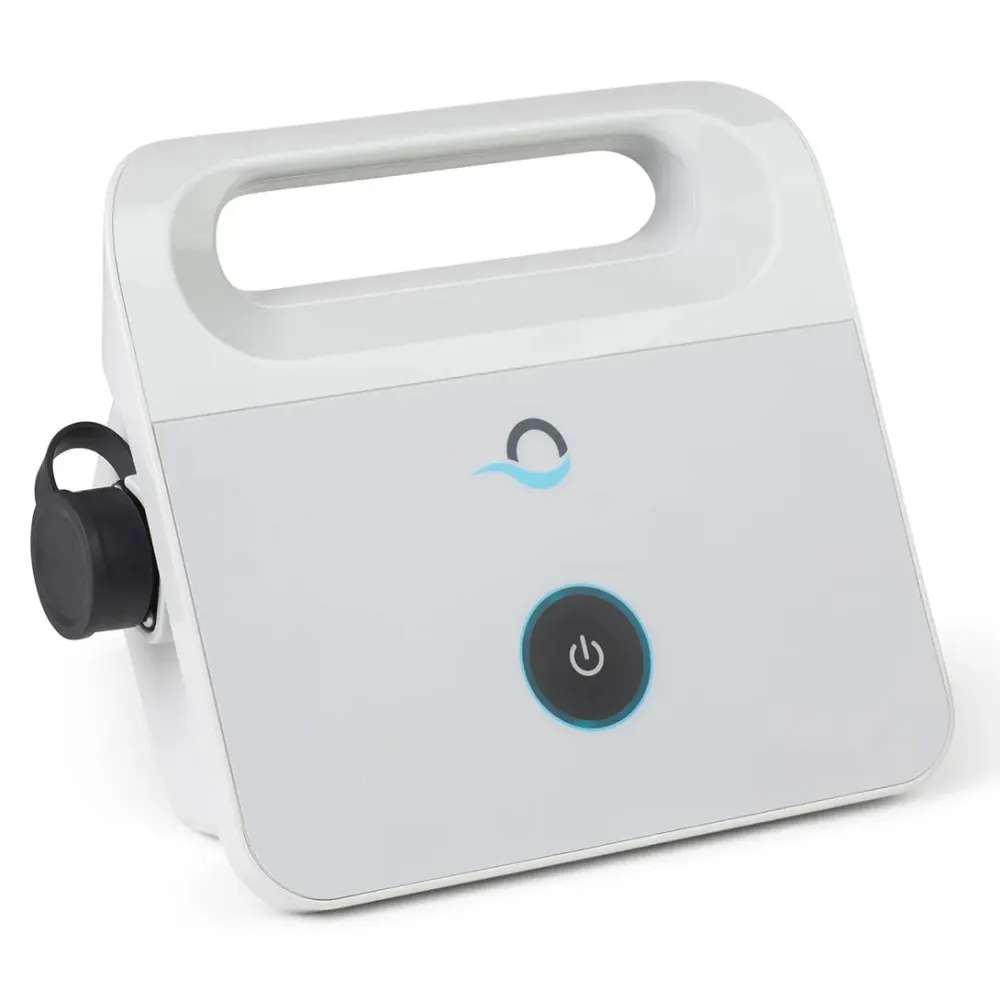
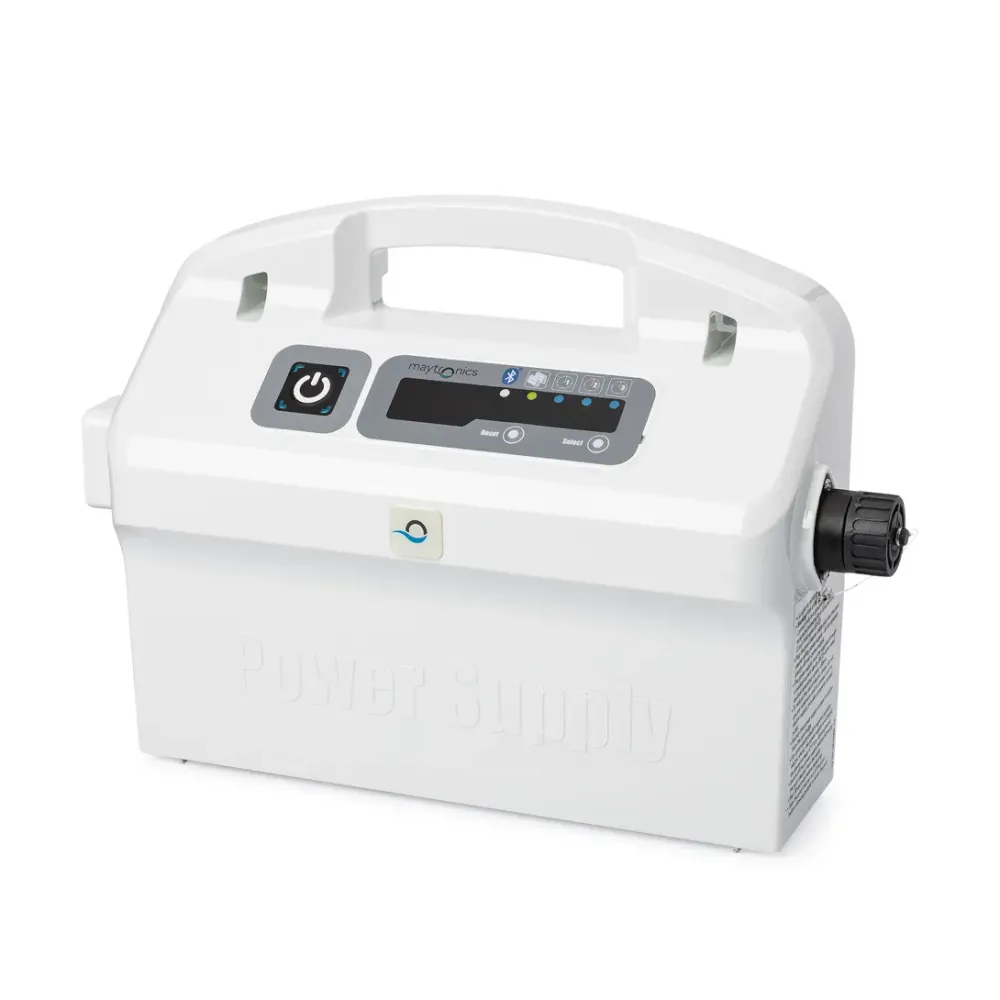
180W Bluetooth® Power Supply With Weekly Timer and Filter Indicator
Part number 9995679-ASSY · UPC 850015249440 · 1 year part warranty
Genuine Maytronics 180W power supply for dual-motor robots with remote/Bluetooth® control; confirm fit with Poolbots' pool experts.
$299.99 MSRP
Not stocked by Poolbots. Sold on Amazon as a genuine Maytronics part.
Ships from Amazon.com. As an Amazon Associate, Poolbots earns from qualifying purchases.
About this part
What it does and when to replace it.
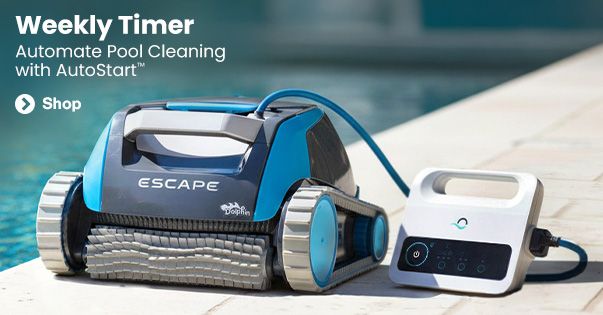
This genuine Maytronics 180W replacement power supply powers the robot and includes Bluetooth®, a weekly timer and a filter bag indicator. The timer lets you schedule the robot to run on set days.
Maytronics lists part 9995679-ASSY for dual-motor robots with remote/Bluetooth®, but names no compatible US robot. Confirm fit with Poolbots' pool experts by live chat or phone before buying. Poolbots does not currently stock it in its own store. The part carries a one-year warranty.
- Have part number 9995679-ASSY ready when contacting Poolbots' pool experts by live chat or phone.
- Ask Poolbots' pool experts to help check timer or Bluetooth® issues before replacing the power supply.
Compatibility
Check the fit before you order.
Maytronics lists no US robot for this part number. Send us your robot's model number (on the label under the handle) and we will confirm whether this is the right part.
Do it yourself
How to replace it at home.
Switch off and unplug the power supply.
Disconnect the robot's cable from the old power supply.
Connect the robot's cable to the replacement after confirming compatibility.
Plug in the replacement power supply and switch it on.
Check that the robot runs, then set the weekly timer for your preferred days.
Maytronics' video for this part

Step-by-step answers for this kind of part
How do I replace the filter panels on my Dolphin robot?Video15 min
Find your model below, then follow its video and instructions. The panel removal and installation steps vary by filter design.
S50 (Cayman, T15, T25, Active 10, Escape, Encore, E20, E25) & S100 (Advantage, Proteus DX3, Saturn, Echo, Nautilus CC, Active 15, Escape, Liberty 200/300/400)

Step 1Remove the old filter panels
- Lift the filter cover open.
- Take the filter basket out of the robot.
- Press the plastic release at the top of the filter's wide side, then lift out the released panel. The narrow side panels come out easily. The front and back panels are secured with screws, so use a Phillips-head screwdriver to release them.
- Follow the same process for the opposite side panel.
Step 2Install the replacement panels
- Slide a replacement panel into the basket.
- Push the panel against the frame until it clicks into place.
- Fit the other side panel the same way.
- With both panels in position, clip the filter's bottom section back into place.
S200 (E30, Advantage Ultra, Active 20, Quantum, T30, Proteus DX4, Triton PS) / S300 (E35/E35i, Proteus DX5i, Active 30, T35/T45, Premium 40, Explorer E30, E40i, Active 30i, T55i) / S400 (E50i, Active 50, Explorer E50) / Liberty 600

Step 1Remove the old filter panels
- Lift the filter cover open.
- Take the filter basket out of the robot.
- Press the plastic release at the top of the filter's side, then lift out the panel that releases.
- Work through the remaining narrow and wide panels using the same method.
Step 2Install the replacement panels
- Set the bottom edge of a replacement panel into the filter's lower rail.
- Push the panel into the frame so it clips into the filter.
- Press it against the frame until you hear it click.
- Fit each remaining narrow and wide panel the same way.
Premier/Dx4 (Bag filter)

Filter bag setup for Dolphin Premier
- Turn the robot upside down so you can reach the filter area.
- Release the clips underneath the filter assembly.
- Lift the assembly out of the robot.
- If the white filter screen is not already fitted, secure it with the two screws.
- Check that the filter bag sits securely on the assembly's guard rails.
- Put the filter bag assembly back in, following the guide and video.
Filter cartridge assembly setup for Dolphin Premier
- Turn the robot upside down so you can reach the filter area.
- Release the clips underneath the filter assembly.
- Lift the assembly out of the robot.
- Make sure the white filter screen is not installed for this setup.
- Follow the guide and video to reinstall the assembly.
- Fasten the clips underneath the assembly to secure it.
M250 (Dx3, Nautilus CC Plus)

Step 1Prepare the filter cartridges
- Lift the filter covers and take the cartridges out of the robot.
- Release the clips at the top of each cartridge.
- Inspect the non-return flap for debris.
- Check that the frame is clean before fitting replacement panels.
Step 2Fit the replacement panels
- Seat the locating tabs along the bottom of each panel in the matching grooves on the base frame.
M400/M500 (Sigma, Nautilus CC Supreme, Aquarius XL, Oasis)
Step 1Prepare the filter cartridges
- Lift the filter covers and take the cartridges out of the robot.
- Release the clips at the top of each cartridge.
- Inspect the non-return flap for debris.
- Check that the frame is clean before fitting replacement panels.
Step 2Fit the replacement panels
- Seat the locating tabs along the bottom of each panel in the matching grooves on the base frame.
M600/M700 (Active 60, E60i, Premium 60, Explorer E70)

Step 1Remove the old filter panels
- Lift the filter cover open.
- Take the filter basket out of the robot.
- Press the plastic release at the top of the filter's side, then lift out the panel that releases.
- Work through the remaining narrow and wide panels using the same method.
Step 2Install the replacement panels
- Set the bottom edge of a replacement panel into the filter's lower rail.
- Push the panel into the frame so it clips into the filter.
- Press it against the frame until you hear it click.
- Fit each remaining narrow and wide panel the same way.
Replacement panels and filter care
You can purchase replacement filter panels from Poolbots. Before ordering, confirm that the panel part number matches your robot. For help choosing the correct panels, contact Poolbots' pool experts by live chat or phone.
Additional references:
Specifications
Product Info
- Automation Mode
- Yes
Size & Dimension
- Package Dimensions
- 11.9x5.0x8.7 inch
- Gross Weight
- 3.969 lb
General Info
- Warranty (years)
- 1
- UPC
- 850015249440
Questions
180W Bluetooth® Power Supply With Weekly Timer and Filter Indicator, answered.
Which robots use this power supply?
Maytronics lists it for dual-motor robots with remote/Bluetooth®, a weekly timer and a filter bag indicator. No compatible US robot is named, so confirm fit with Poolbots' pool experts.
Does Poolbots stock part 9995679-ASSY?
Poolbots does not currently stock this part in its own store. This page helps you identify it. Contact Poolbots' pool experts by live chat or phone for help confirming compatibility.
What does the weekly timer do?
The weekly timer lets you schedule the robot to run on set days.
Power Supplies & Chargers