












Genuine Maytronics part · Cables & Swivels
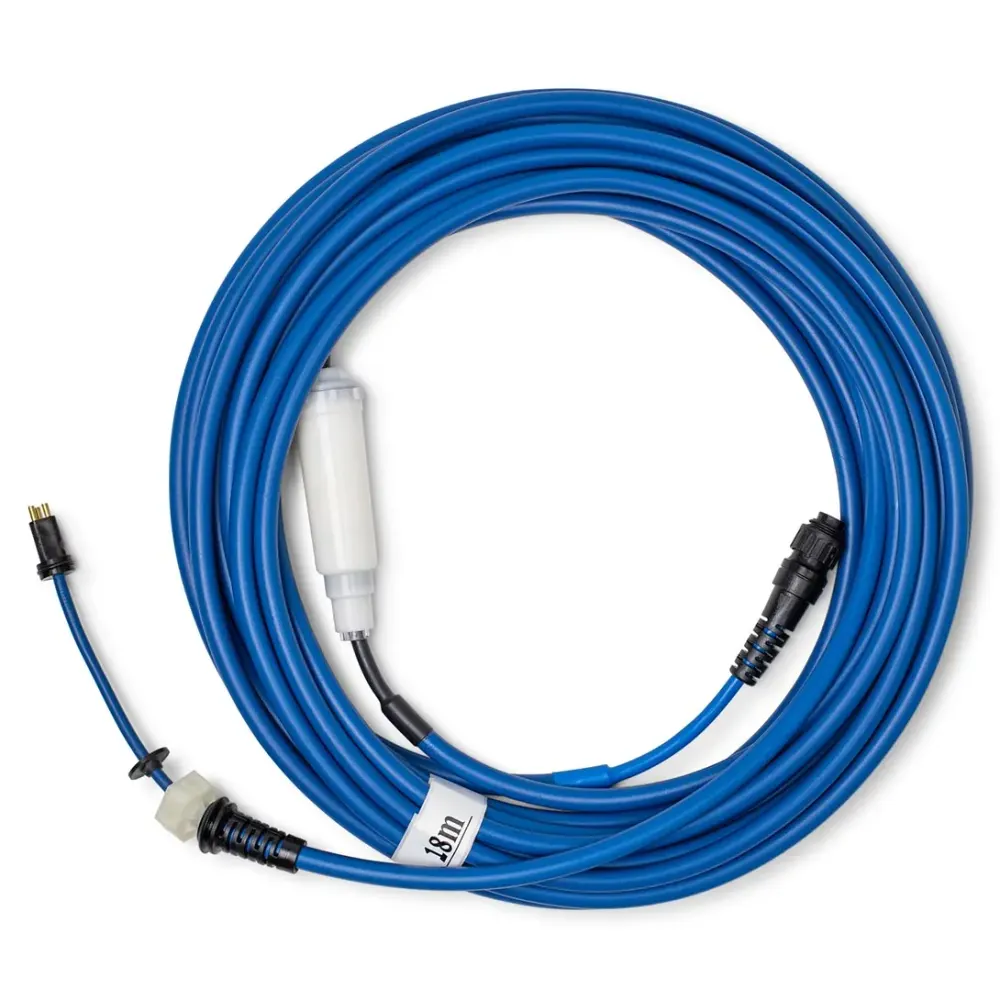
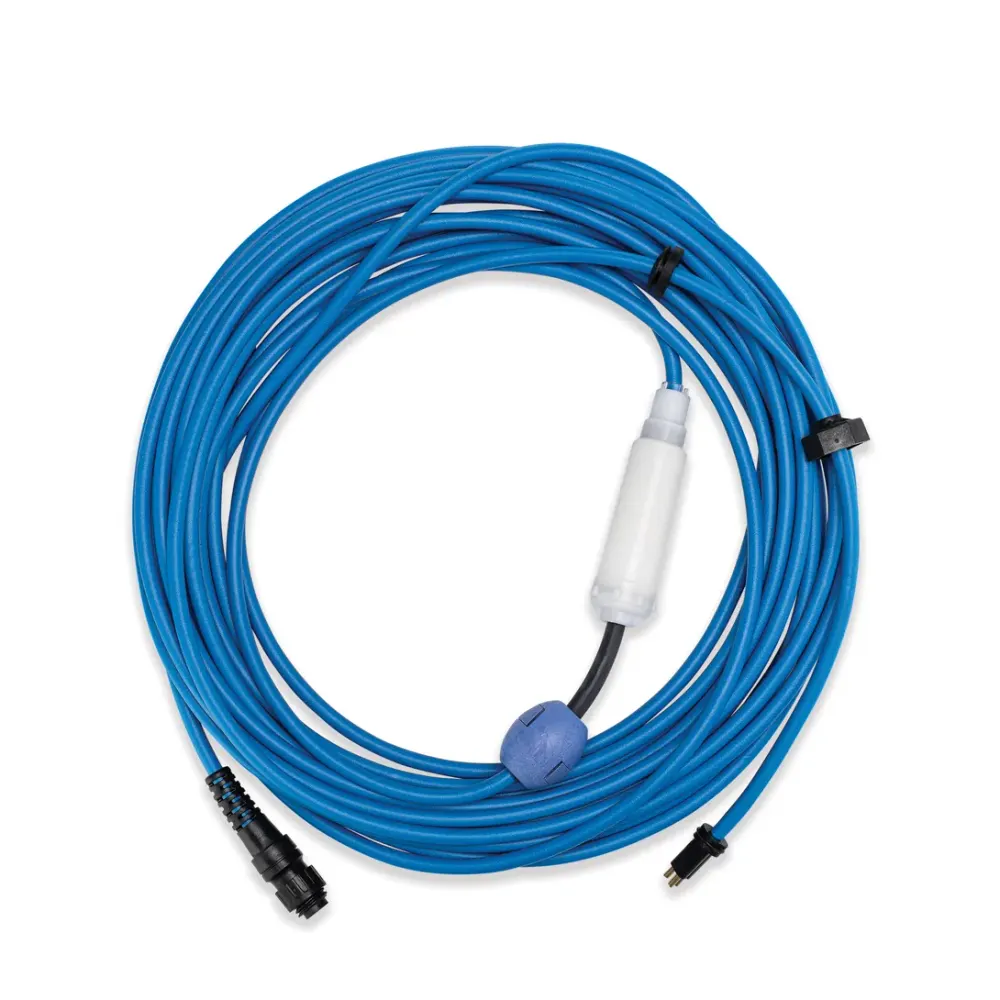
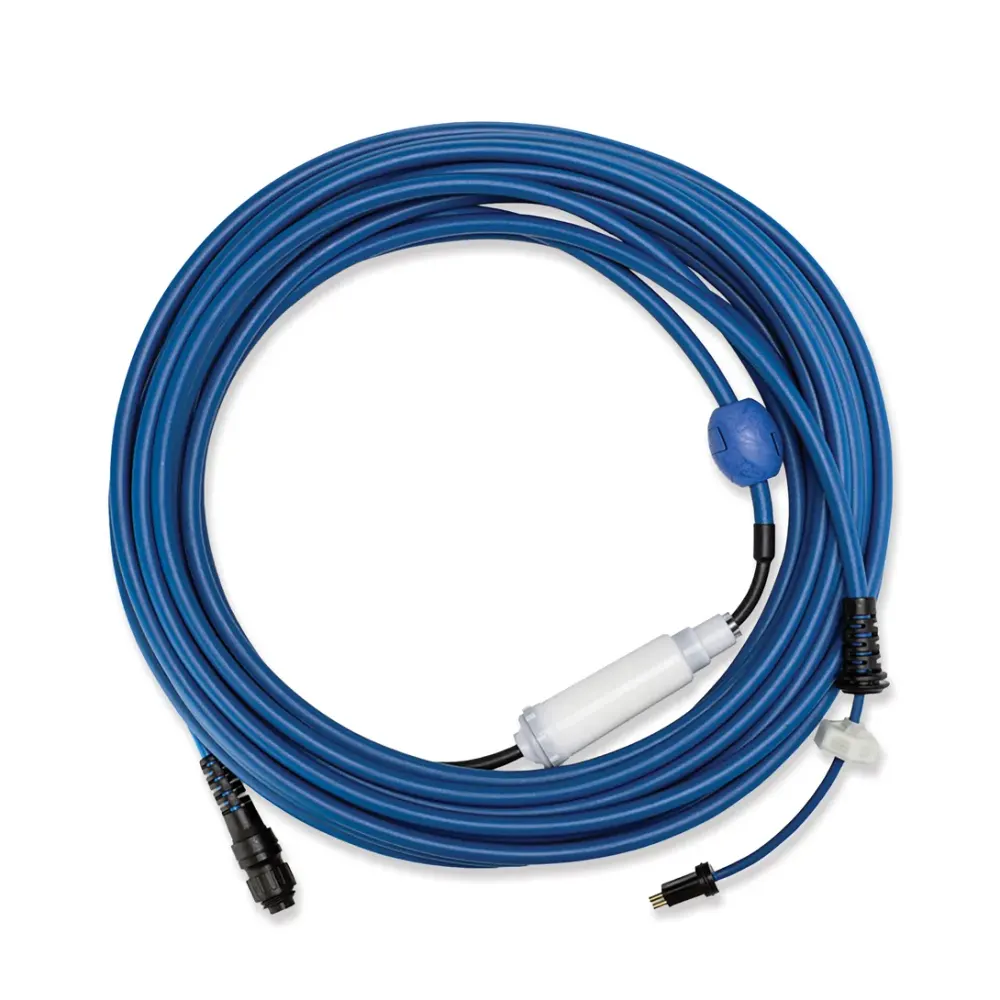
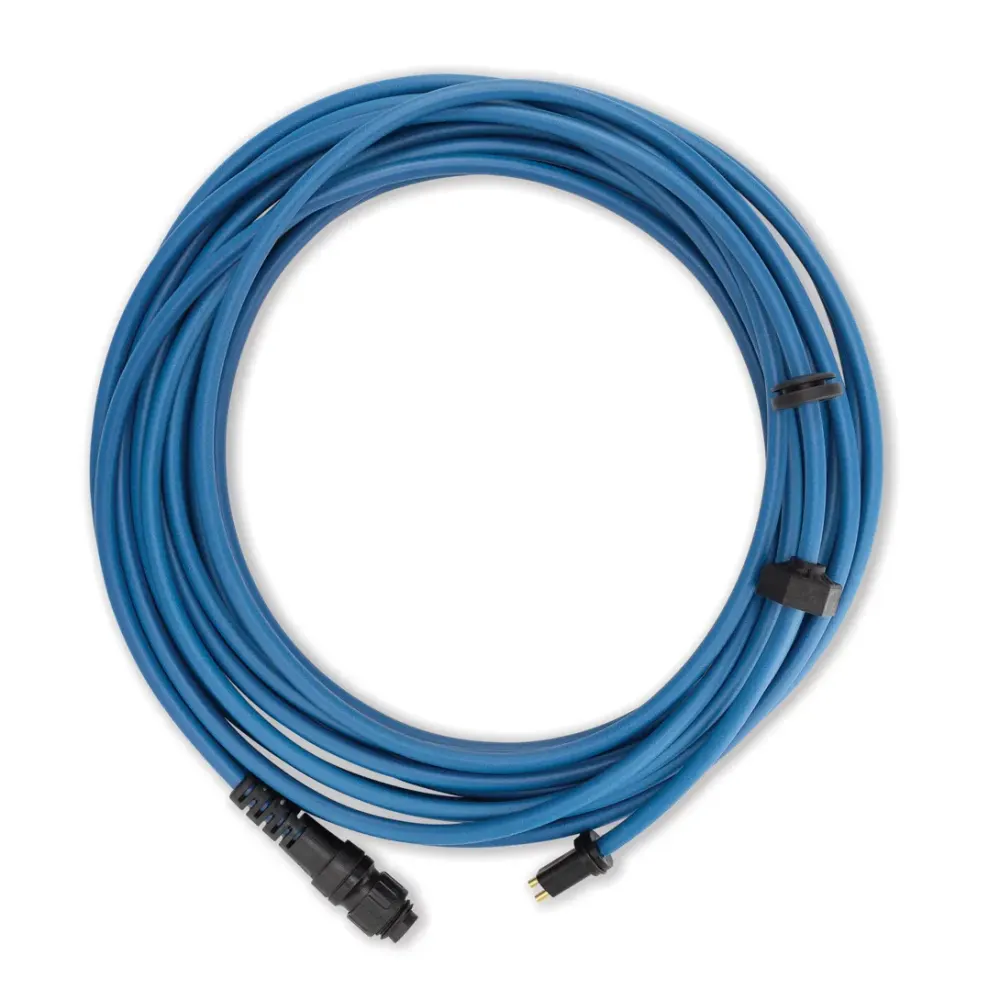
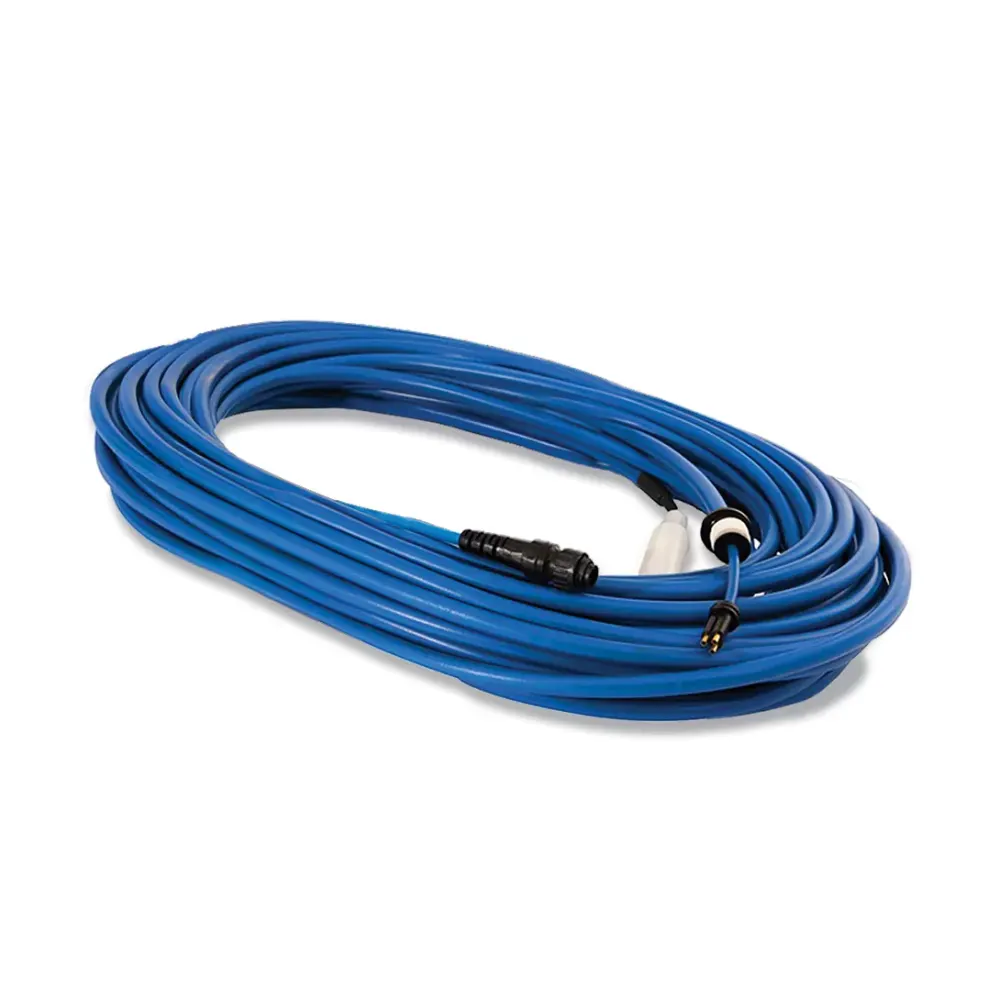
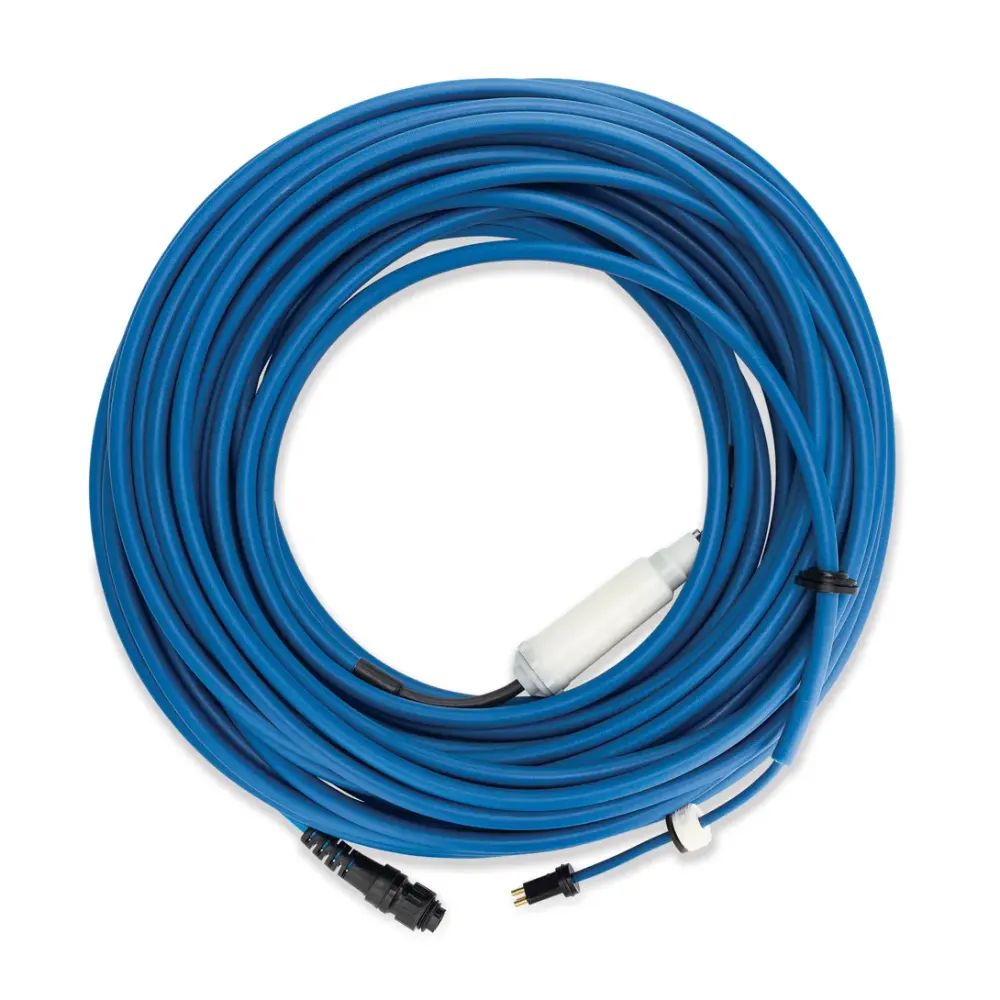
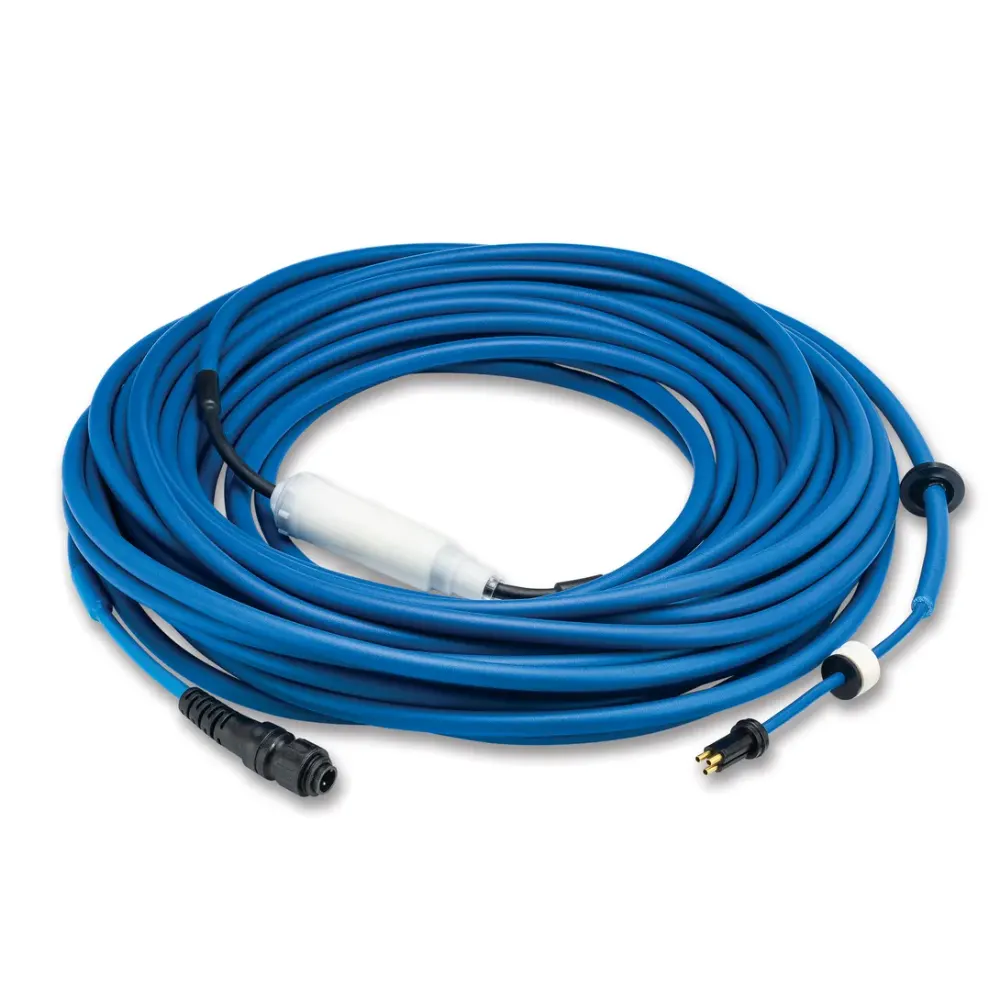
Maytronics DIY Dynamic 30M' Cable With Swivel
Part number 9995747-DIY · UPC 810071220784 · 1 year part warranty
Genuine Maytronics blue, three-wire communication cable with swivel for remote/Bluetooth models of the Dolphin Wave 100.
$439.99 MSRP
Not stocked by Poolbots. Sold on Amazon as a genuine Maytronics part.
Ships from Amazon.com. As an Amazon Associate, Poolbots earns from qualifying purchases.
About this part
What it does and when to replace it.
This genuine Maytronics replacement communication cable has three wires and a blue outer jacket. It carries communication signals for the robot, while the included swivel helps limit cable twisting.
Maytronics' spec sheet confirms Dolphin Wave 100 compatibility, and the listing limits this cable to remote/Bluetooth models. Poolbots does not currently stock part 9995747-DIY. Contact Poolbots' pool experts by live chat or phone to confirm the correct replacement for your robot.
- Use part number 9995747-DIY when asking Poolbots' pool experts to identify the correct cable.
- Confirm the remote/Bluetooth requirement before buying. The robot name alone is not the only fit detail.
- Do not operate the robot with exposed cable wires or a split cable jacket.
Compatibility
Fits these Dolphin robots.
Confirmed by Maytronics' compatibility checker and each robot's own spare-parts list.
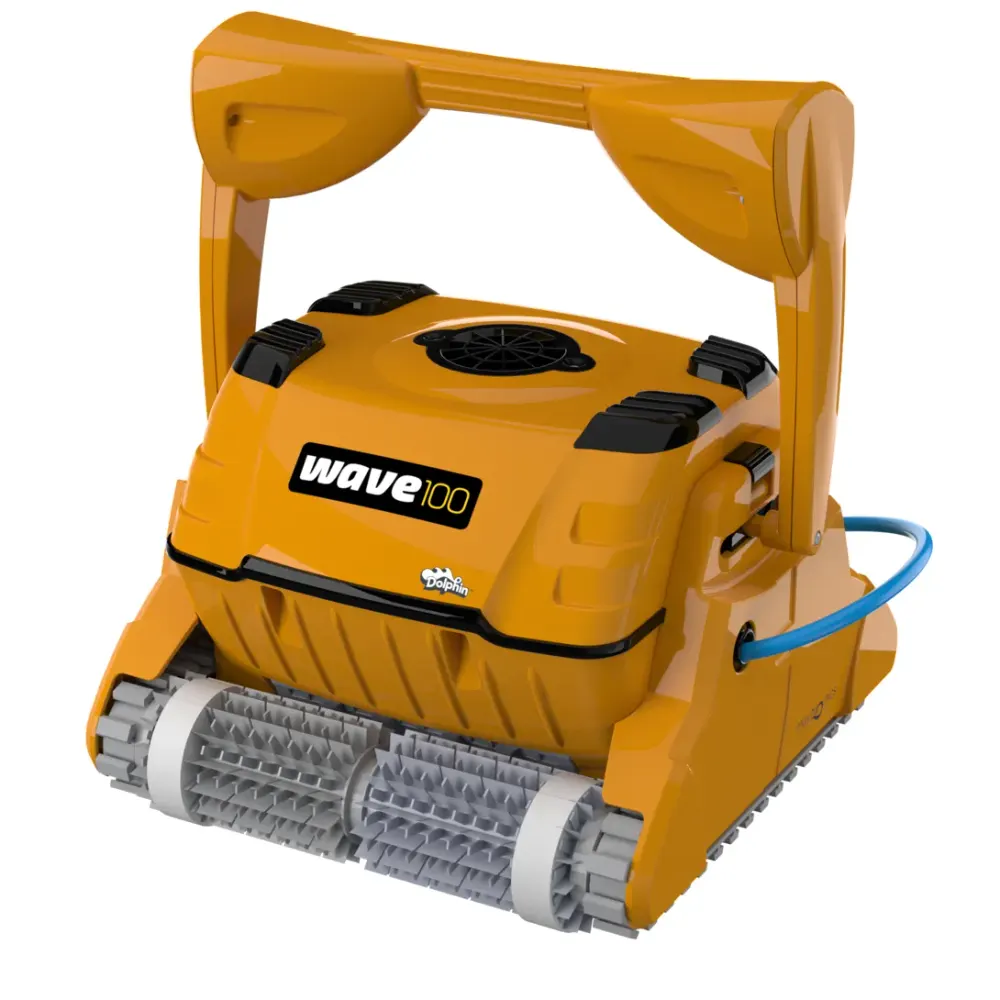
Also listed by Maytronics for: Dolphin Wave 100.
Do it yourself
How to replace it at home.
Switch off and unplug the power supply.
Confirm fit and the owner-replacement procedure with Poolbots' pool experts.
Follow your robot's cable replacement instructions to disconnect the old cable.
Install 9995747-DIY according to those instructions. Stop if the robot must be opened.
Check that all connections are secure before reconnecting the power supply.
Step-by-step answers for this kind of part
How do I install the cable float on the Nautilus CC Plus?Video
The video below demonstrates how to install the float on the blue cable.

Applies to these models:
- Dolphin Nautilus CC
- Dolphin Nautilus CC Plus
- Dolphin Nautilus CC Plus WiFi
How do I replace the blue cable on my Dolphin robot?Video45 min
Find your model below and follow its video and instructions. The cable and replacement steps vary by model.
For help choosing the cable or following the procedure, contact Poolbots' pool experts through live chat or by phone.
Tools for the written procedures
- Phillips head screwdriver
- Wrench
- Flathead screwdriver where noted
- Maytronics multi-purpose handle or tool, as specified in the steps
M250 (Nautilus CC Plus)

Nautilus CC Plus (Without Wi-Fi): Replacement blue cable
Step 1Remove the old cable
- Disconnect the power supply from the electrical outlet before working on the robot.
- Lower the handle.
- Take out the filters, then remove all 4 screws securing the top frame.
- Use a flathead screwdriver to unlock the impeller cover, then lift the cover off.
- Shut the filter doors. Free the blue floating cable and lift off the top frame.
- Lift both floaters out of the robot.
- At each cable holder, take out one screw and loosen the other halfway. Turn both holders backward to free the blue floating cable.
- Use the Maytronics multi-purpose handle to loosen the power cable screw.
- Slide the screw and rubber seal out of the way, then pull firmly to disconnect the cable.
Step 2Install the new cable
- Feed the replacement cable through the impeller opening toward the motor unit.
- Connect the cable to the motor unit. Slide the rubber seal back into position and screw the connection back into place.
- Thread the blue cable's white cap into place. Use the Maytronics multi-purpose handle to tighten the power cable screw.
- Turn the cable fasteners back into position and tighten all their screws.
- Put both internal floaters back, then position the top frame.
- Seat the cable in its place in the frame.
- Fit and lock the impeller cover, then secure the top frame with its screws.
Important: If the replacement cable has a swivel, it must have two floats on the cable.
M400 (Oasis, Aquarius XL)

Step 1Remove the old cable
- Disconnect the power supply from the electrical outlet before starting.
- Fold the handle down toward the rear of the robot.
- Take out the impeller cover screw, then lift off the cover.
- Free the blue floating cable and take out the filter cartridges.
- Remove the four frame screws, then lift the frame away.
- Take both floaters out.
- At each cable holder, remove one screw and loosen the other halfway. Turn the holders backward.
- Loosen the power cable screw with the Maytronics multi-purpose handle.
- Slide the screw and rubber seal away from the connection, then disconnect the cable.
Step 2Install the new cable
- Connect the replacement cable, then slide the rubber seal and screw back into position.
- Use the Maytronics multi-purpose handle to tighten the power cable screw.
- Turn the cable fasteners back into position around the blue cable and tighten their screws.
- Put both floaters back in their places.
- Set the frame back in position and secure it with its four screws.
- Seat the blue cable in the frame with the black rubber flap on the outside of the robot. Refit the impeller cover and secure its screw.
Nautilus CC Supreme, Sigma
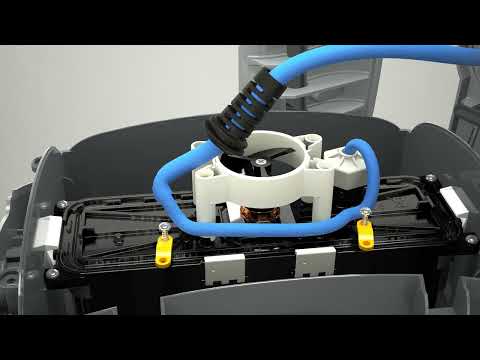
Step 1Remove the old cable
- Disconnect the power supply from the electrical outlet before starting.
- Lower the handle.
- Lift both lids and take out the filters.
- Use a flathead screwdriver to unlock the impeller cover, then lift it off.
- Free the blue cable from its recess.
- Take out the four top-frame screws and slide the frame out.
- Lift out the floaters.
- At each yellow fastener, remove one screw and loosen the other halfway. Turn both fasteners backward to free the blue cable.
- Loosen the power cable screw with the Maytronics multi-purpose handle, then disconnect the blue cable.
Step 2Install the new cable
- Feed the replacement cable through the impeller opening and connect it to the motor unit.
- Use the Maytronics multi-purpose tool to tighten the power cable screw.
- Turn the yellow fasteners back into position around the blue cable and tighten all their screws.
- Put the floaters back in their original positions.
- Set the top frame back in place and secure it with the four screws.
- Seat the blue cable in its recess.
- Refit the impeller cover and use a flathead screwdriver to lock it.
S50 (S50, E10, E20/E25, Active 10, Cayman, Escape, Encore)

Step 1Remove the old cable
- Disconnect the power supply from the electrical outlet before starting.
- Lift the filter basket out of the robot.
- Take out the screws securing the top panel.
- Pull the top panel out along the blue cable. Slide the plastic cover off the rubber holder.
- Take out the screws securing the cable fastener.
- Slide the top panel and cable fastener off.
- Open the motor's left clip and unhook the blue floating cable.
- Use the Maytronics multi-purpose handle to loosen the power cable screw. Disconnect and remove the old blue floating cable.
Step 2Install the new cable
- Align the notch in the replacement cable plug with the matching notch before connecting it.
- Use the Maytronics multi-purpose handle to tighten the power cable screw.
- Make a loop in the blue floating cable, hook it to the motor, and secure the left motor clip.
- Reassemble the top panel and cable fastener. Tighten the screws that hold the cable fastener.
- Set the top panel back in position and secure its screws.
- Slide the filter door onto the rubber holder on the cable, then screw the impeller cover back into place.
S100 (Advantage, Proteus DX3, Saturn, Echo, Nautilus CC, Active 15, Cayman, Escape, Explorer E20)

Step 1Remove the old cable
- Disconnect the power supply from the electrical outlet before starting.
- Lift the top lid and take out the filter basket.
- Take out the screws securing the top panel.
- Slide the top panel open along the blue cable.
- Remove the top panel's retaining screws.
- Lift away both sections of the top panel.
- Open the motor's left clip and unhook the blue cable.
- Loosen the blue cable screw with the Maytronics multi-purpose handle.
- Take off the screw and rubber seal, then pull the blue cable out of its connection.
Step 2Install the new cable
- Connect the replacement blue cable, slide the rubber seal into position, and screw the connection back into place.
- Tighten the blue cable screw with the Maytronics multi-purpose handle.
- Make a loop in the blue cable and hook it in place, then secure the left motor clip.
- Reassemble the two top-panel sections and install the two screws.
- Set the front panel back in position and install the two top screws.
- Put the filter back inside the robot and shut the lid.
S200 (E30, Advantage Ultra, Active 20, Quantum, T35, Triton PS)

Step 1Remove the old cable
- Disconnect the power supply from the electrical outlet before starting.
- Pull the top lid handle to open the lid, then take out the filter.
- Take out the two screws securing the motor unit cover.
- Ease the cover off gently and slide it along the blue cable.
- Lift out the manifold.
- Open the motor's left clip and unhook the blue cable.
- Loosen the blue cable screw with the Maytronics multi-purpose tool.
- Slide the screw and rubber seal away from the connection, then disconnect the blue cable.
Step 2Install the new cable
- Connect the replacement blue cable, slide the rubber seal into position, and screw the connection back into place.
- Use the Maytronics multi-purpose tool to tighten the blue cable screw.
- Make a loop in the blue cable, hook it onto the left motor clip, and secure the clip.
- Put the manifold back in its original position.
- Slide the cover back into position and tighten the two top screws.
- Put the filter basket back inside and shut the top lid.
S300/S400 (Nautilus CC Pro, E35/E35i, Proteus DX5i, Active 30, T35/T45, Premium 40, Explorer E30, E40i, Active 30i, Active 40, T55i, E50i, Active 50, Explorer E50, Mercury)

S300: Replacement blue cable
S400: Replacement blue cable
Step 1Remove the old cable
- Disconnect the power supply from the electrical outlet before starting.
- Pull the top lid handle to open the lid, then take out the filter.
- Take out the two top screws securing the motor unit cover.
- Gently pull the cover open and slide it along the blue cable.
- Lift out the manifold.
- Open the motor's left clip and unhook the blue cable.
- Loosen the blue cable screw with the Maytronics multipurpose handle.
- Slide the screw and rubber seal away from the connection, then disconnect the cable.
Step 2Install the new cable
- Connect the replacement blue cable, slide the rubber seal into position, and screw the connection back into place.
- Use the Maytronics multipurpose tool to tighten the blue cable screw.
- Make a loop in the blue cable, hook it onto the left motor clip, and secure the clip.
- Put the manifold back in its original position.
- Slide the cover back into position and secure it with the two top screws.
- Put the filter basket back inside and shut the top lid.
M550

M600, M700 (Active 60, E60i, Explorer E70)

Step 1Remove the old cable
- Disconnect the power supply from the electrical outlet before starting.
- Pull the top lid handle to open the lid, then take out the filter.
- Take out the two screws securing the motor unit cover. Gently pull the cover away and slide it along the blue cable.
- Take out the cover's bottom screw, then separate and remove both cover sections.
- Lift out the manifold.
- Use the Phillips head screwdriver to remove the front panel's top and bottom screws. Release the panel and lift it away.
- Carefully lift out the front float. It is fragile, so handle it with care.
- Take out all four frame screws, then tilt the frame forward.
- Remove one cable-fastener screw and loosen the second halfway. Turn the fastener backward to free the power cable.
- Loosen the power cable screw with the Maytronics multi-purpose handle.
- Slide the screw and rubber seal away from the connection, then disconnect the cable.
Step 2Install the new cable
- Connect the replacement blue floating cable, slide the rubber seal into position, and screw the connection back into place.
- Set the cable's black section in the recess in the plastic cover. The white section must sit below the underside of that cover.
- Use the Maytronics multi-purpose handle to tighten the power cable screw.
- Make a loop in the cable and turn the cable fastener back into position. Reinstall and tighten all fastener screws.
- Set the frame back in position and tighten all four screws.
- Put the front float back right-side up, then refit the front panel. Press the panel's top corners until it clicks into place.
- Put the manifold back and reassemble both cover sections. Tighten the cover's bottom screw.
- Slide the top panel back into position and tighten its two screws.
Premier

Specifications
Product Info
- Cable Length
- 100 ft
Size & Dimension
- Gross Weight
- 9.261 lb
General Info
- Warranty (years)
- 1
- UPC
- 810071220784
Questions
Maytronics DIY Dynamic 30M' Cable With Swivel, answered.
Does this cable fit the Dolphin Wave 100?
Maytronics lists Dolphin Wave 100 as compatible, but specifies this cable for remote/Bluetooth models only. Poolbots' pool experts can help confirm fit by live chat or phone.
Is this cable 98 ft or 100 ft long?
The listing describes a 98 ft cable, while the spec sheet gives 100 ft. The supplied information does not resolve that difference. Ask Poolbots' pool experts to confirm the length before buying.
What warranty is listed for this part?
Maytronics lists a one-year warranty for part 9995747-DIY.
Cables & Swivels